A beginners guide to E6 and Colour Reversal Film
Hi! Maybe you saw our recent instagram post announcing that we now accept E6 orders, and you’ve come crawling here desperate to understand more about E6 processing and colour reversal film. Good. We’ll start with the film!
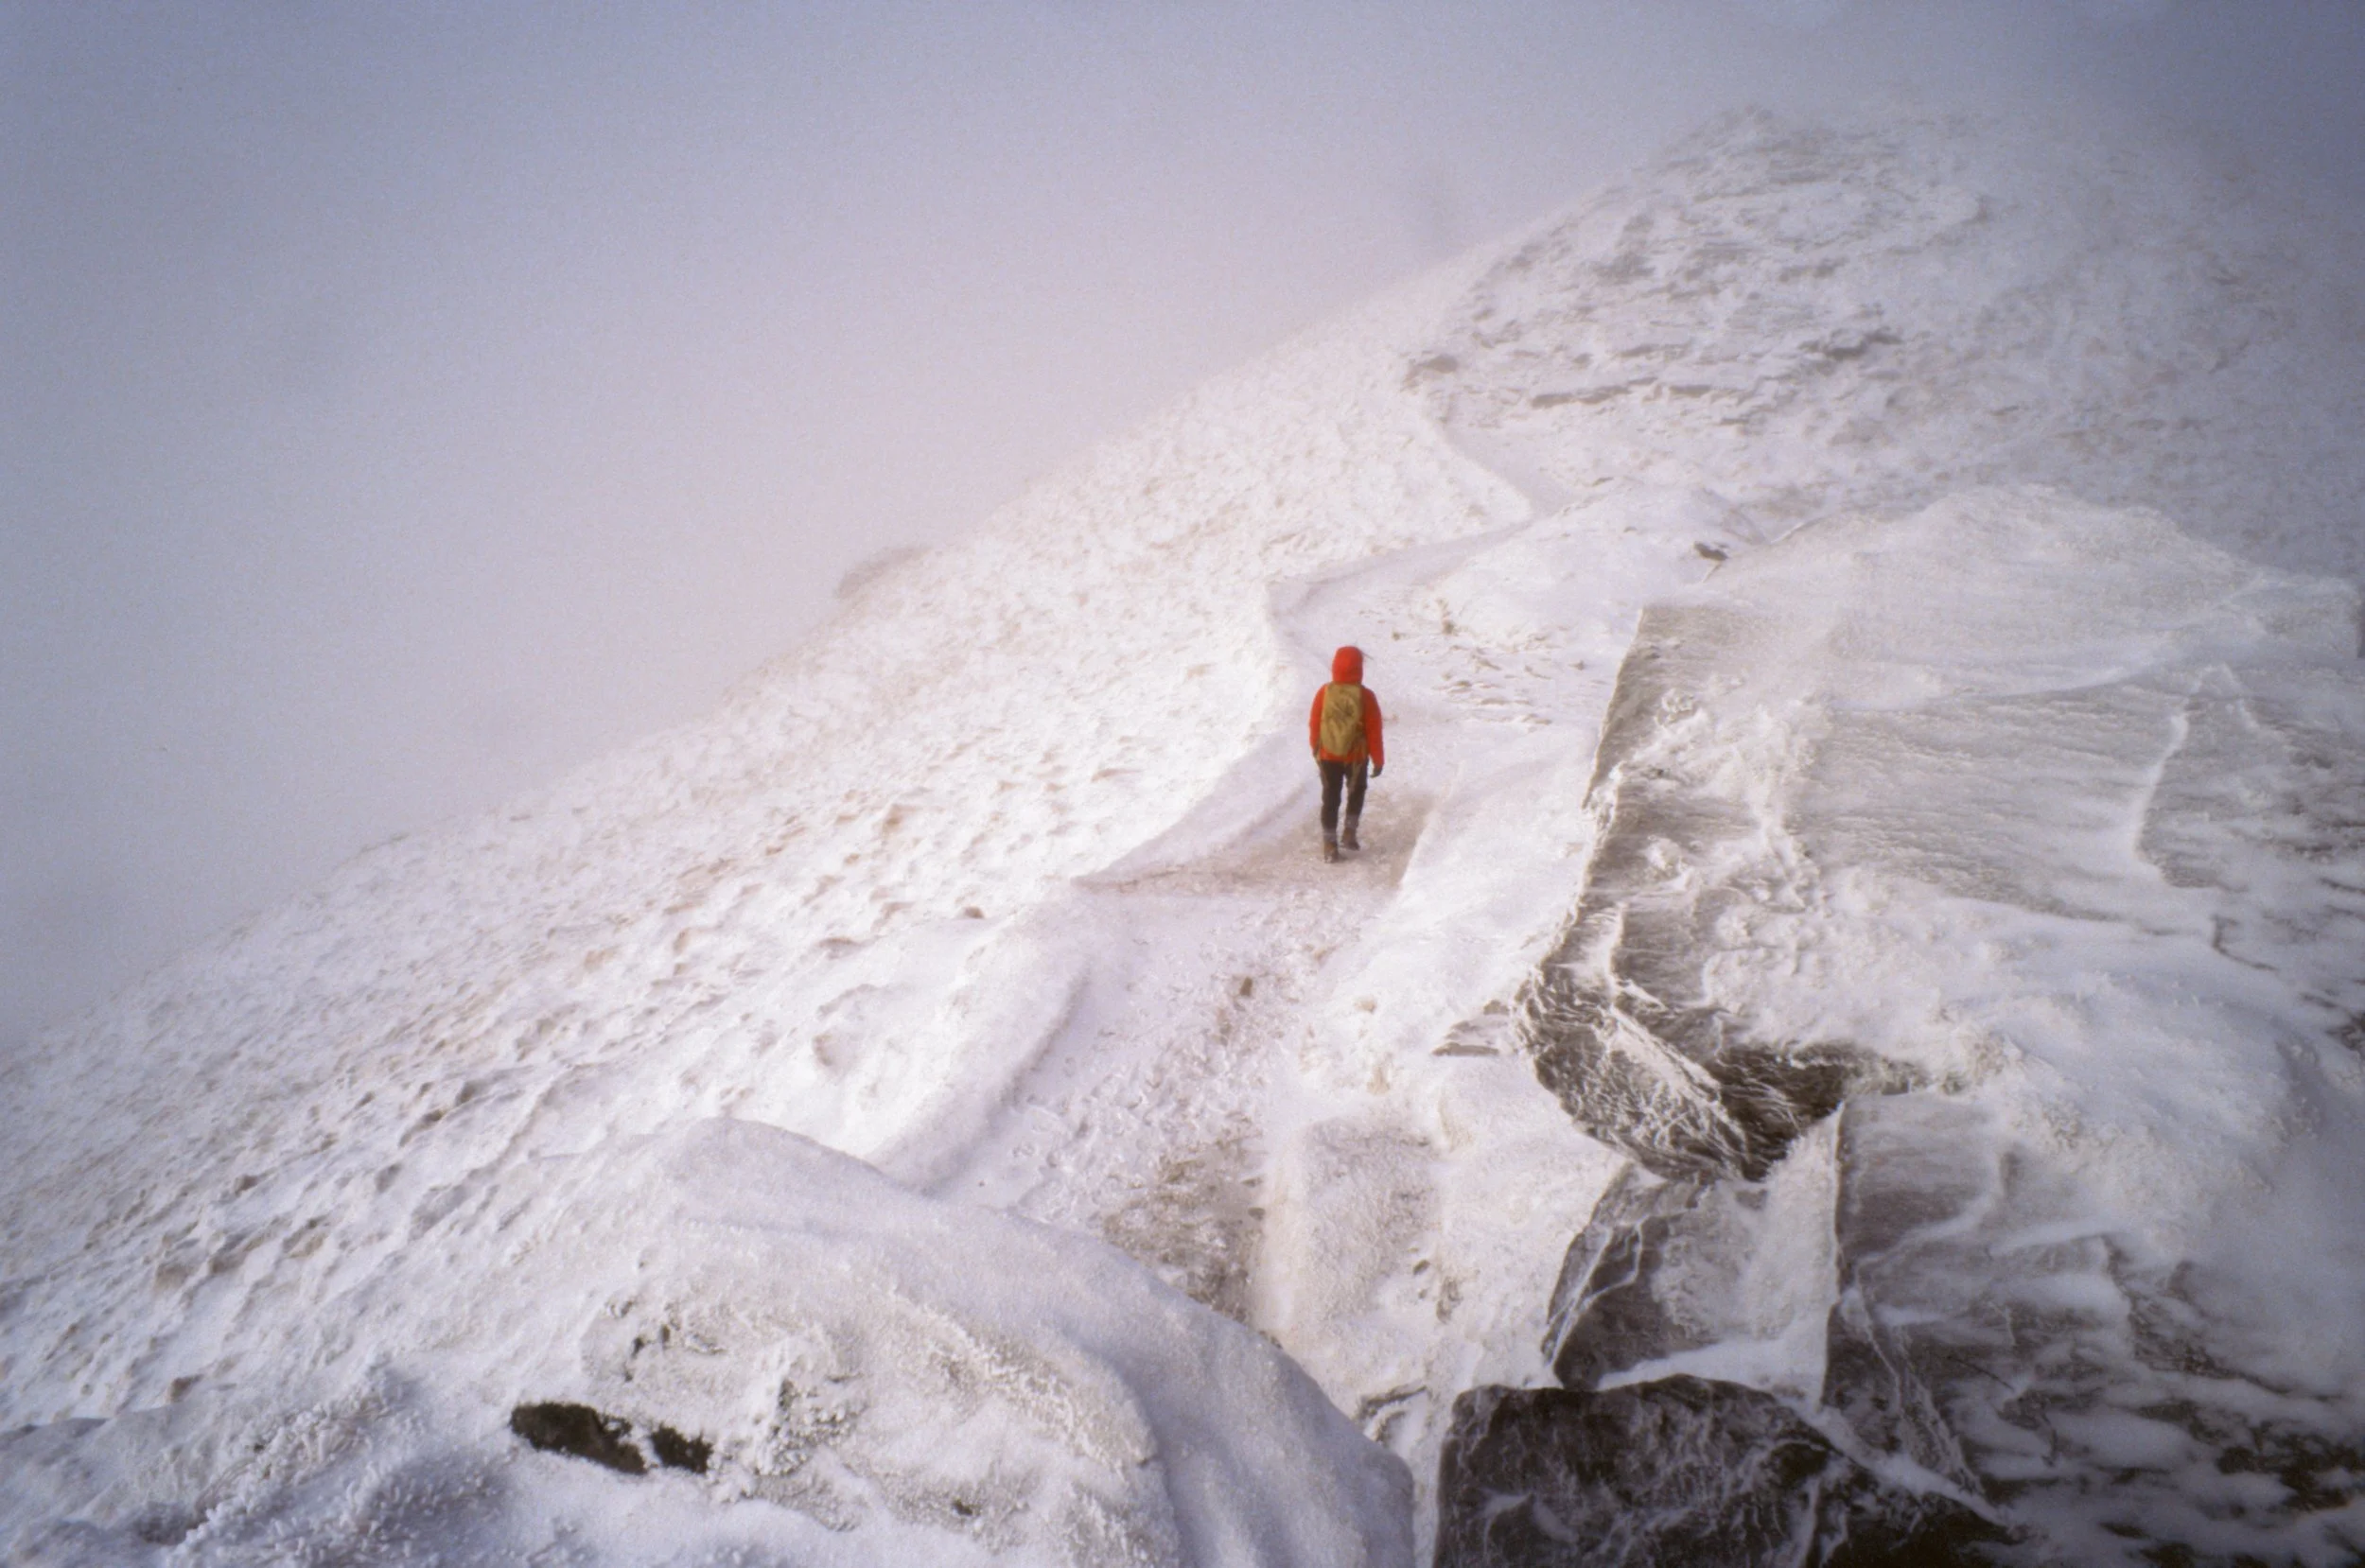
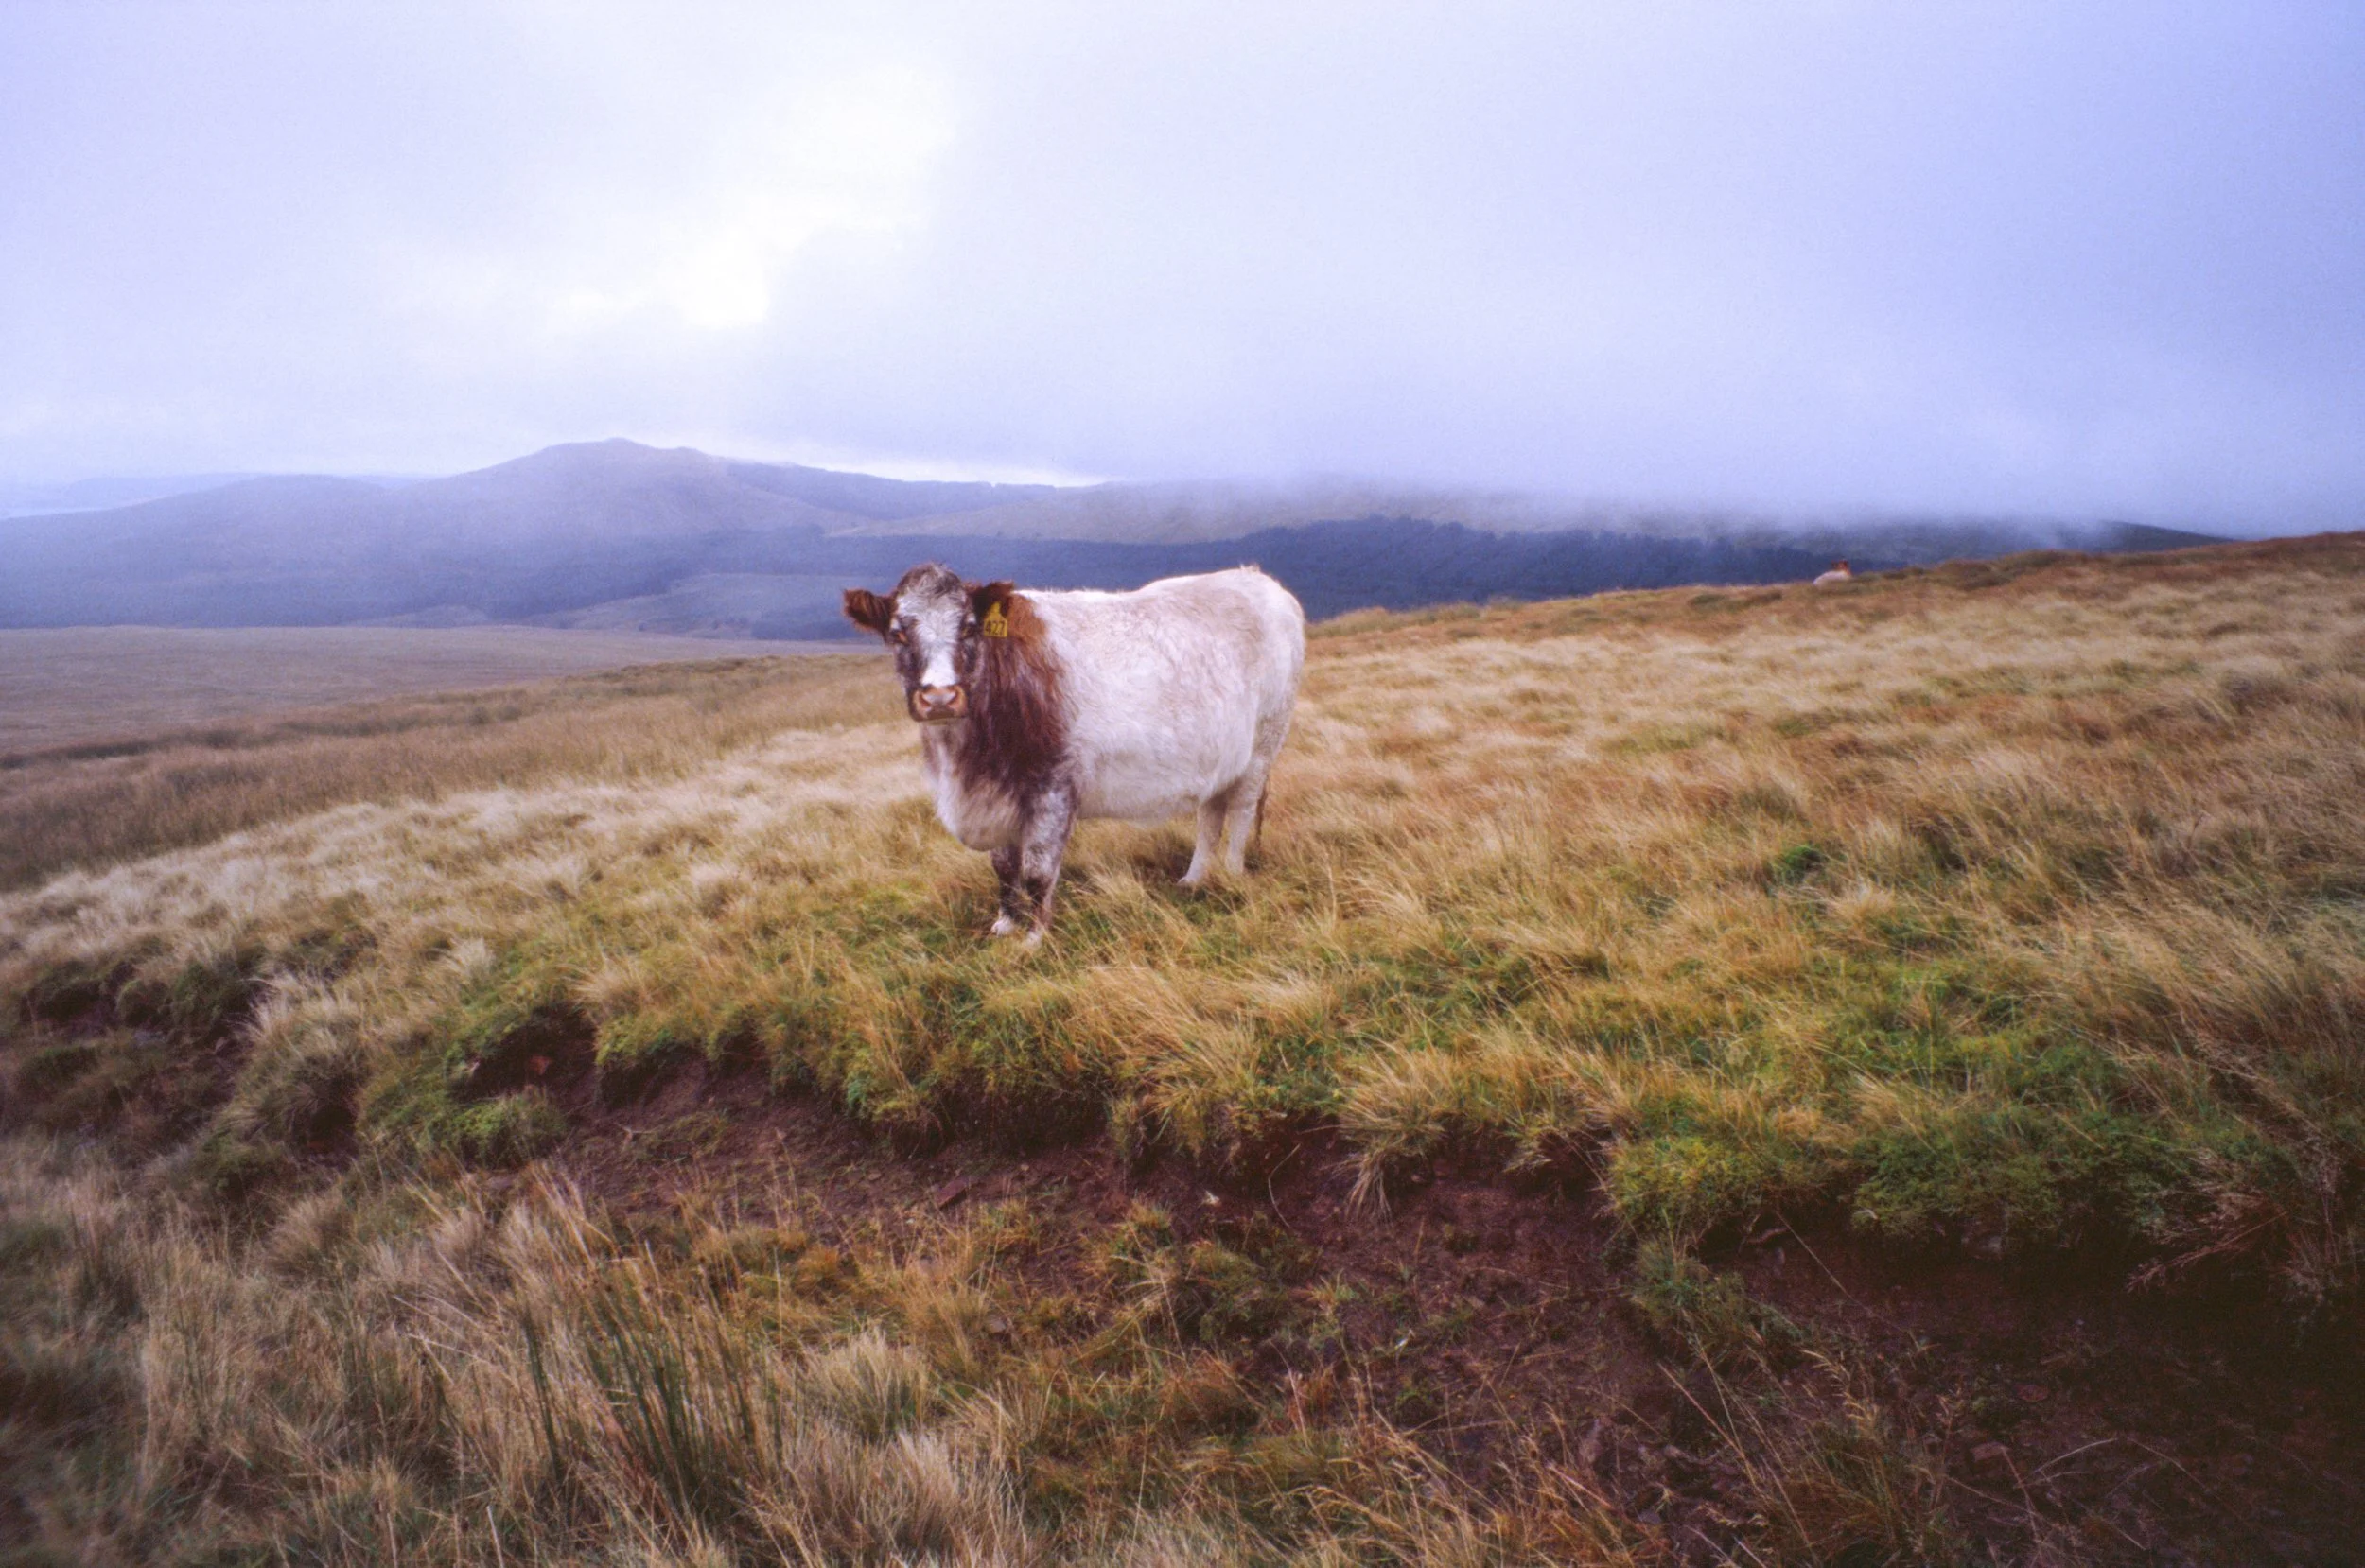
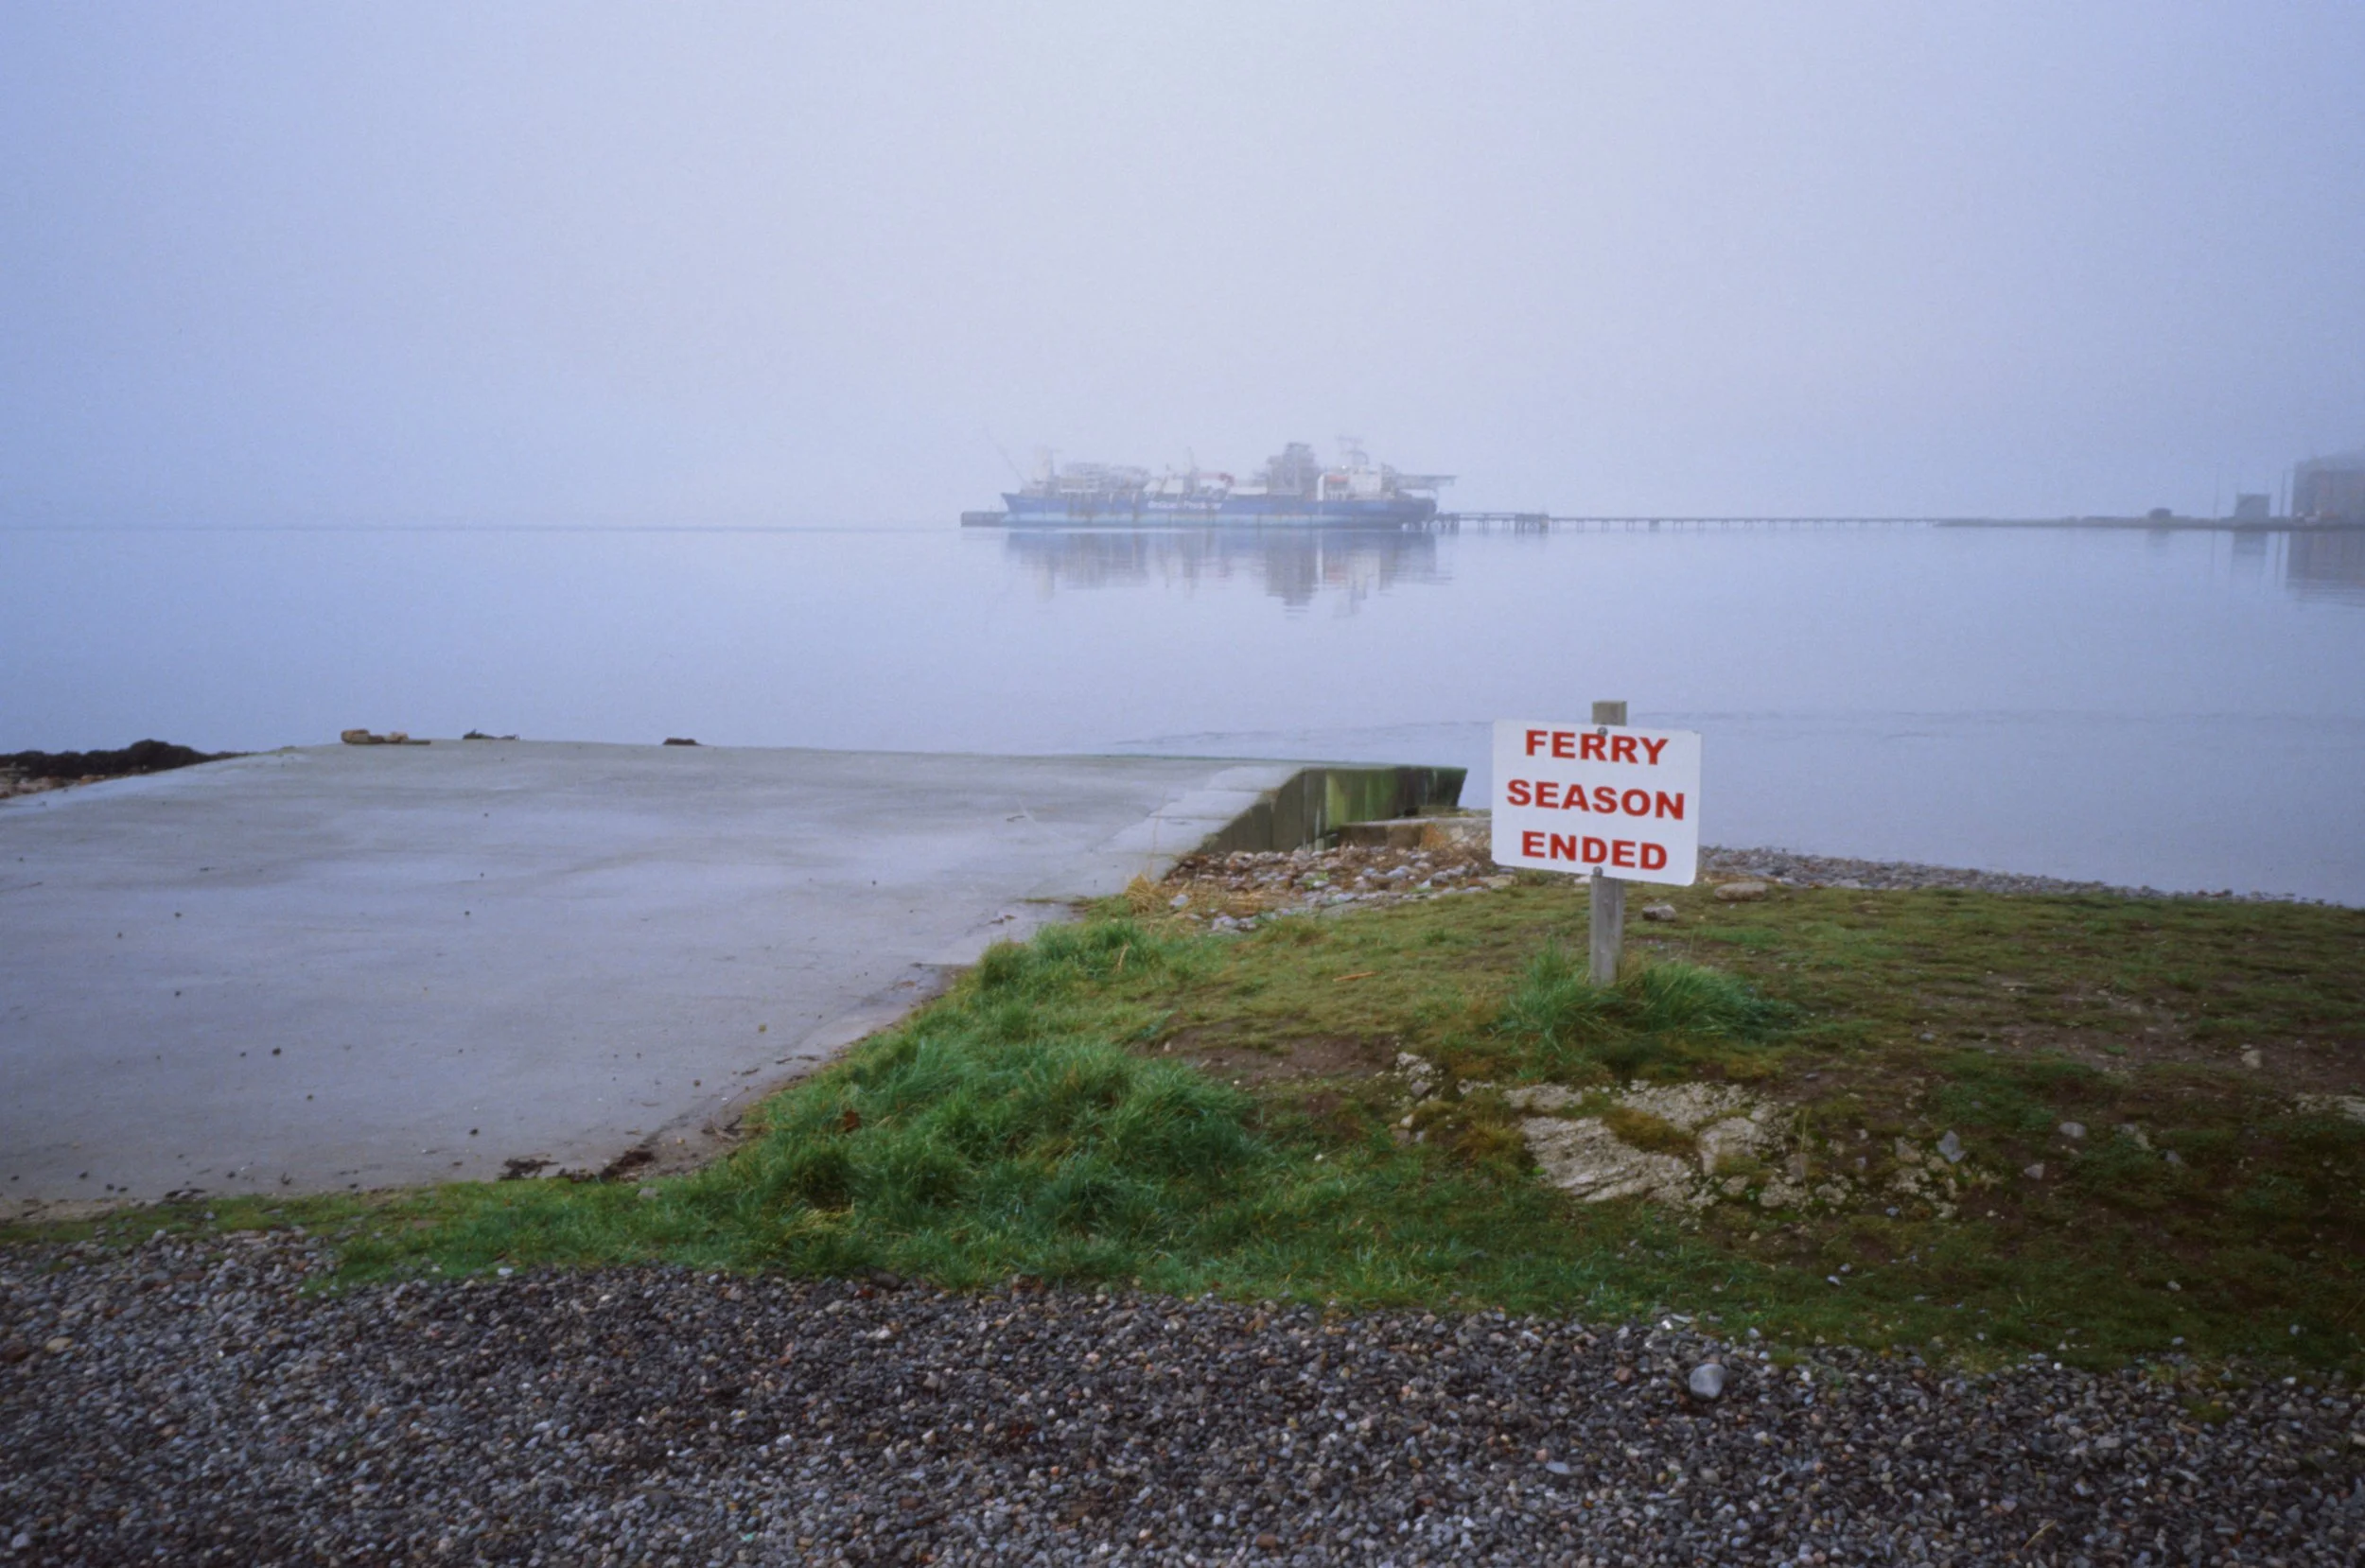
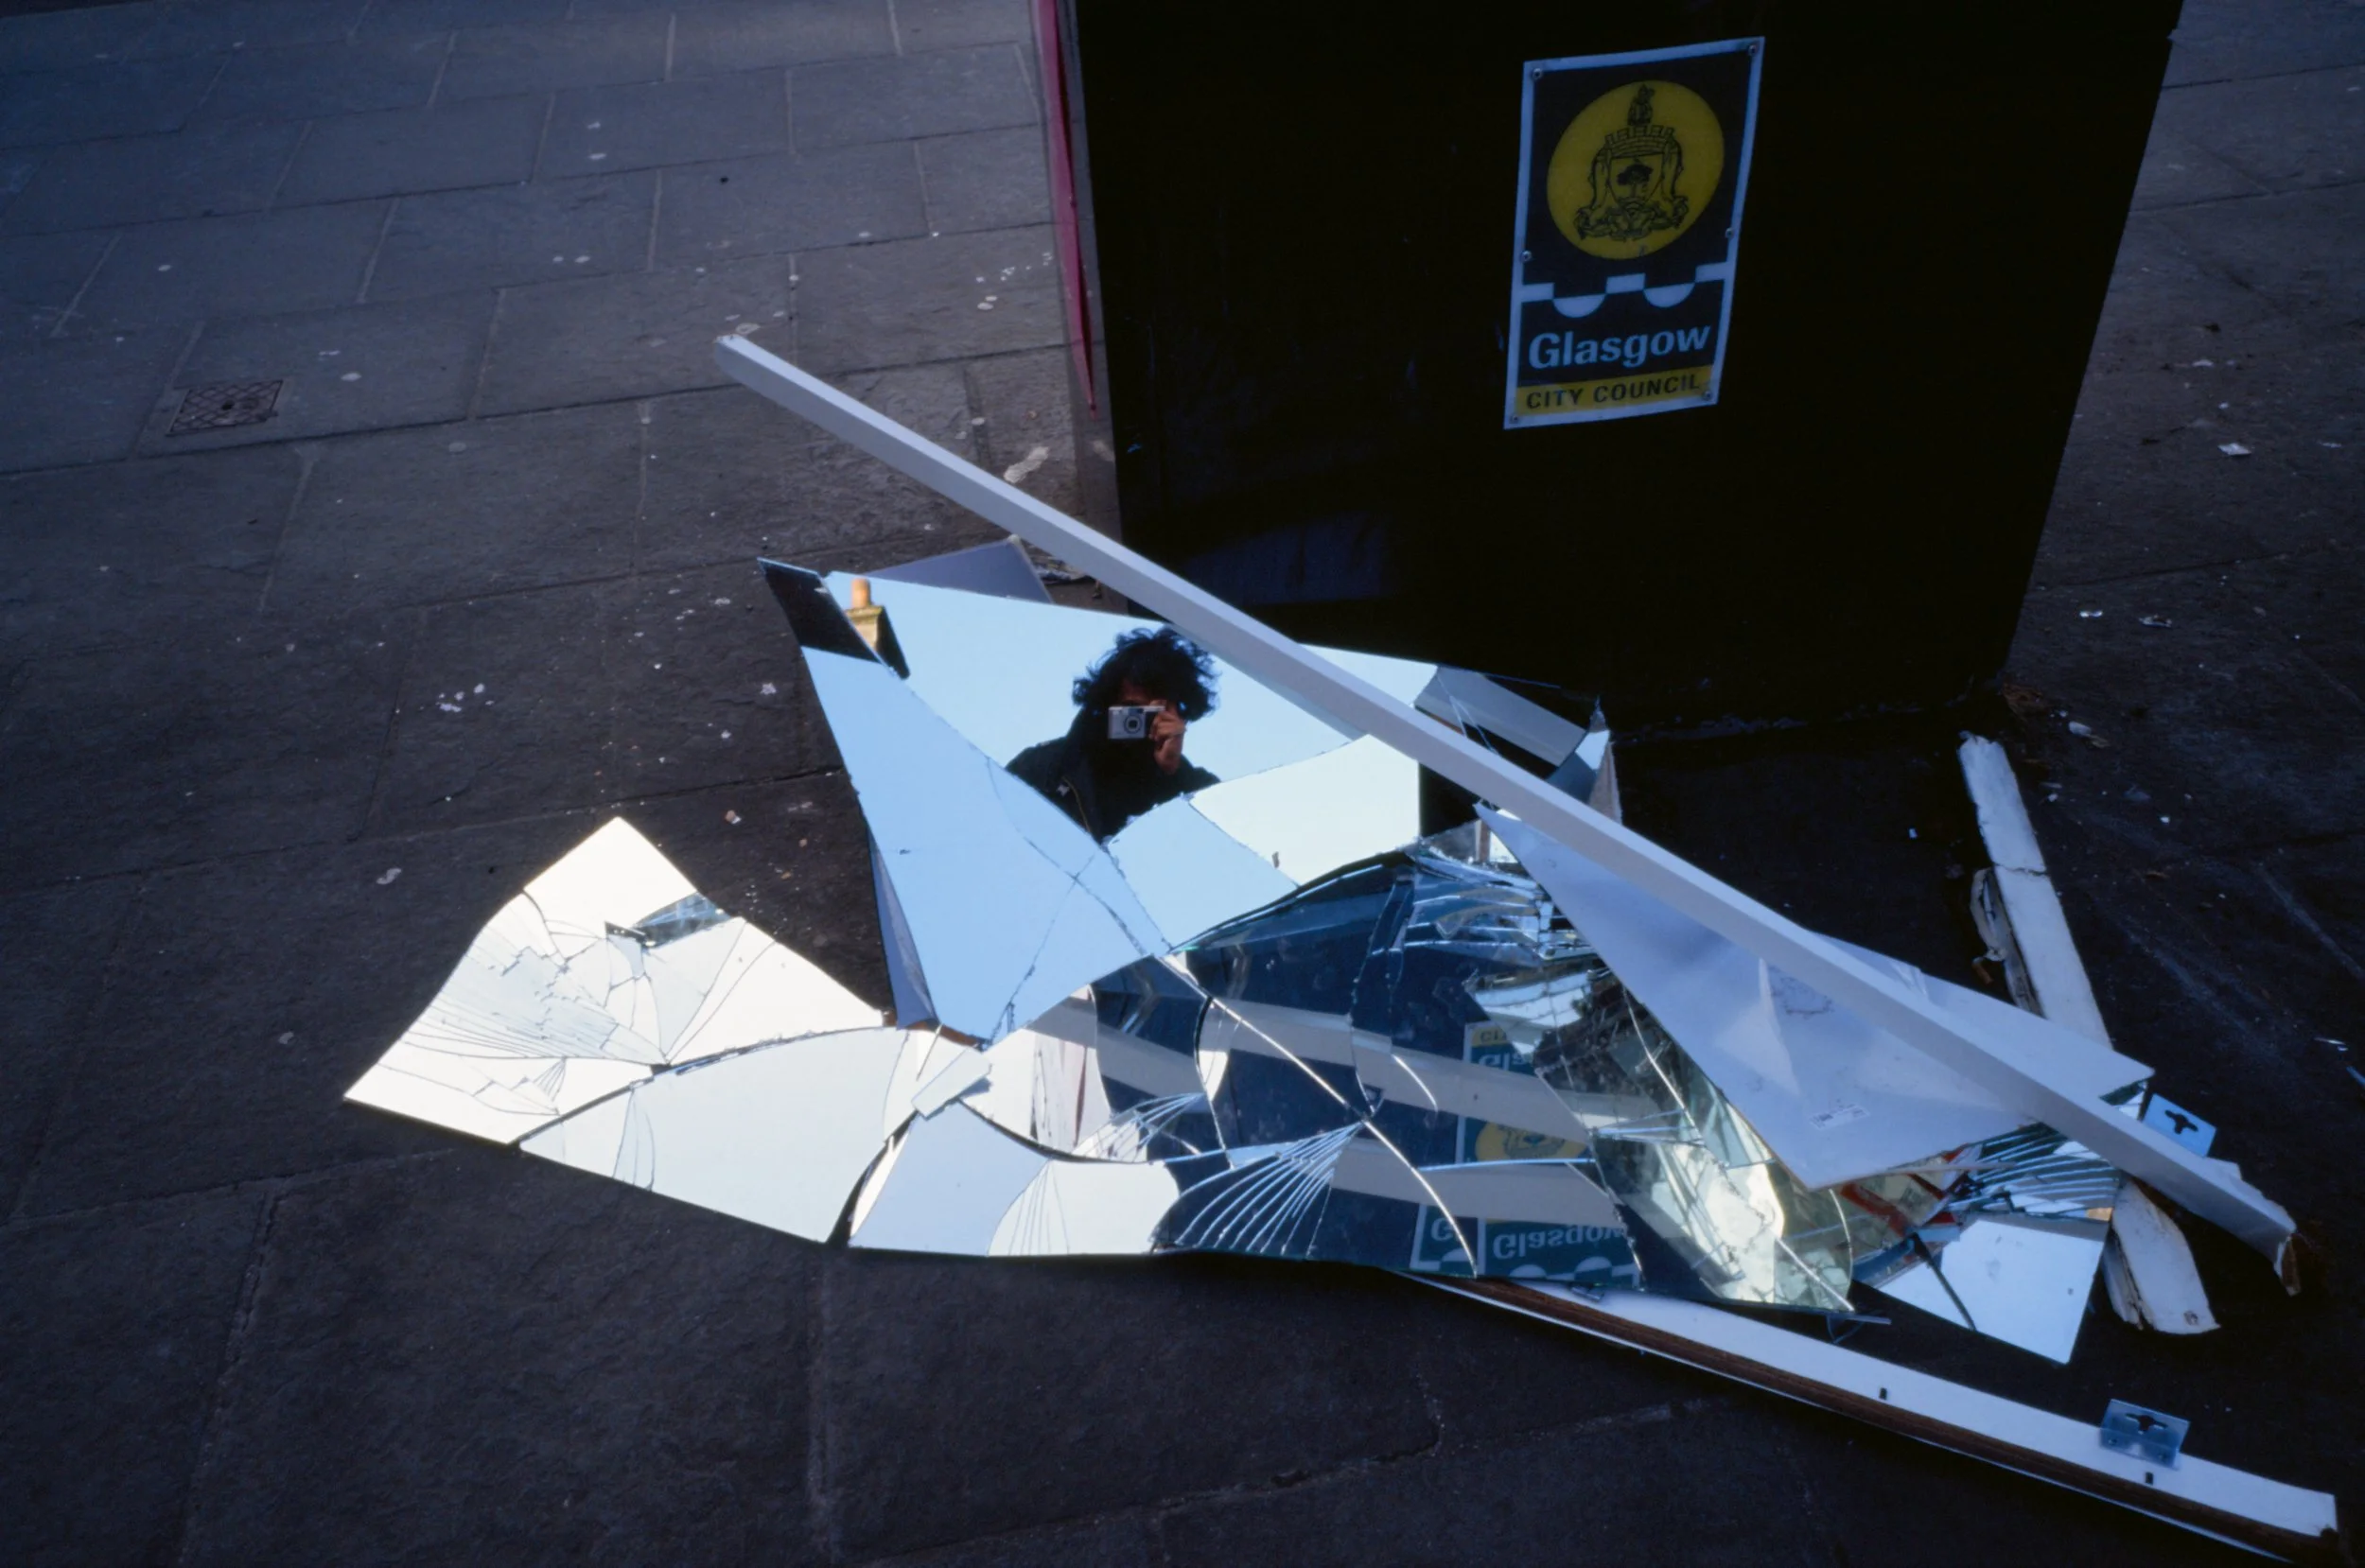
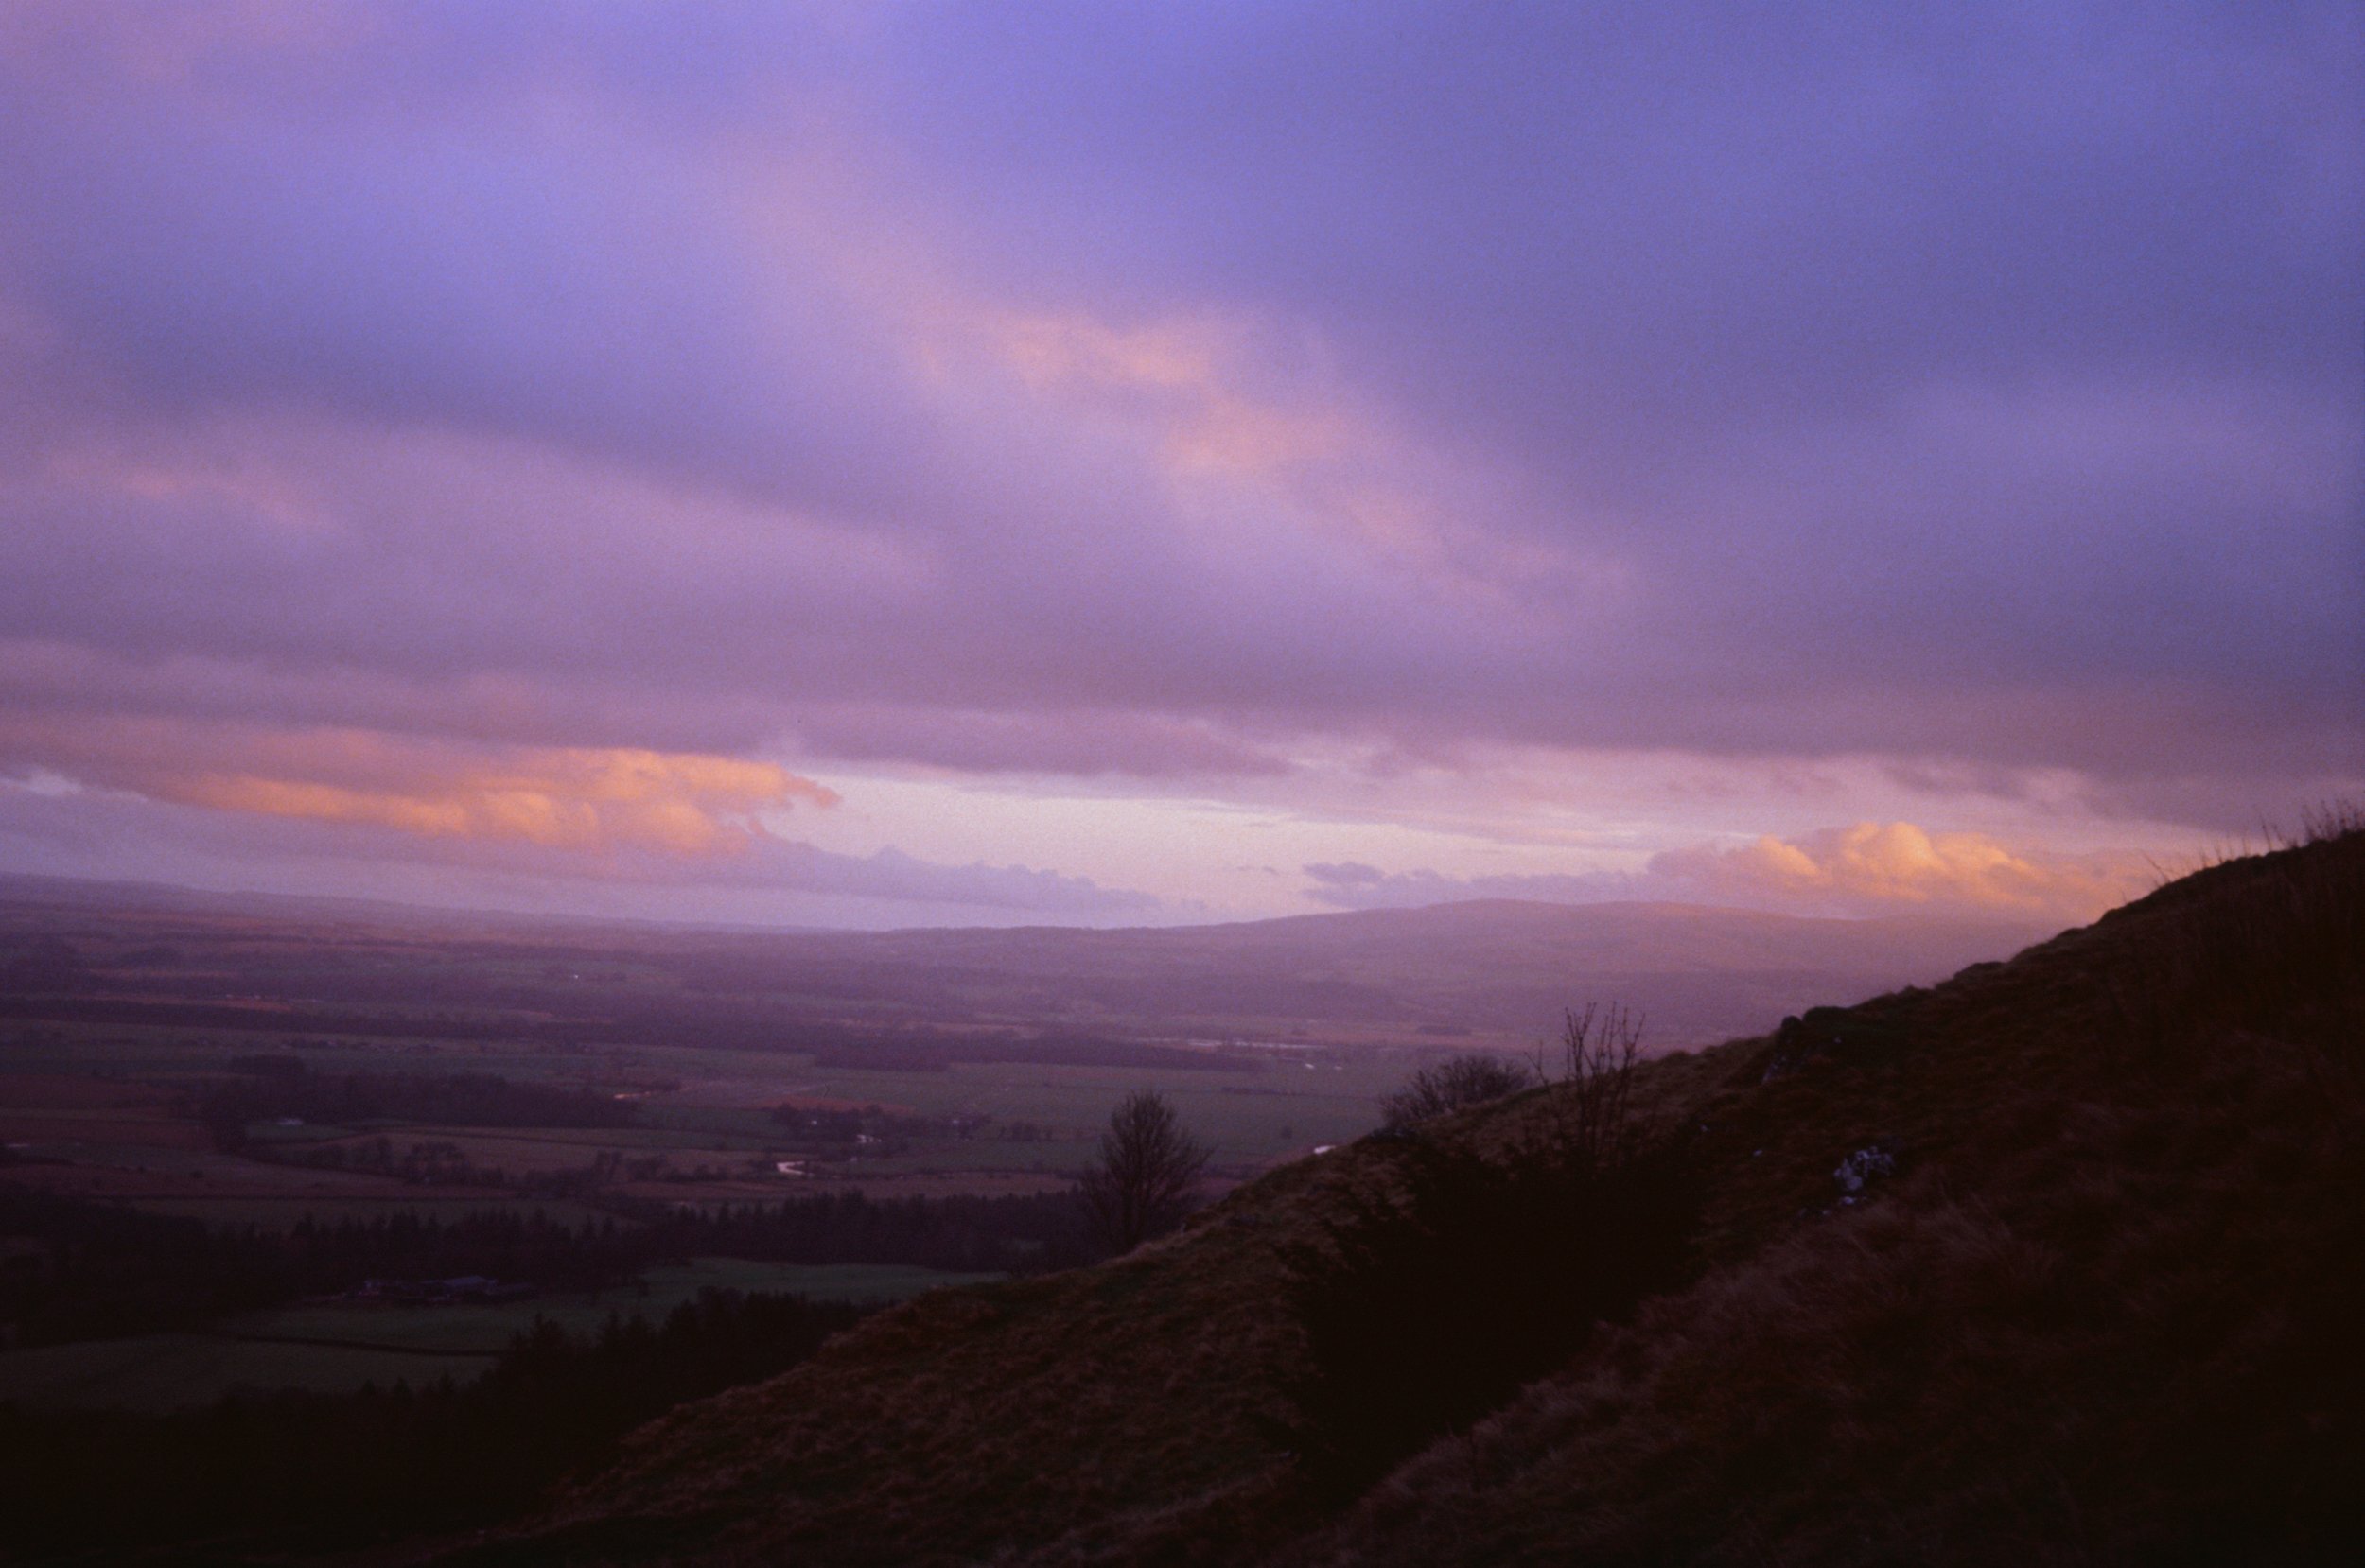
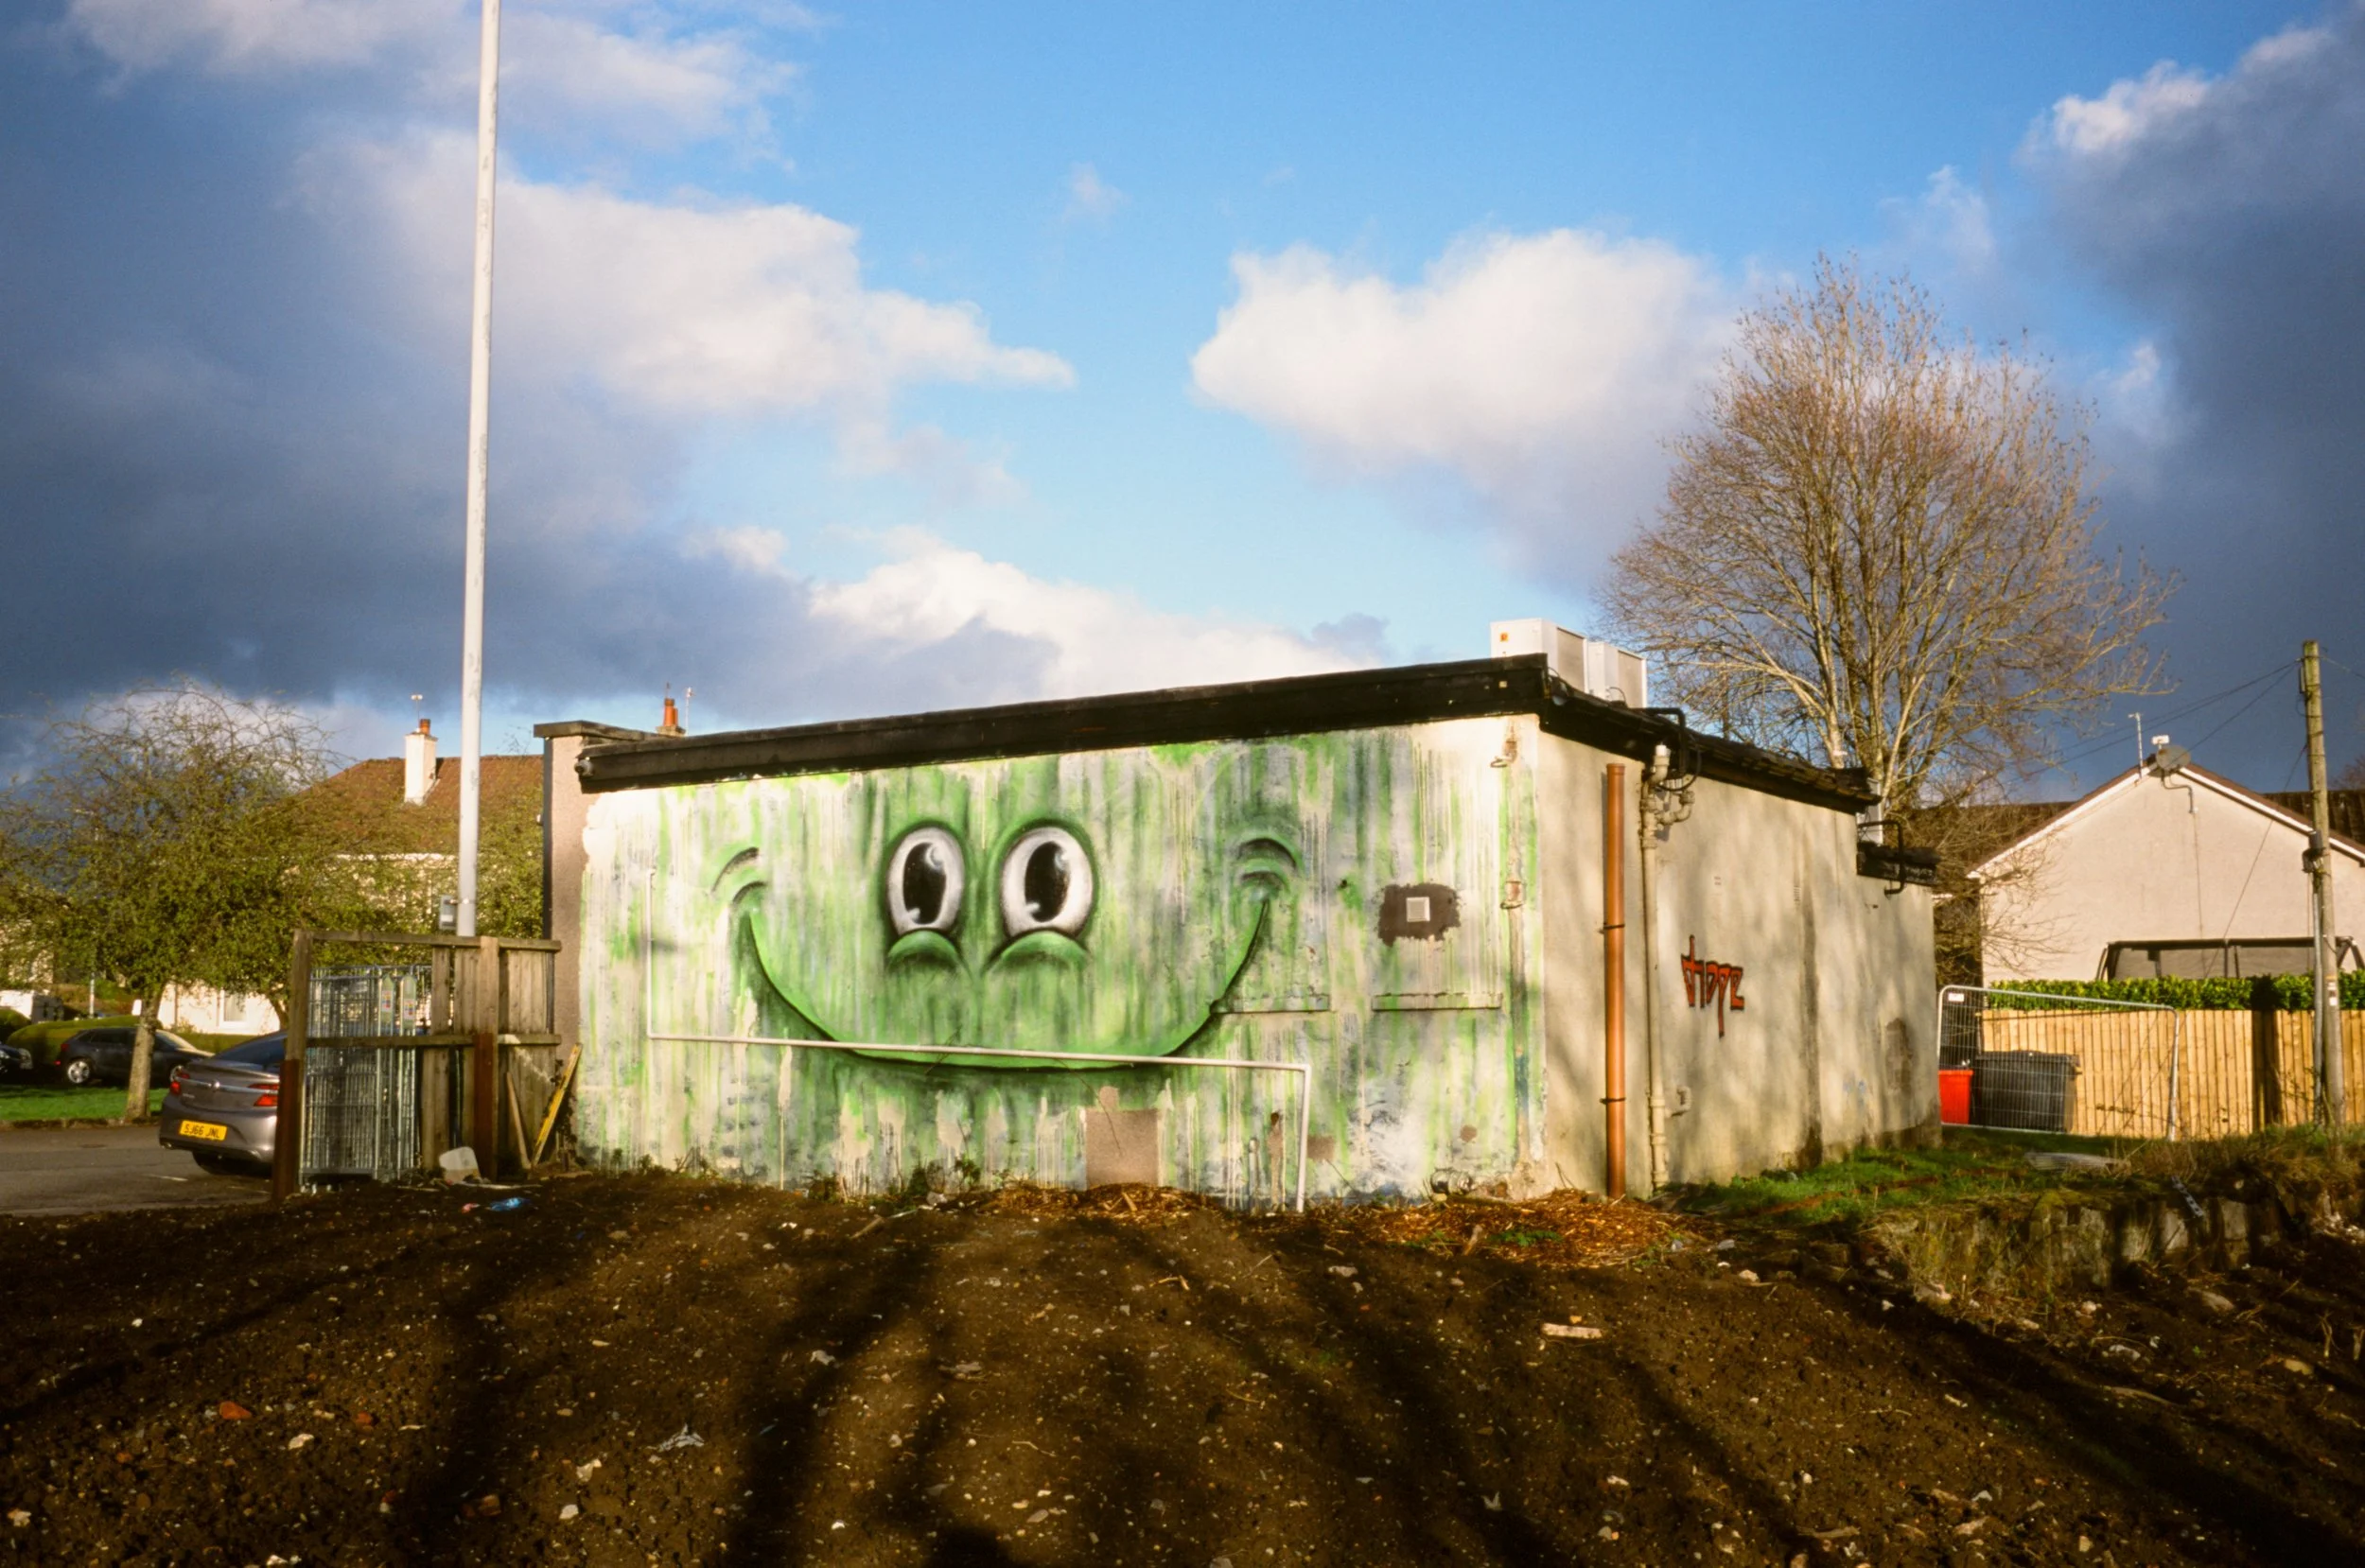
Kodak E100
Ben | Fuji Silvi
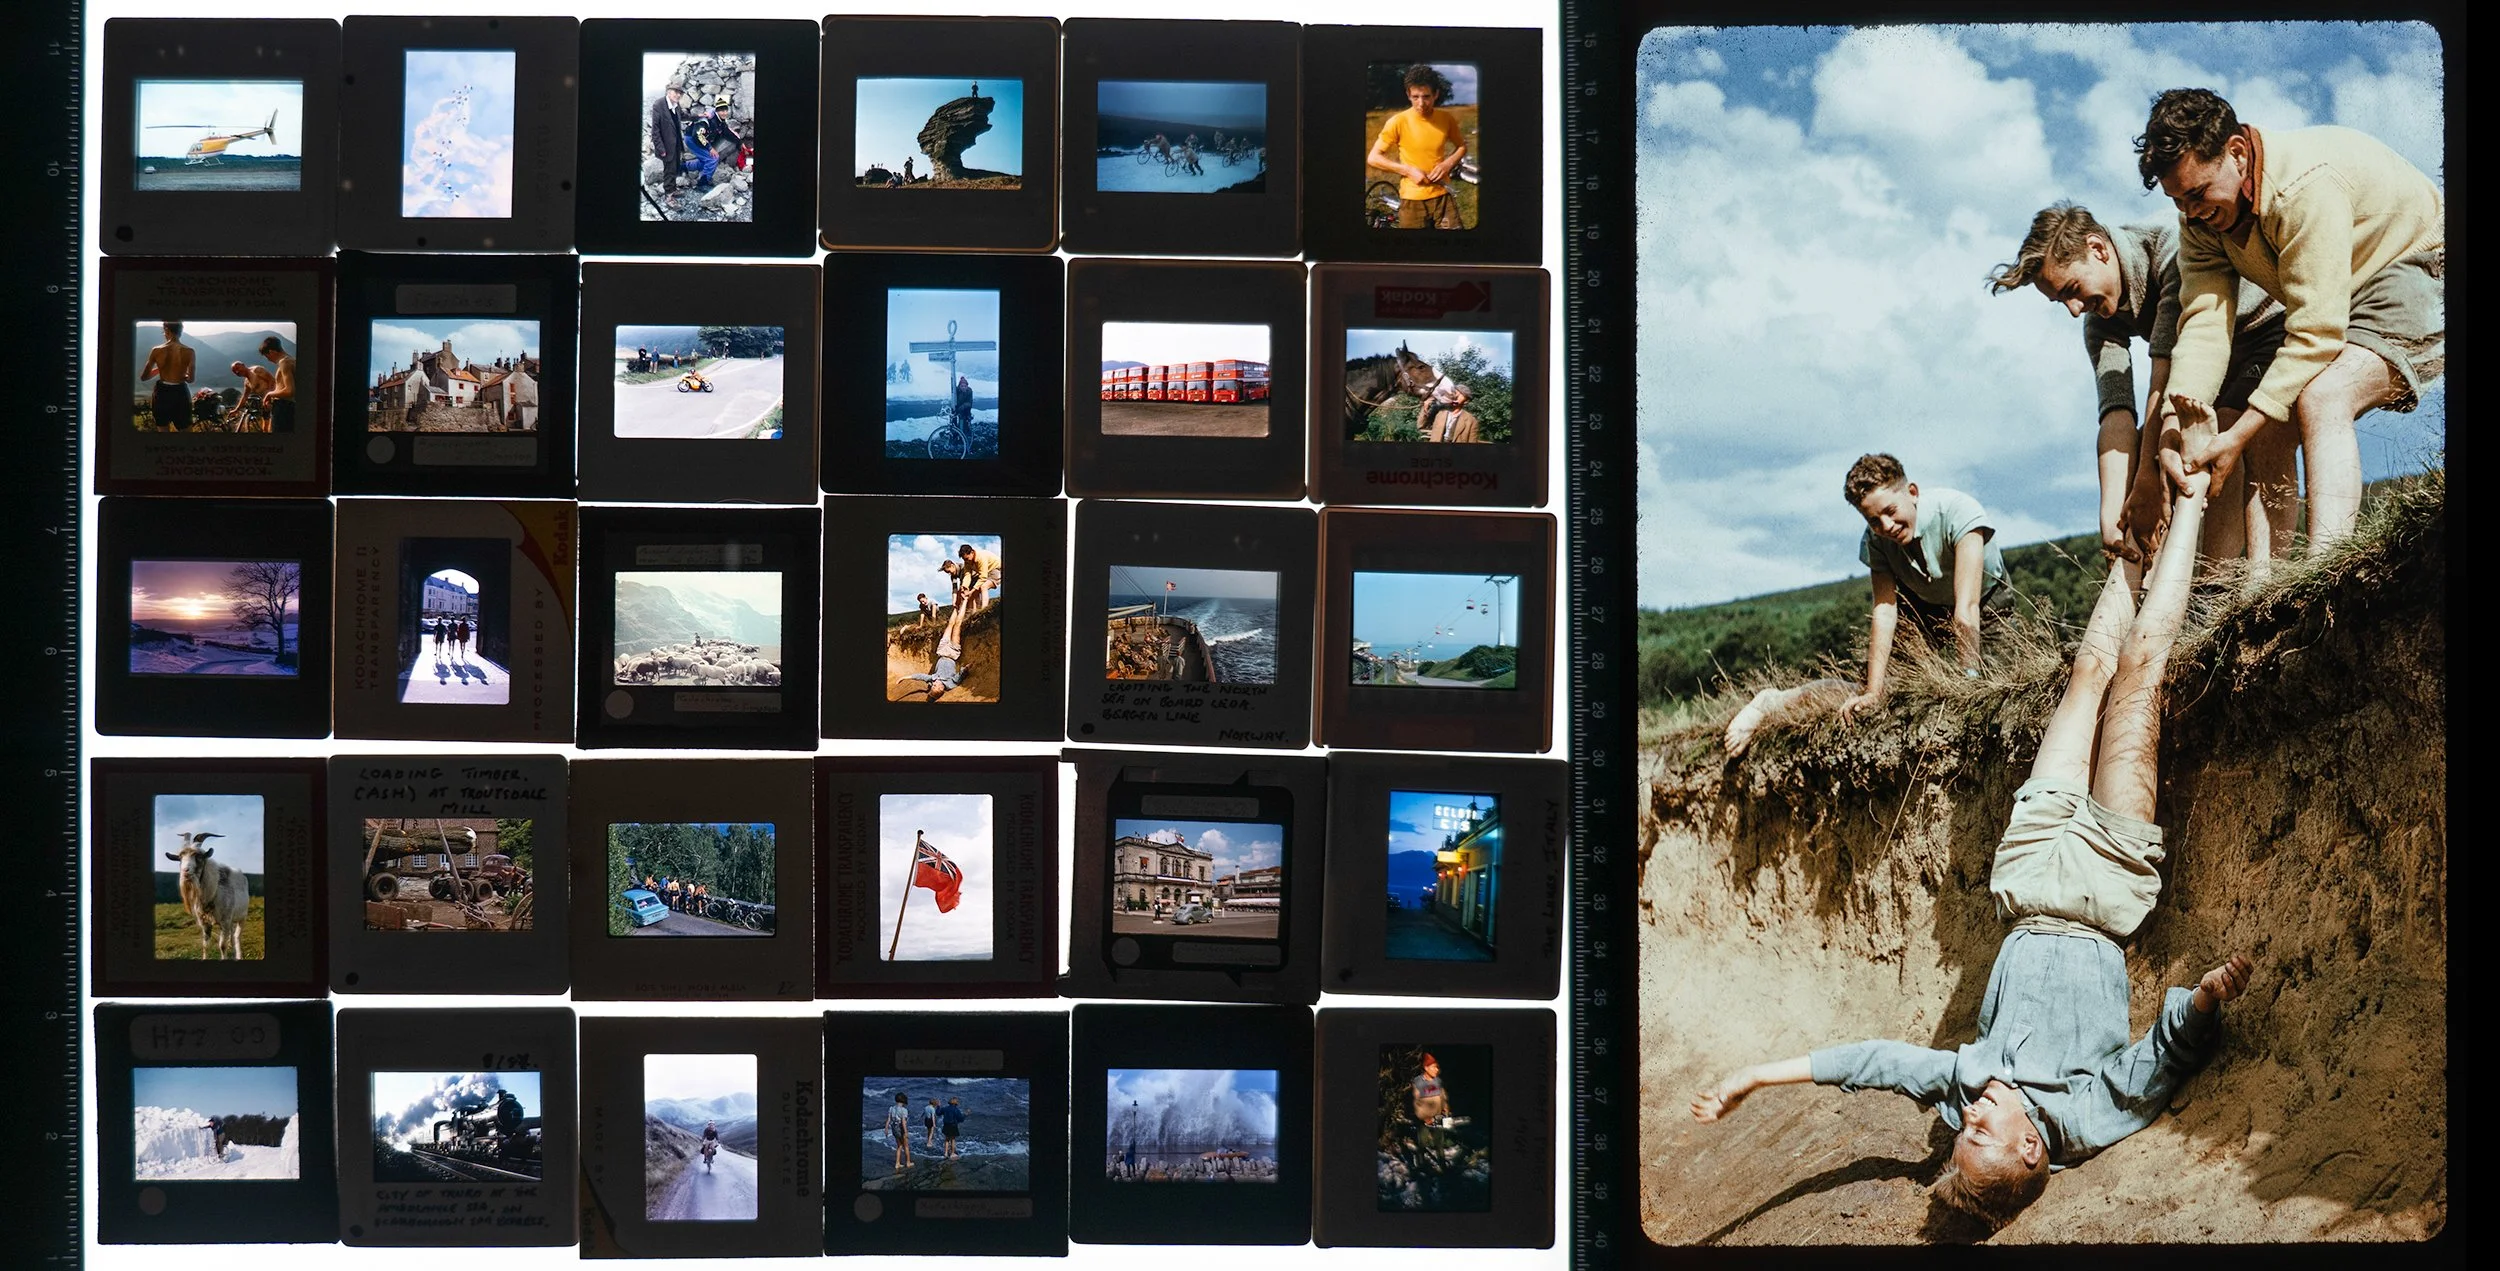
Reversal film, often referred to as ‘slide’ or ‘transparency’ film produces a positive image on a transparent base. This is the most obvious difference when physically comparing to print film. Back in the day, reversal film would be cut into individual frames and housed in glass, metal, plastic, or cardboard framed slides ready to be loaded into a carousel projector for viewing!
Please note; with our E6 service your positives will be cut and sleeved in 6’s, just like your C41, B&W, and ECN-2 orders.

Sleeved Positives
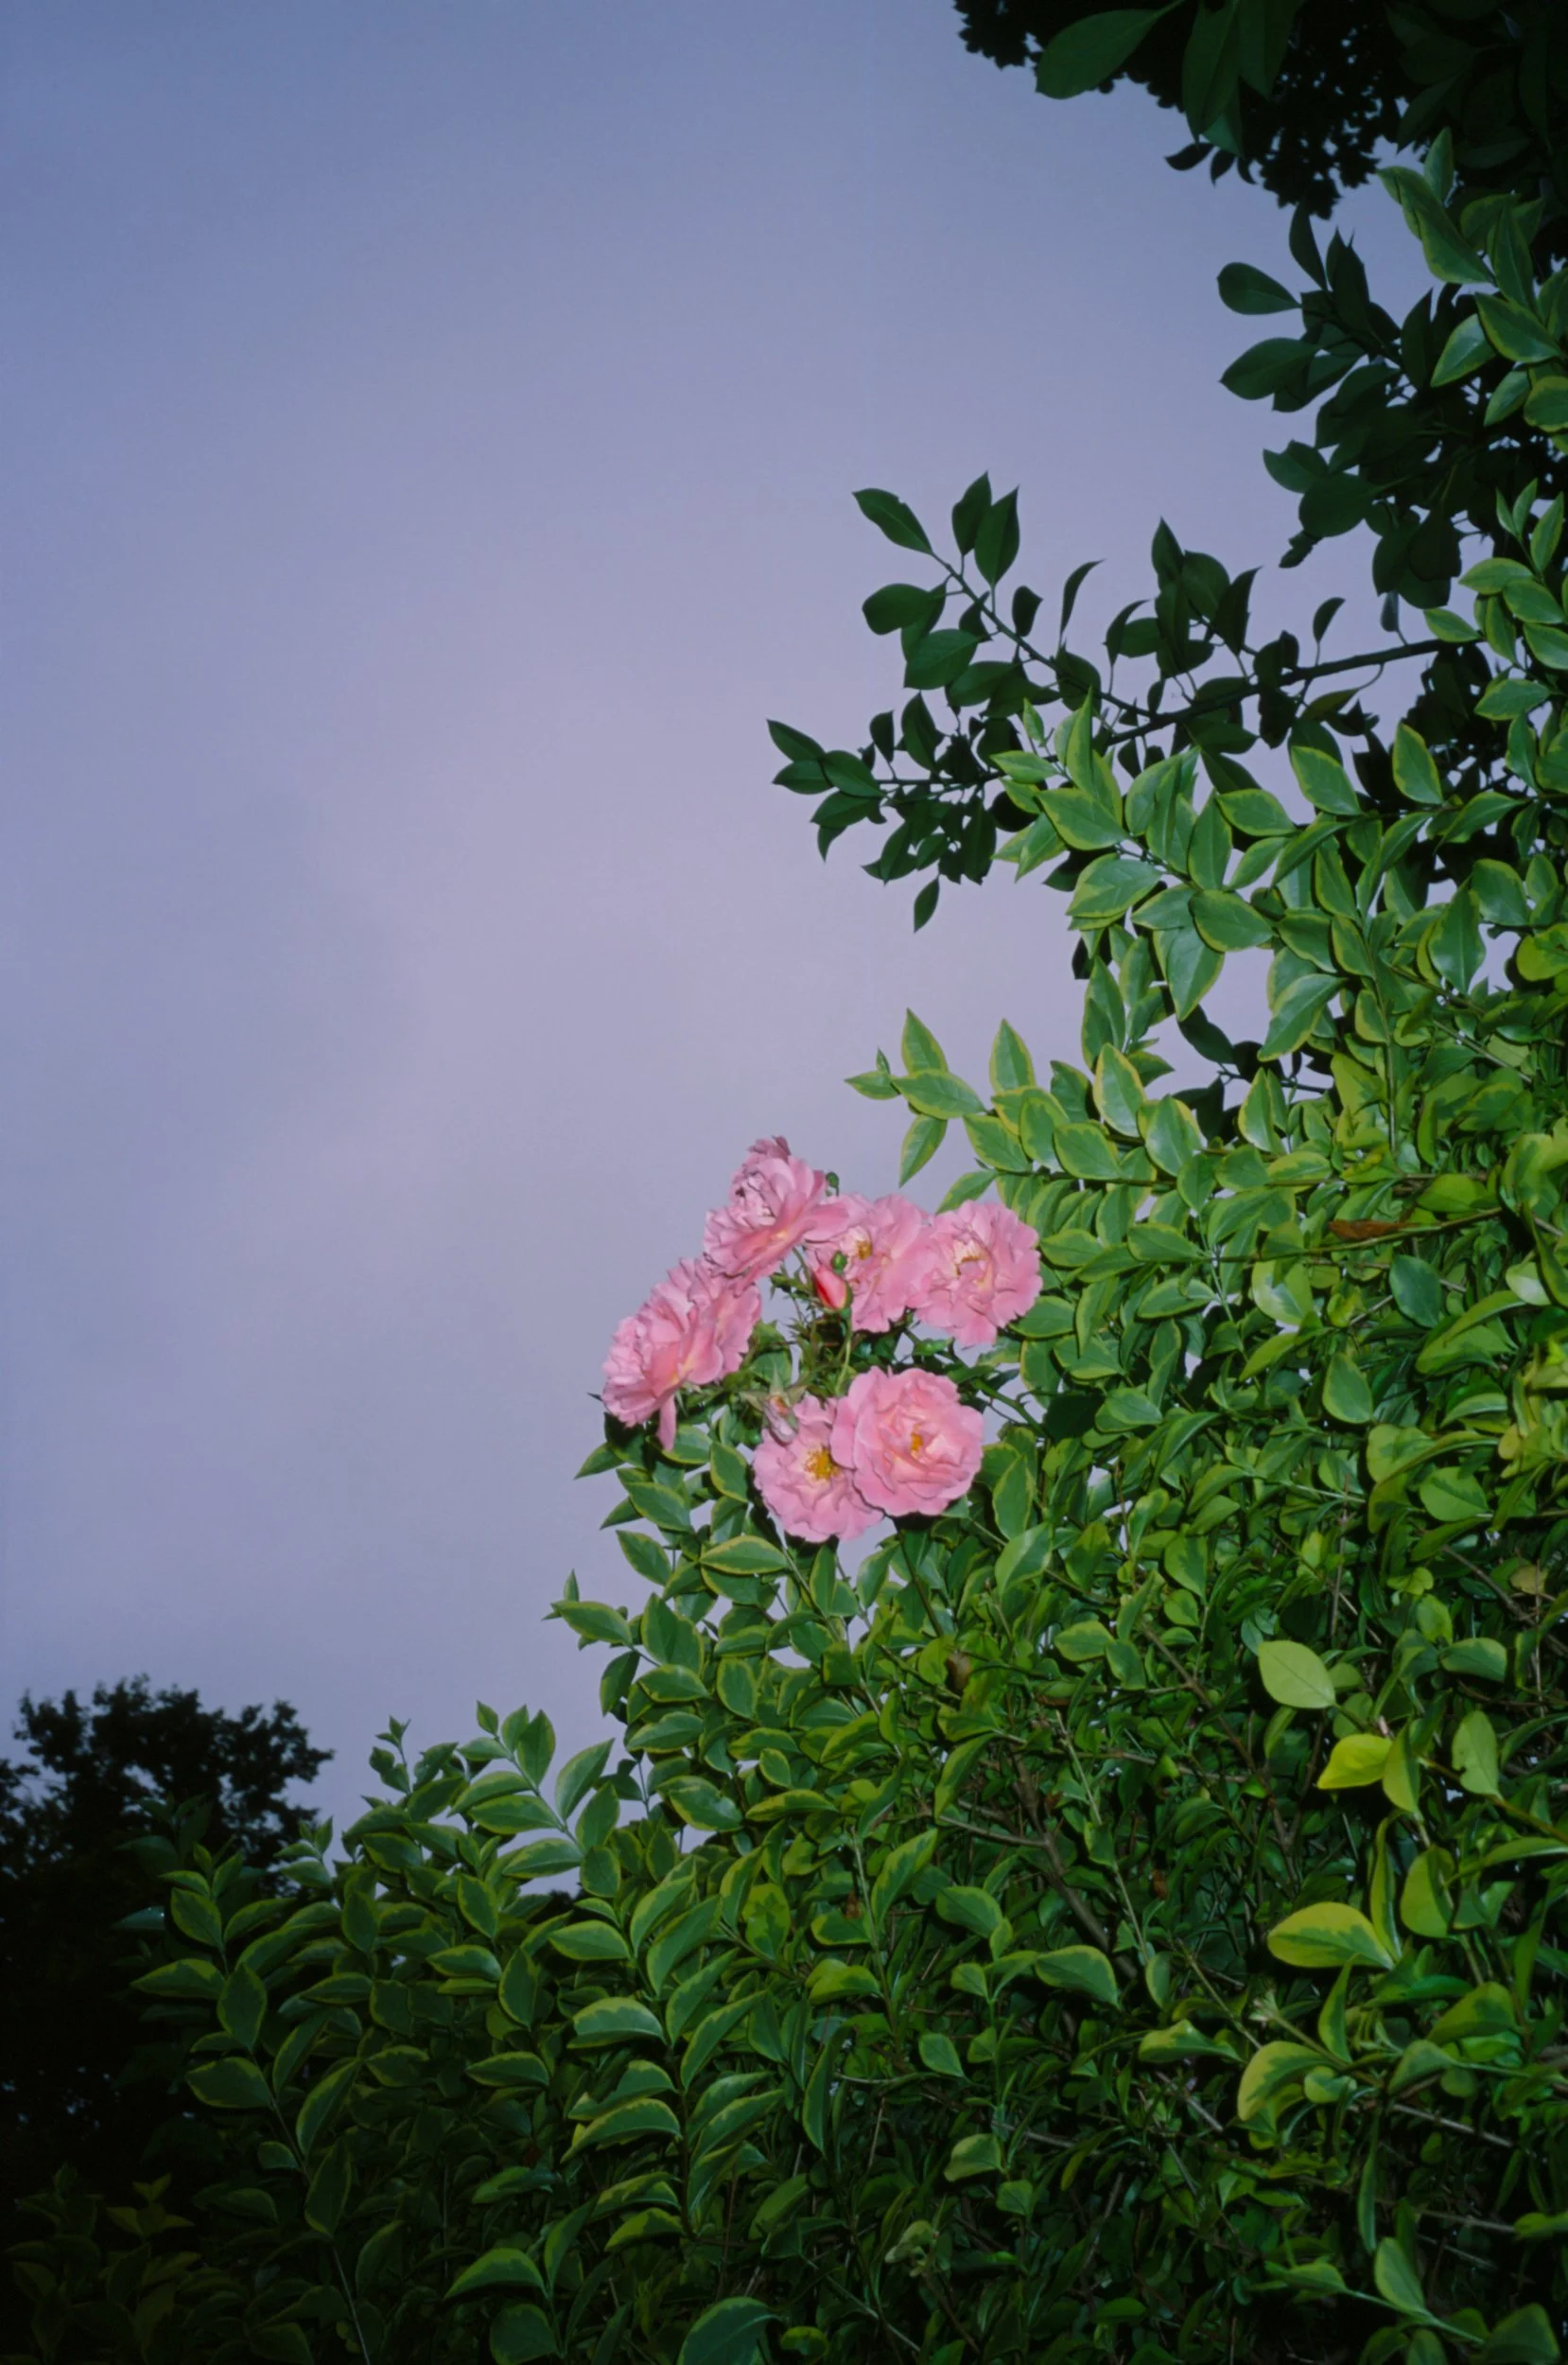
For the photo characteristics, you can expect a finer grain structure, richer contrast, and the saturation dialled up to 11. It is however far less forgiving than colour negative film, and has a much more limited dynamic range, requiring precise metering. So watch out!
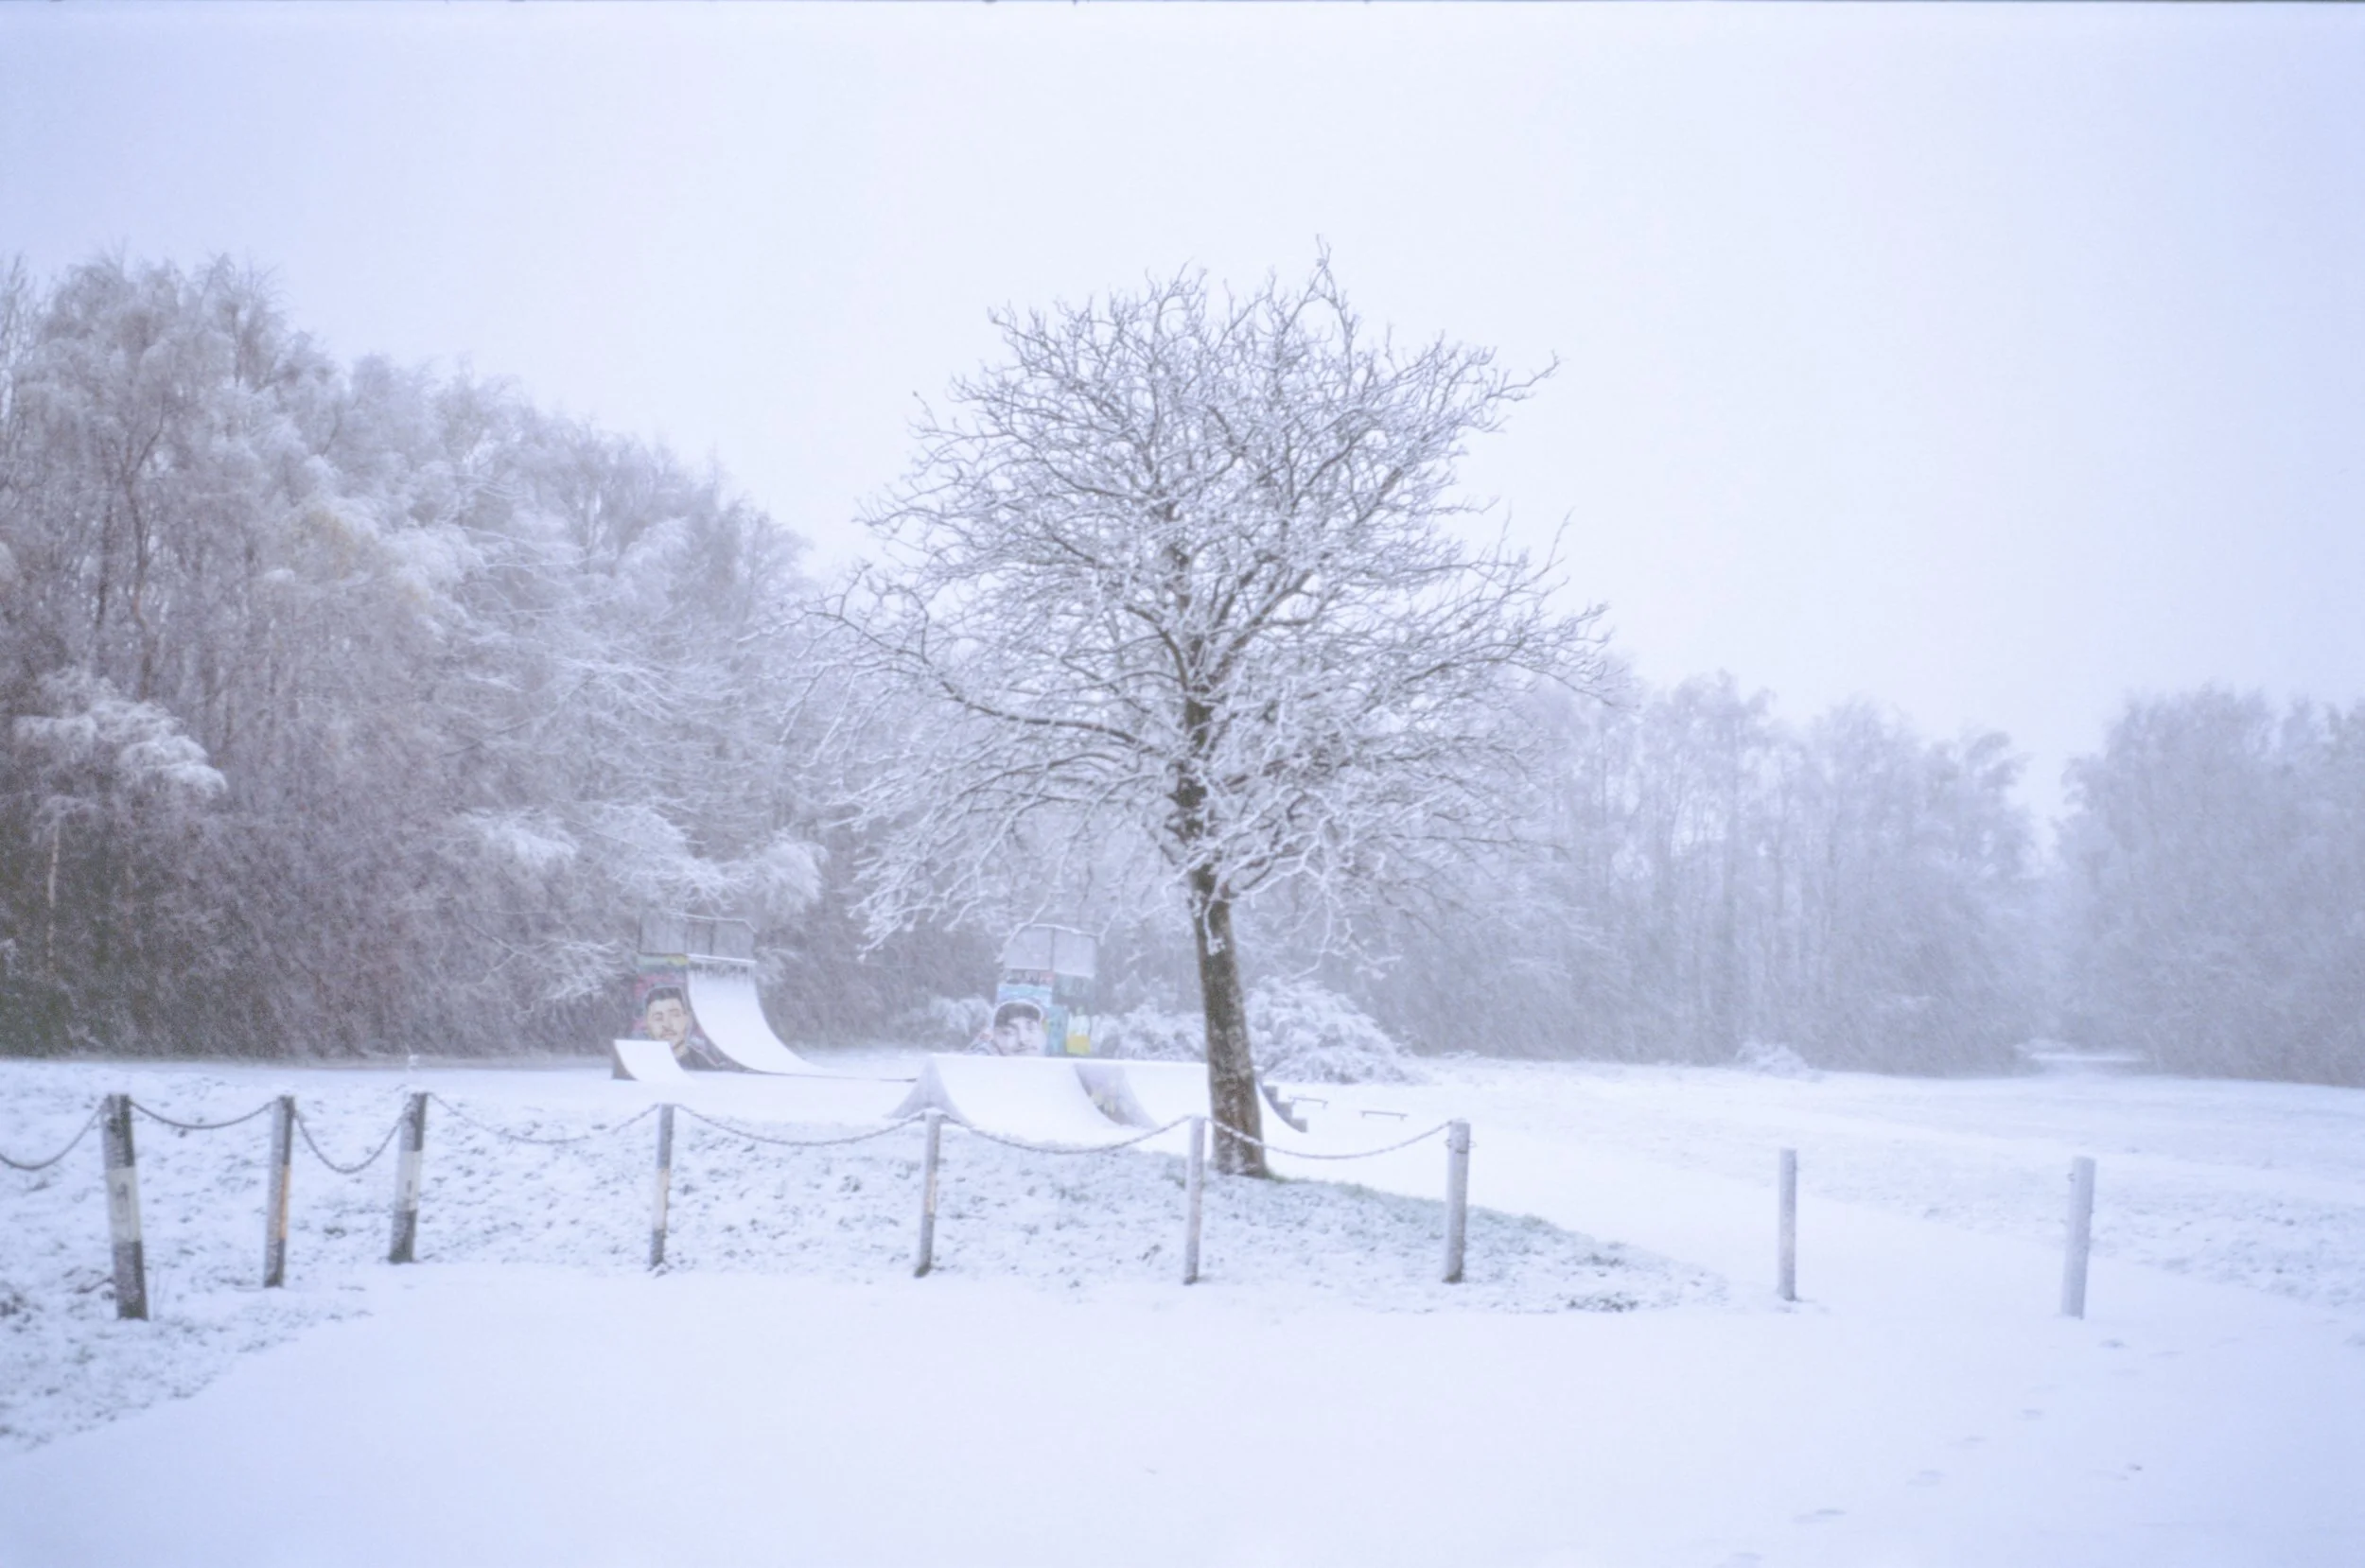
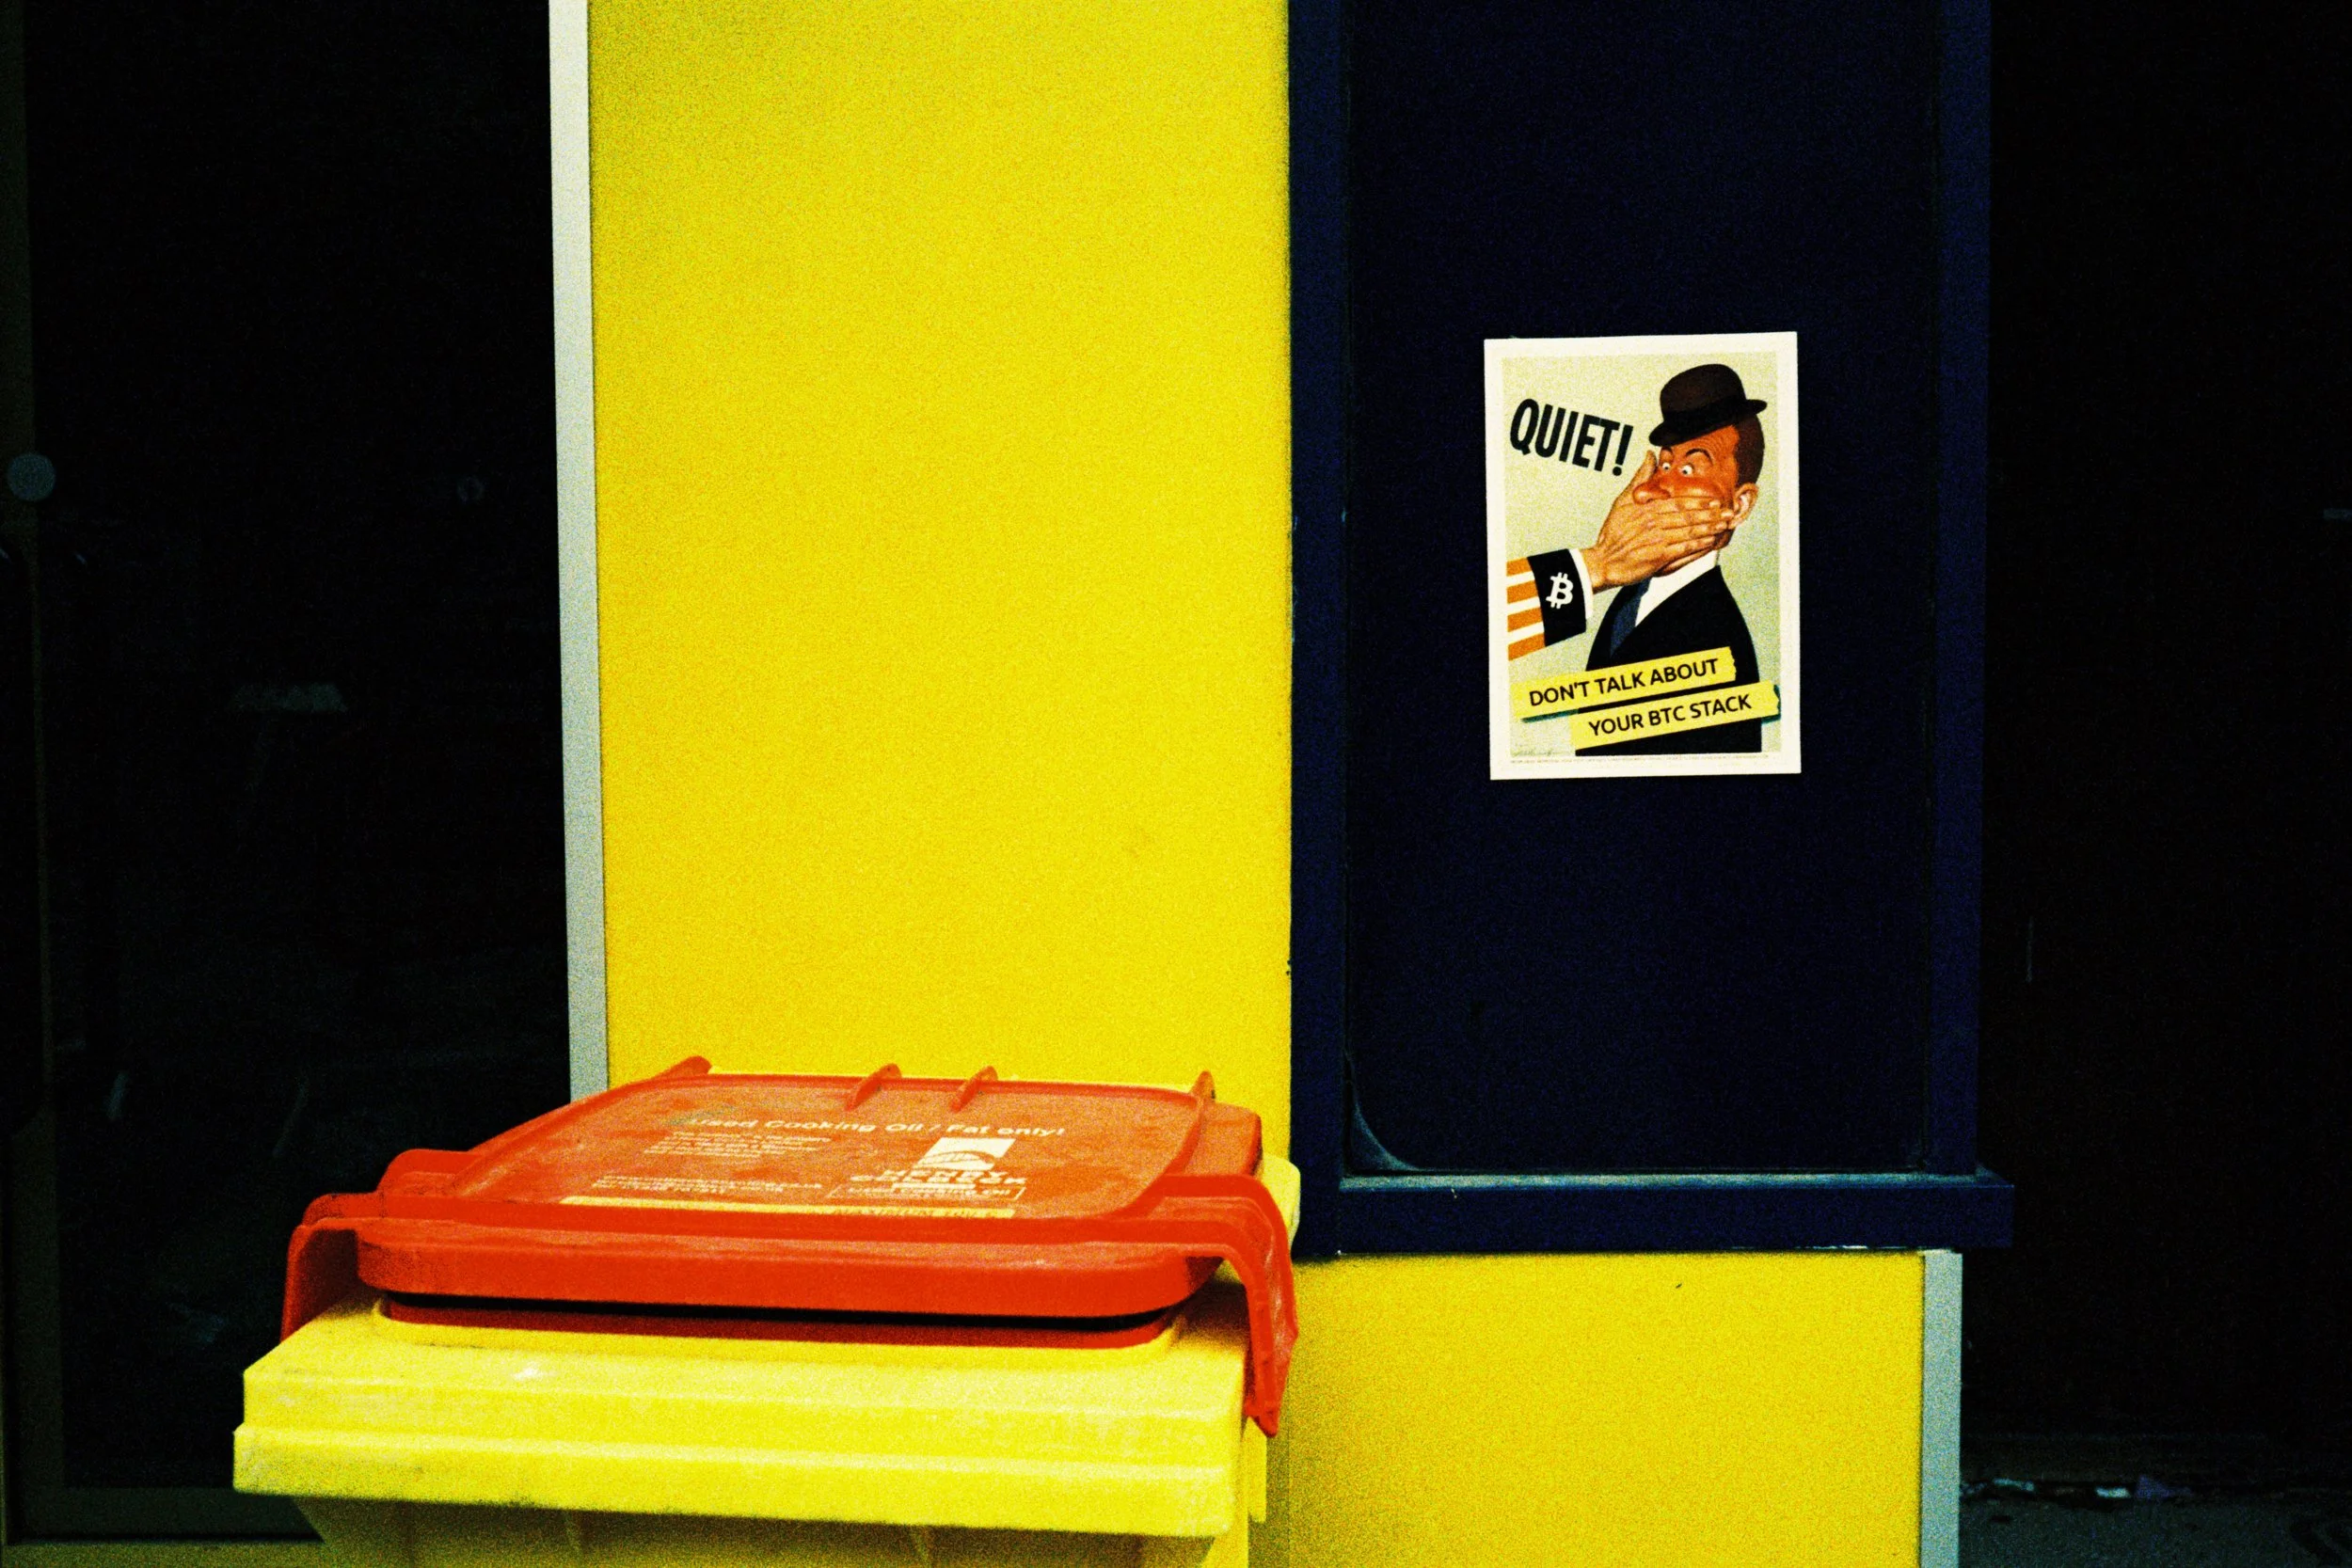
Fuji Provia 100f
Lee | Leica M6 + 35 Summicron
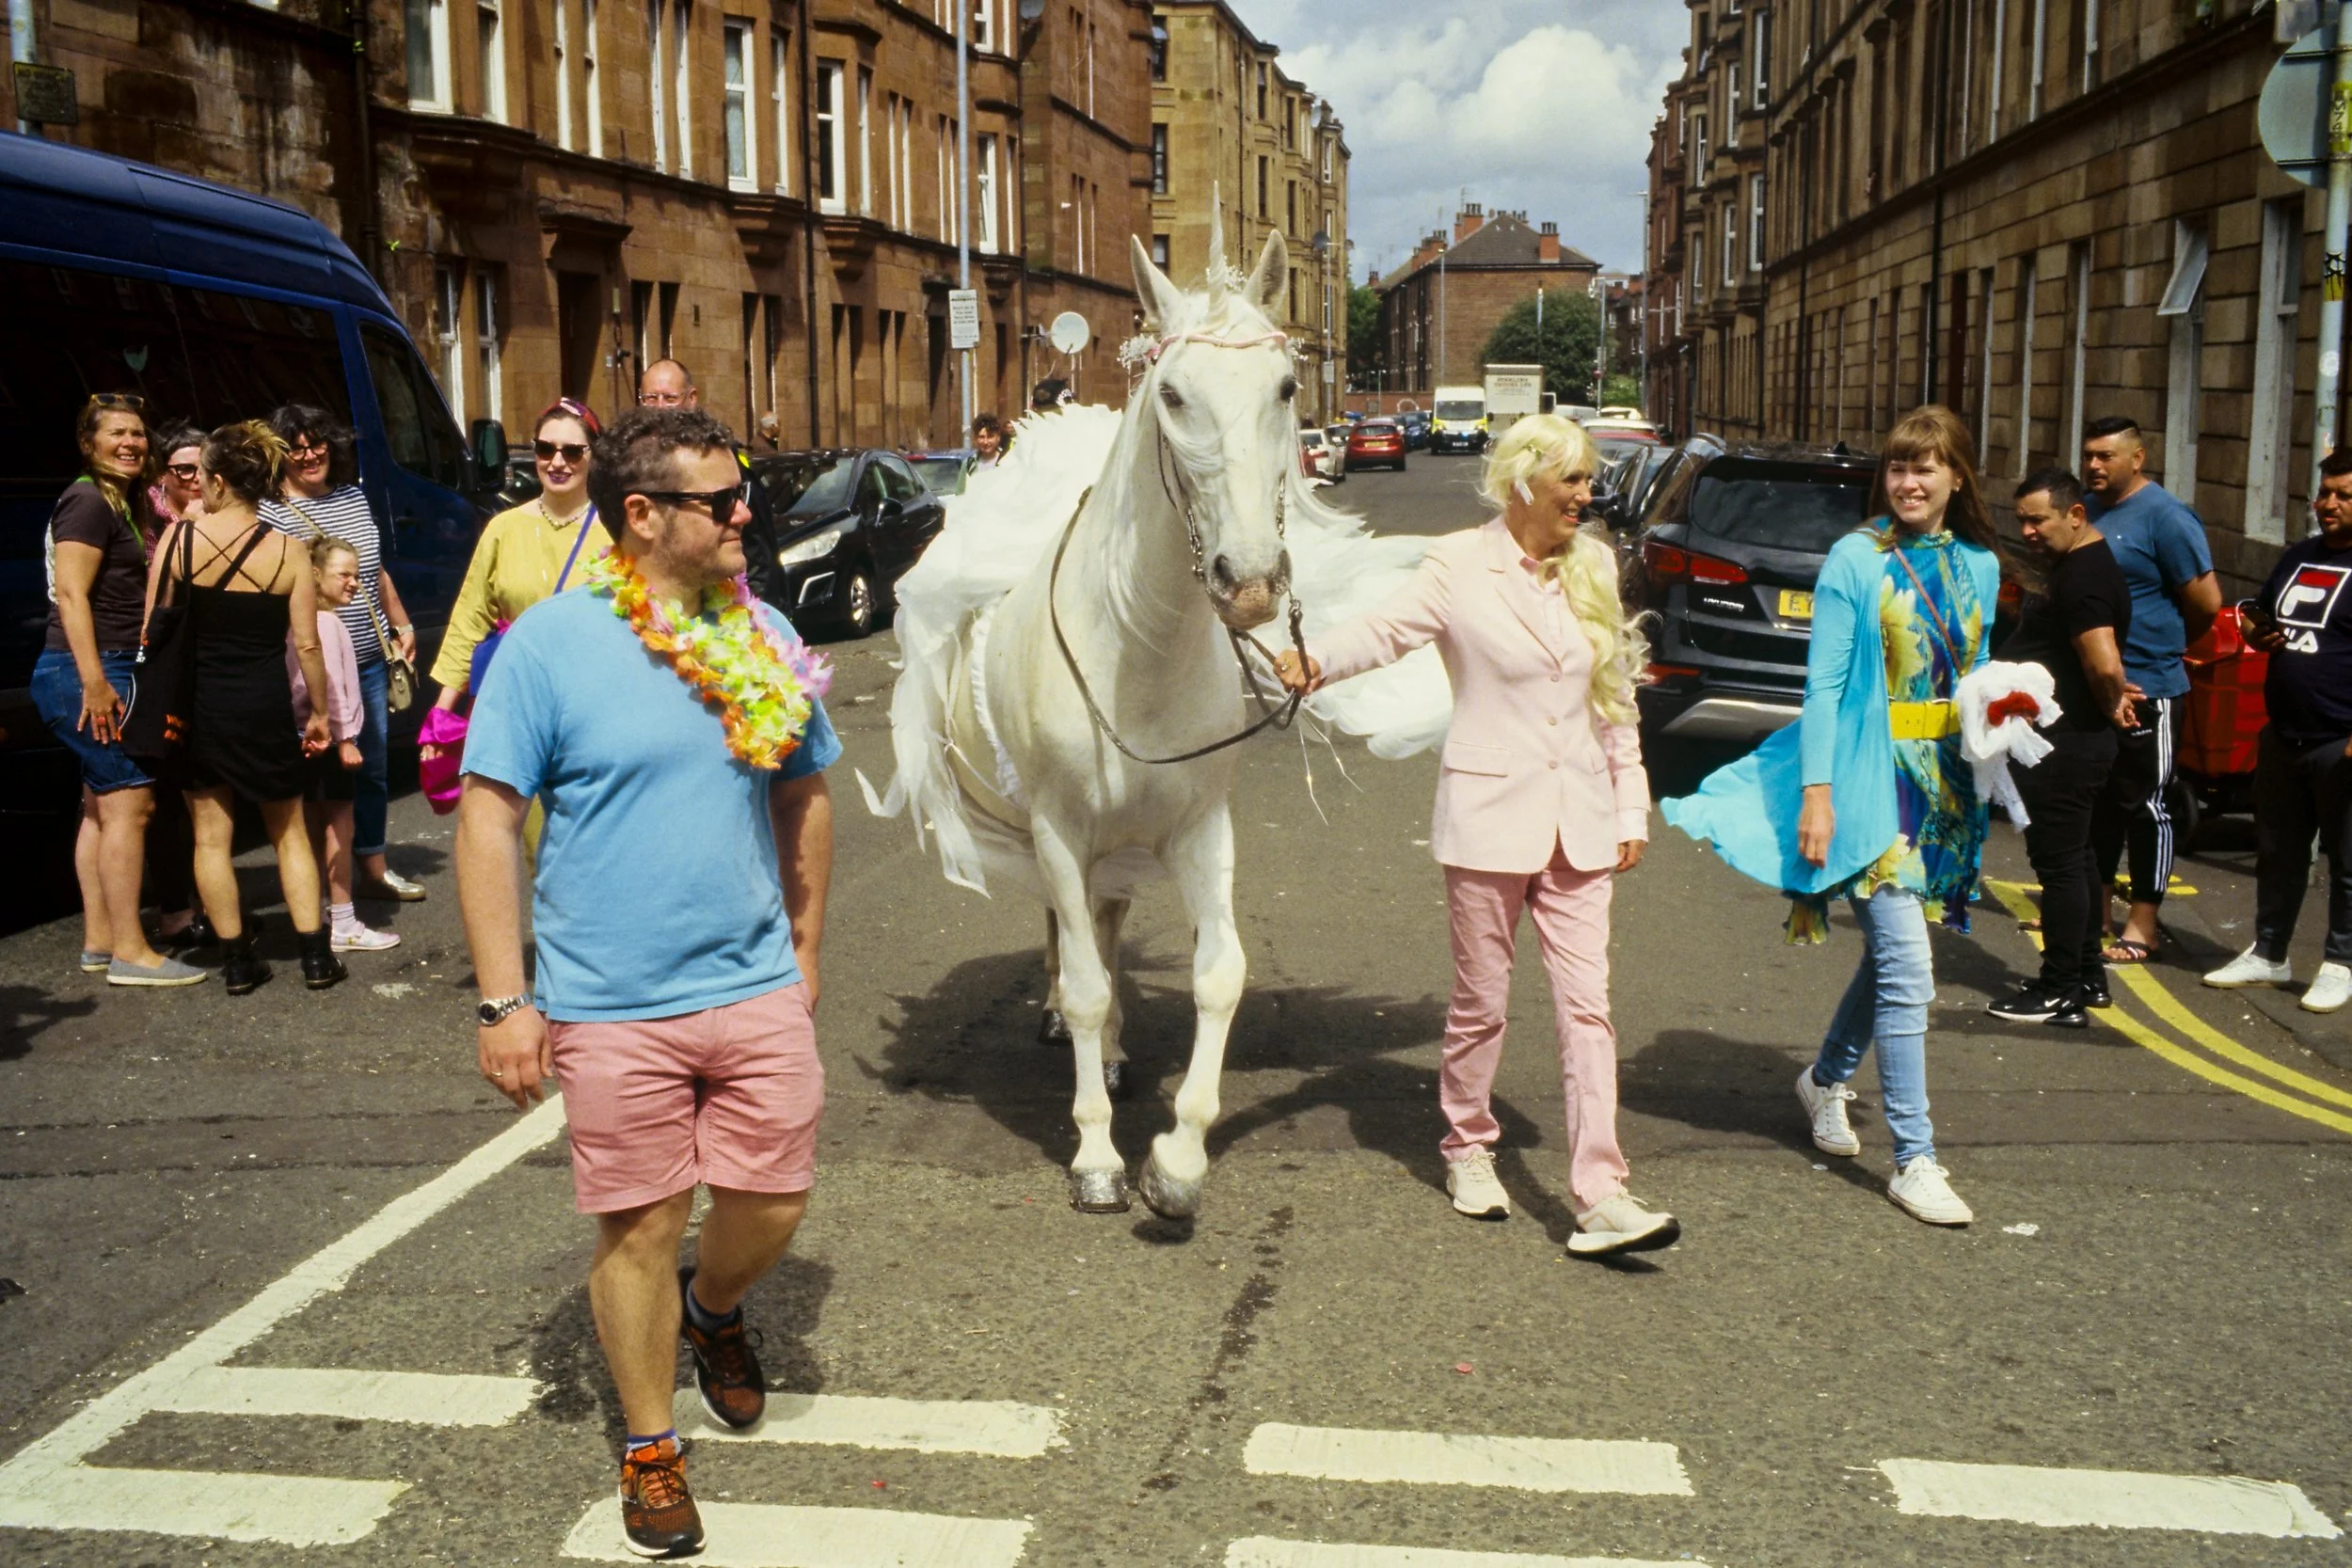
Fuji Provia 100f
Chris | Ricoh GR10
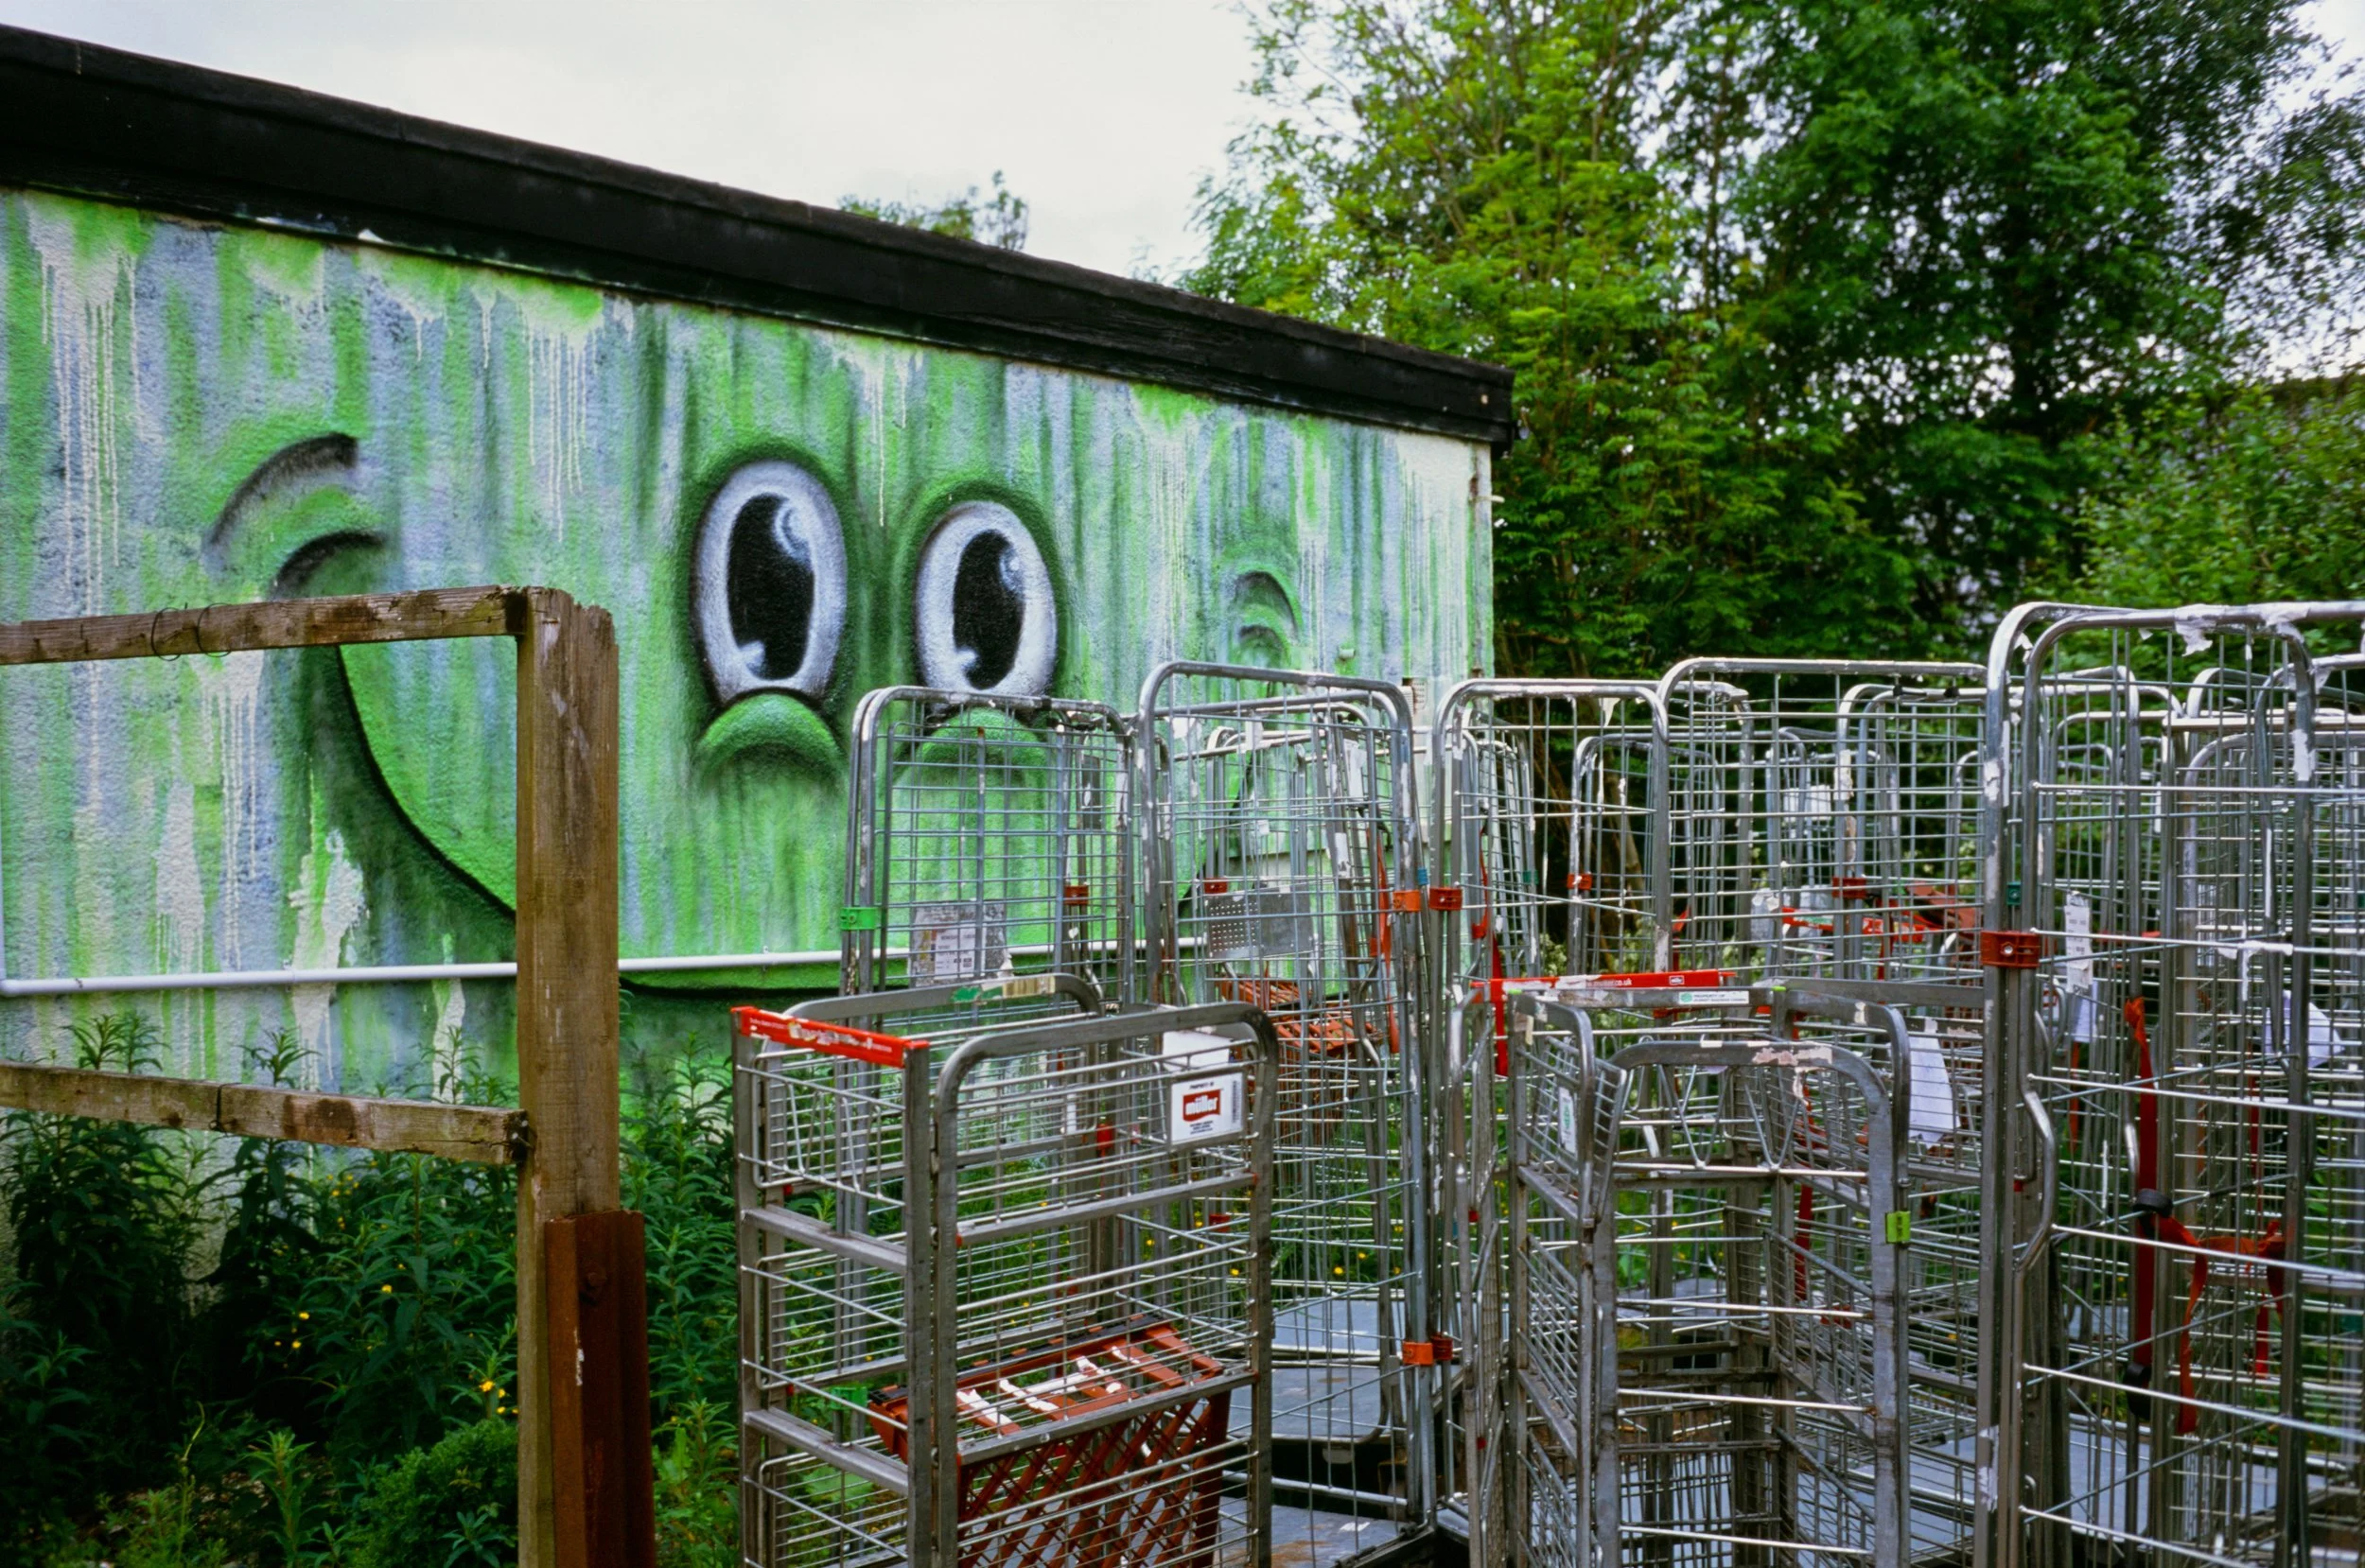
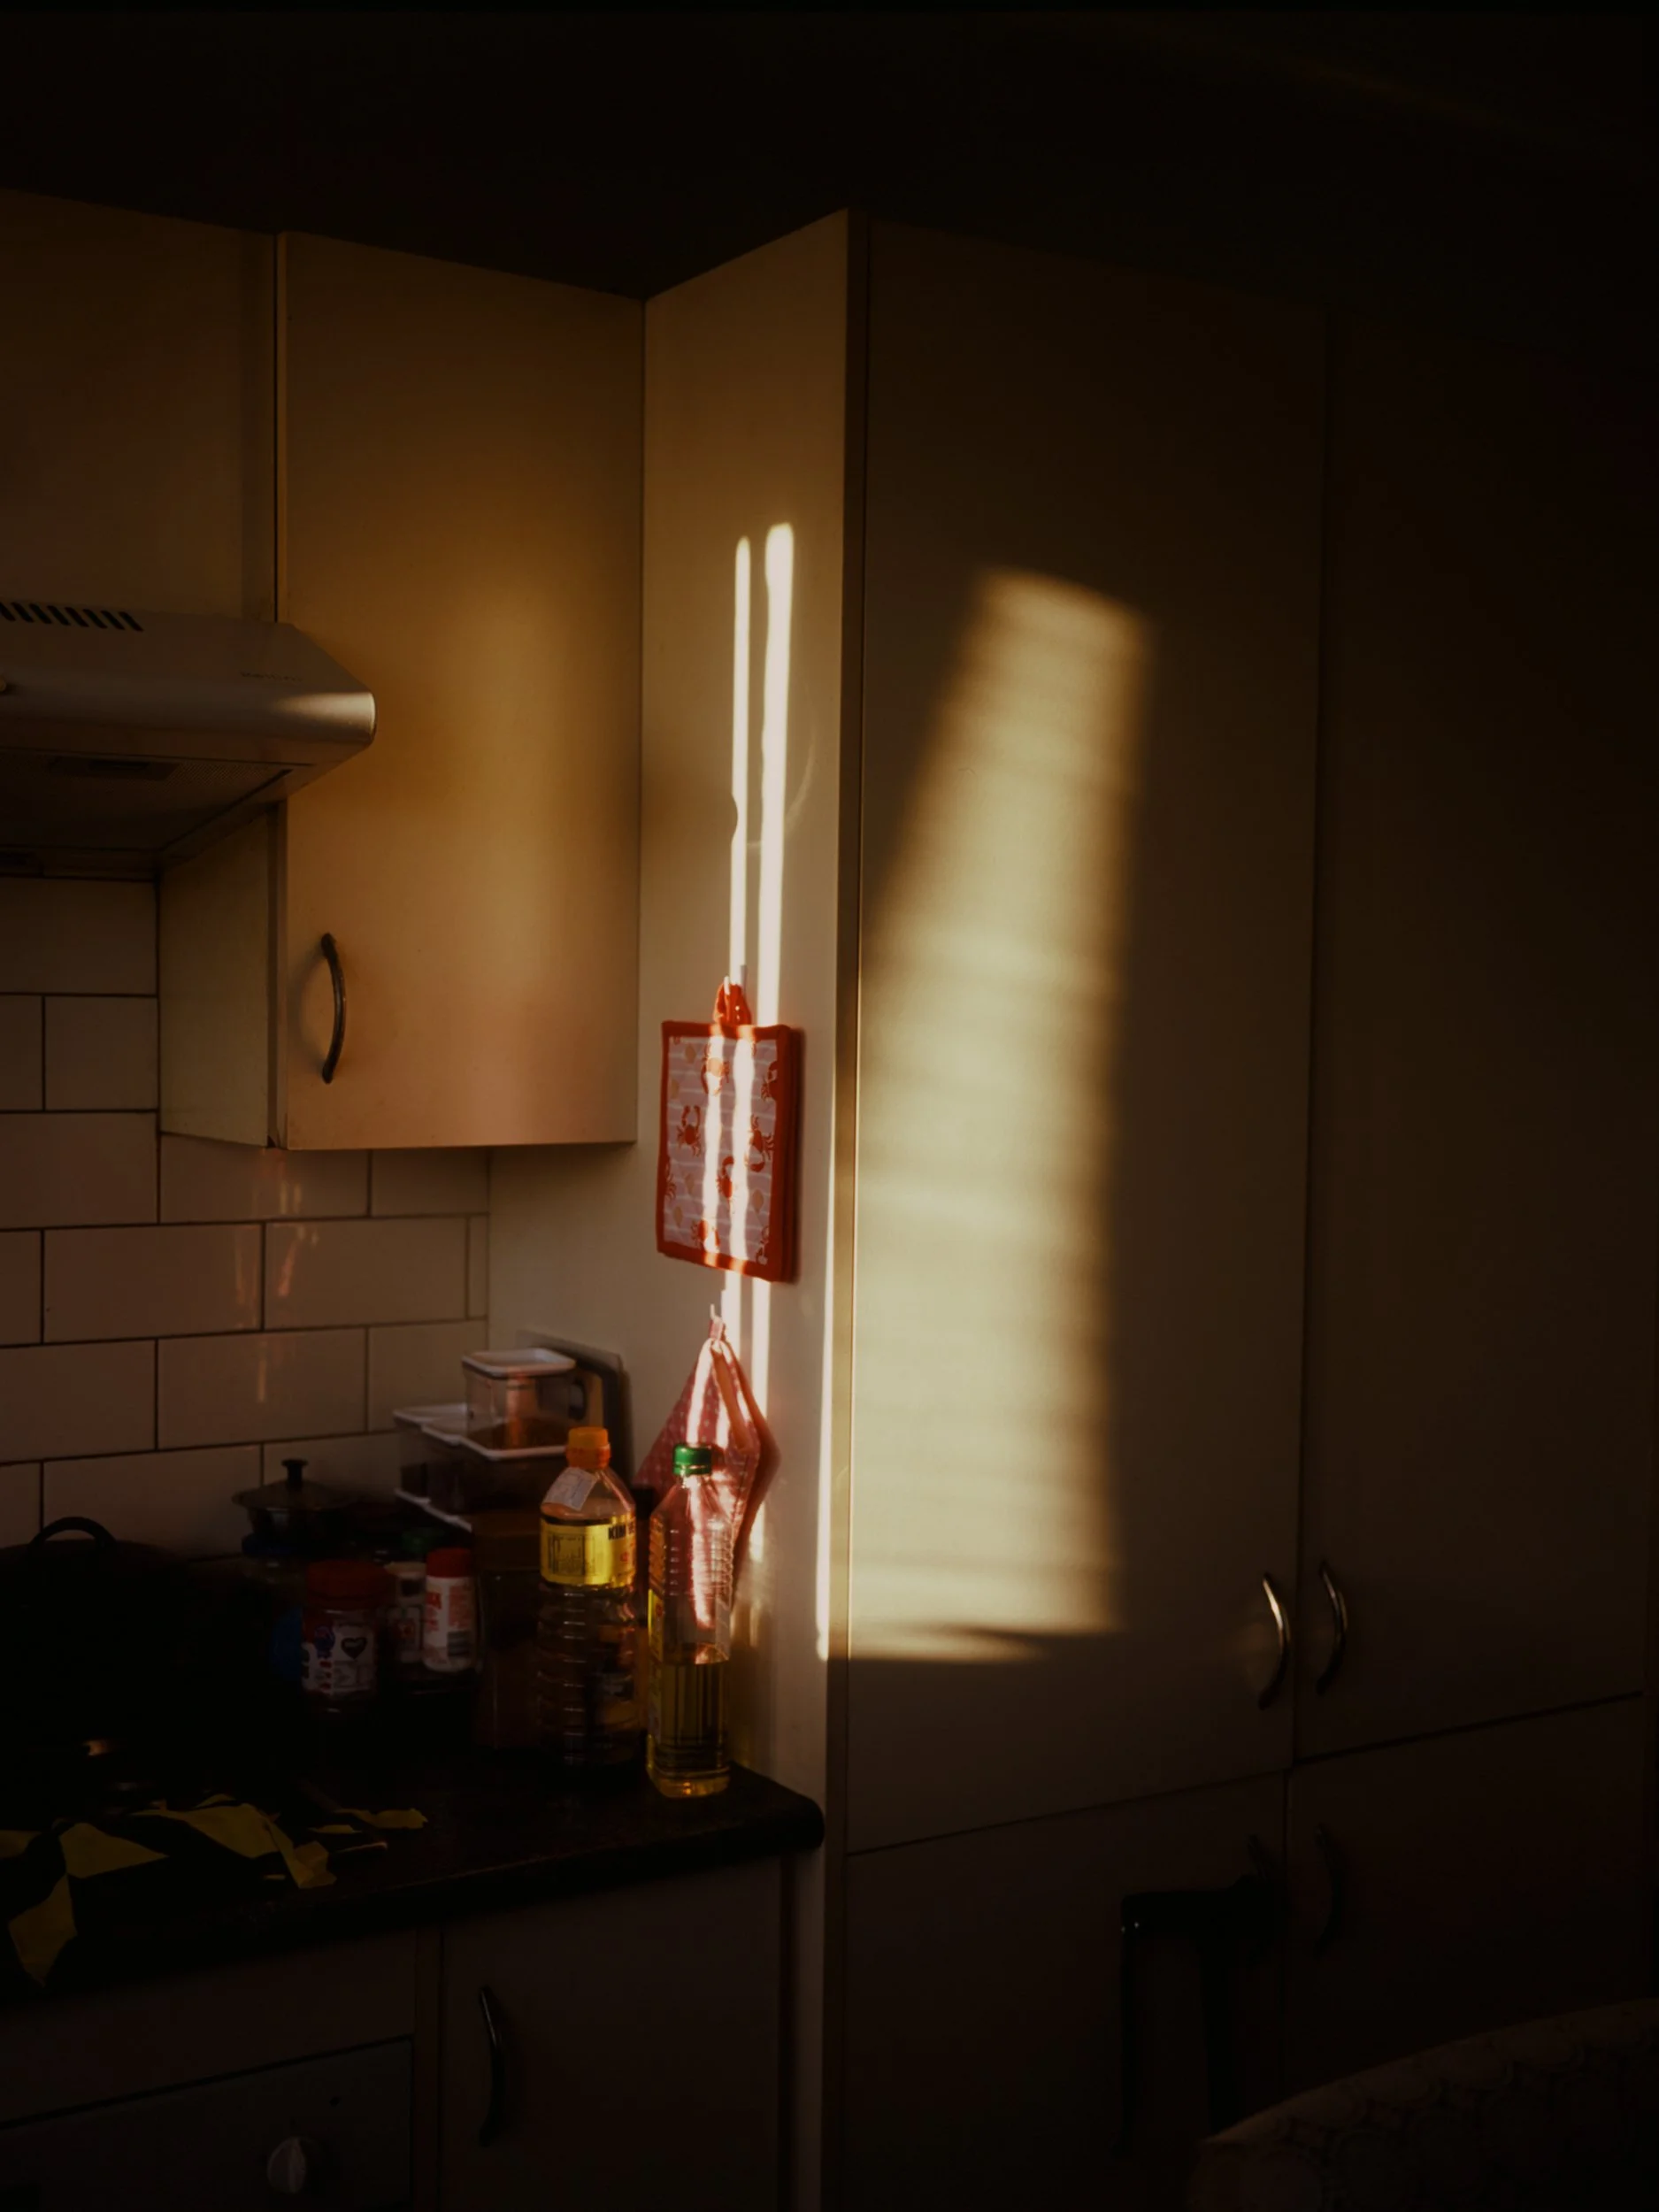
Kodak E100
Ben | Fuji Silvi
Positive images, how?!
E6 is a six-bath chemical process for reversal film.
Replacing E4, E6 was introduced to commercial labs in the 70’s and became the industry standard due to being more streamlined, stable, and safer (E6 no longer required the highly toxic reversal agent borane tert-butylamine).
How the E6 Chemical Process Works:
First Developer: The first developer forms a negative silver image in each layer of the film.
Reversal: A chemical reversal agent is absorbed into the emulsion.
Colour Developer: A positive image is formed.
Pre-Bleach: Pre-Bleach bath relies on carry-over of the colour developer to function properly.
Bleach: Converts metallic silver into silver bromide, which is converted to soluble silver compounds by the fixer.
Fixer: Makes the image permanent and safe to expose to light. A two step fixer improves the archival properties of the film.
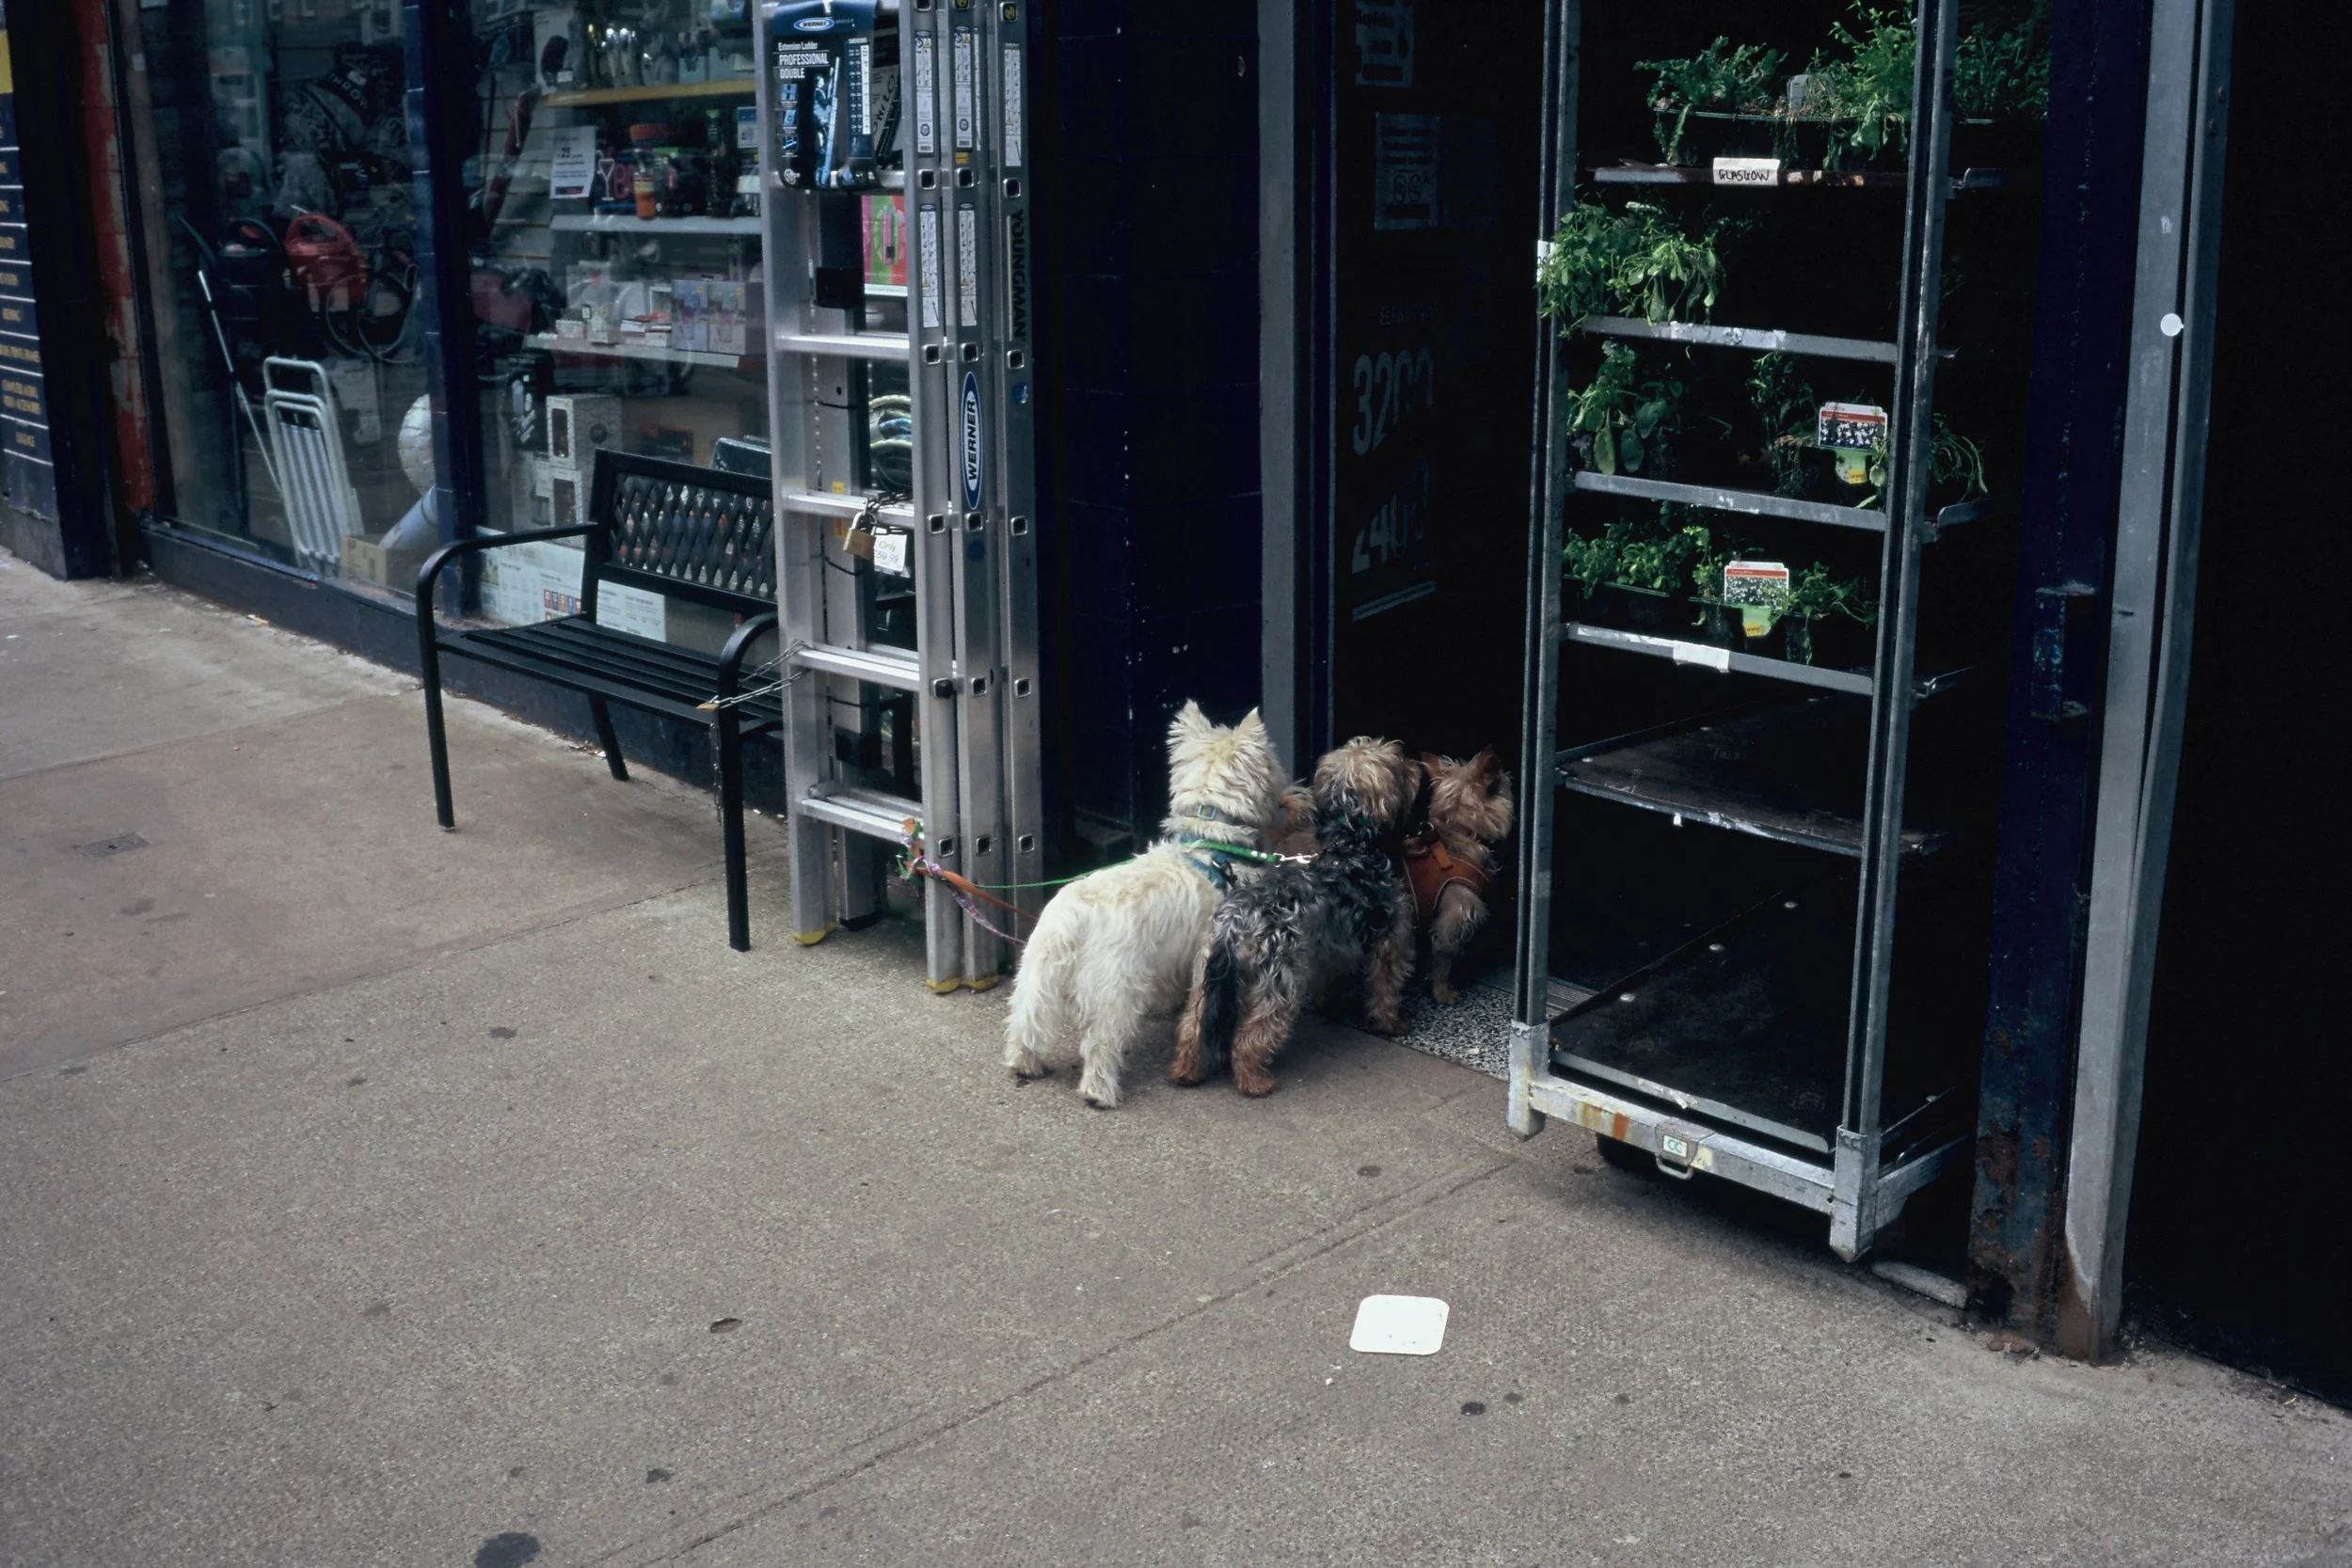
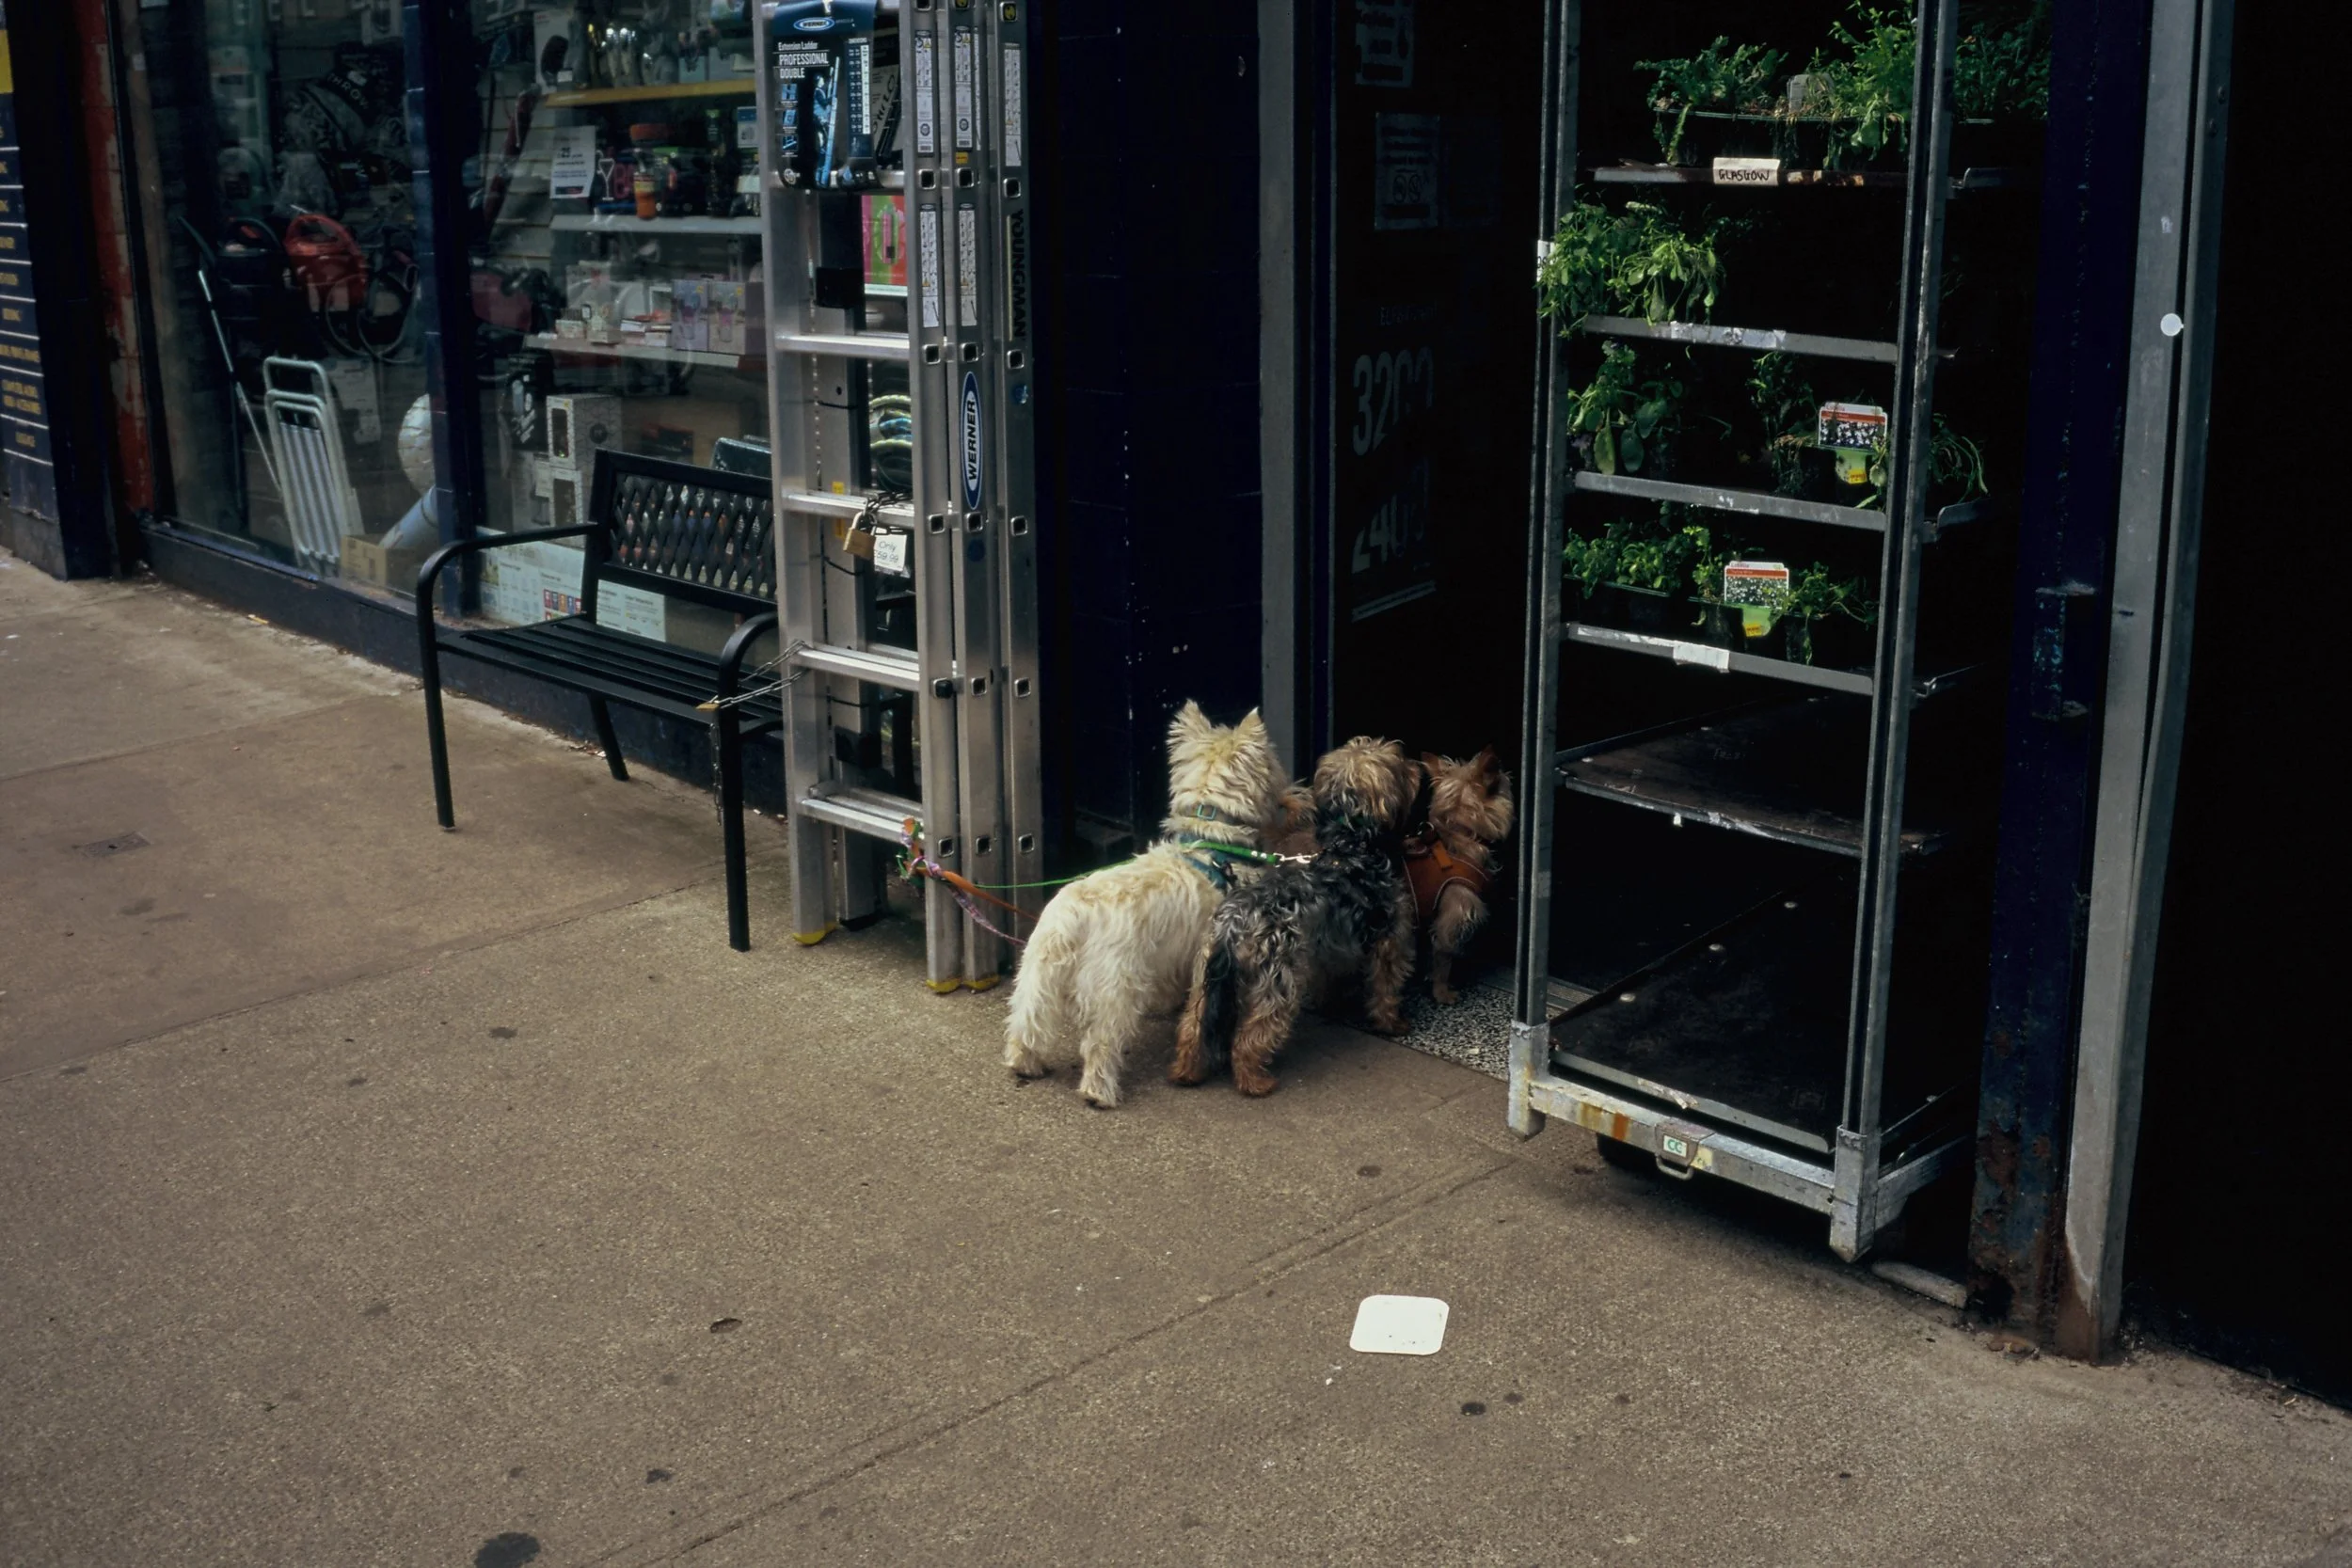
Scanner Comparisons: Noritsu HS1800 and Fuji Frontier
We default to the Noritsu for scanning E6 rolls (if you’ve used us for C41/BW/ECN-2 before, you will more than likely be familiar with our Frontier scans).
Please note; Noritsu will be used by default on all E6 orders. If you prefer Frontier scans, let us know in the ‘notes’ section when placing your order.
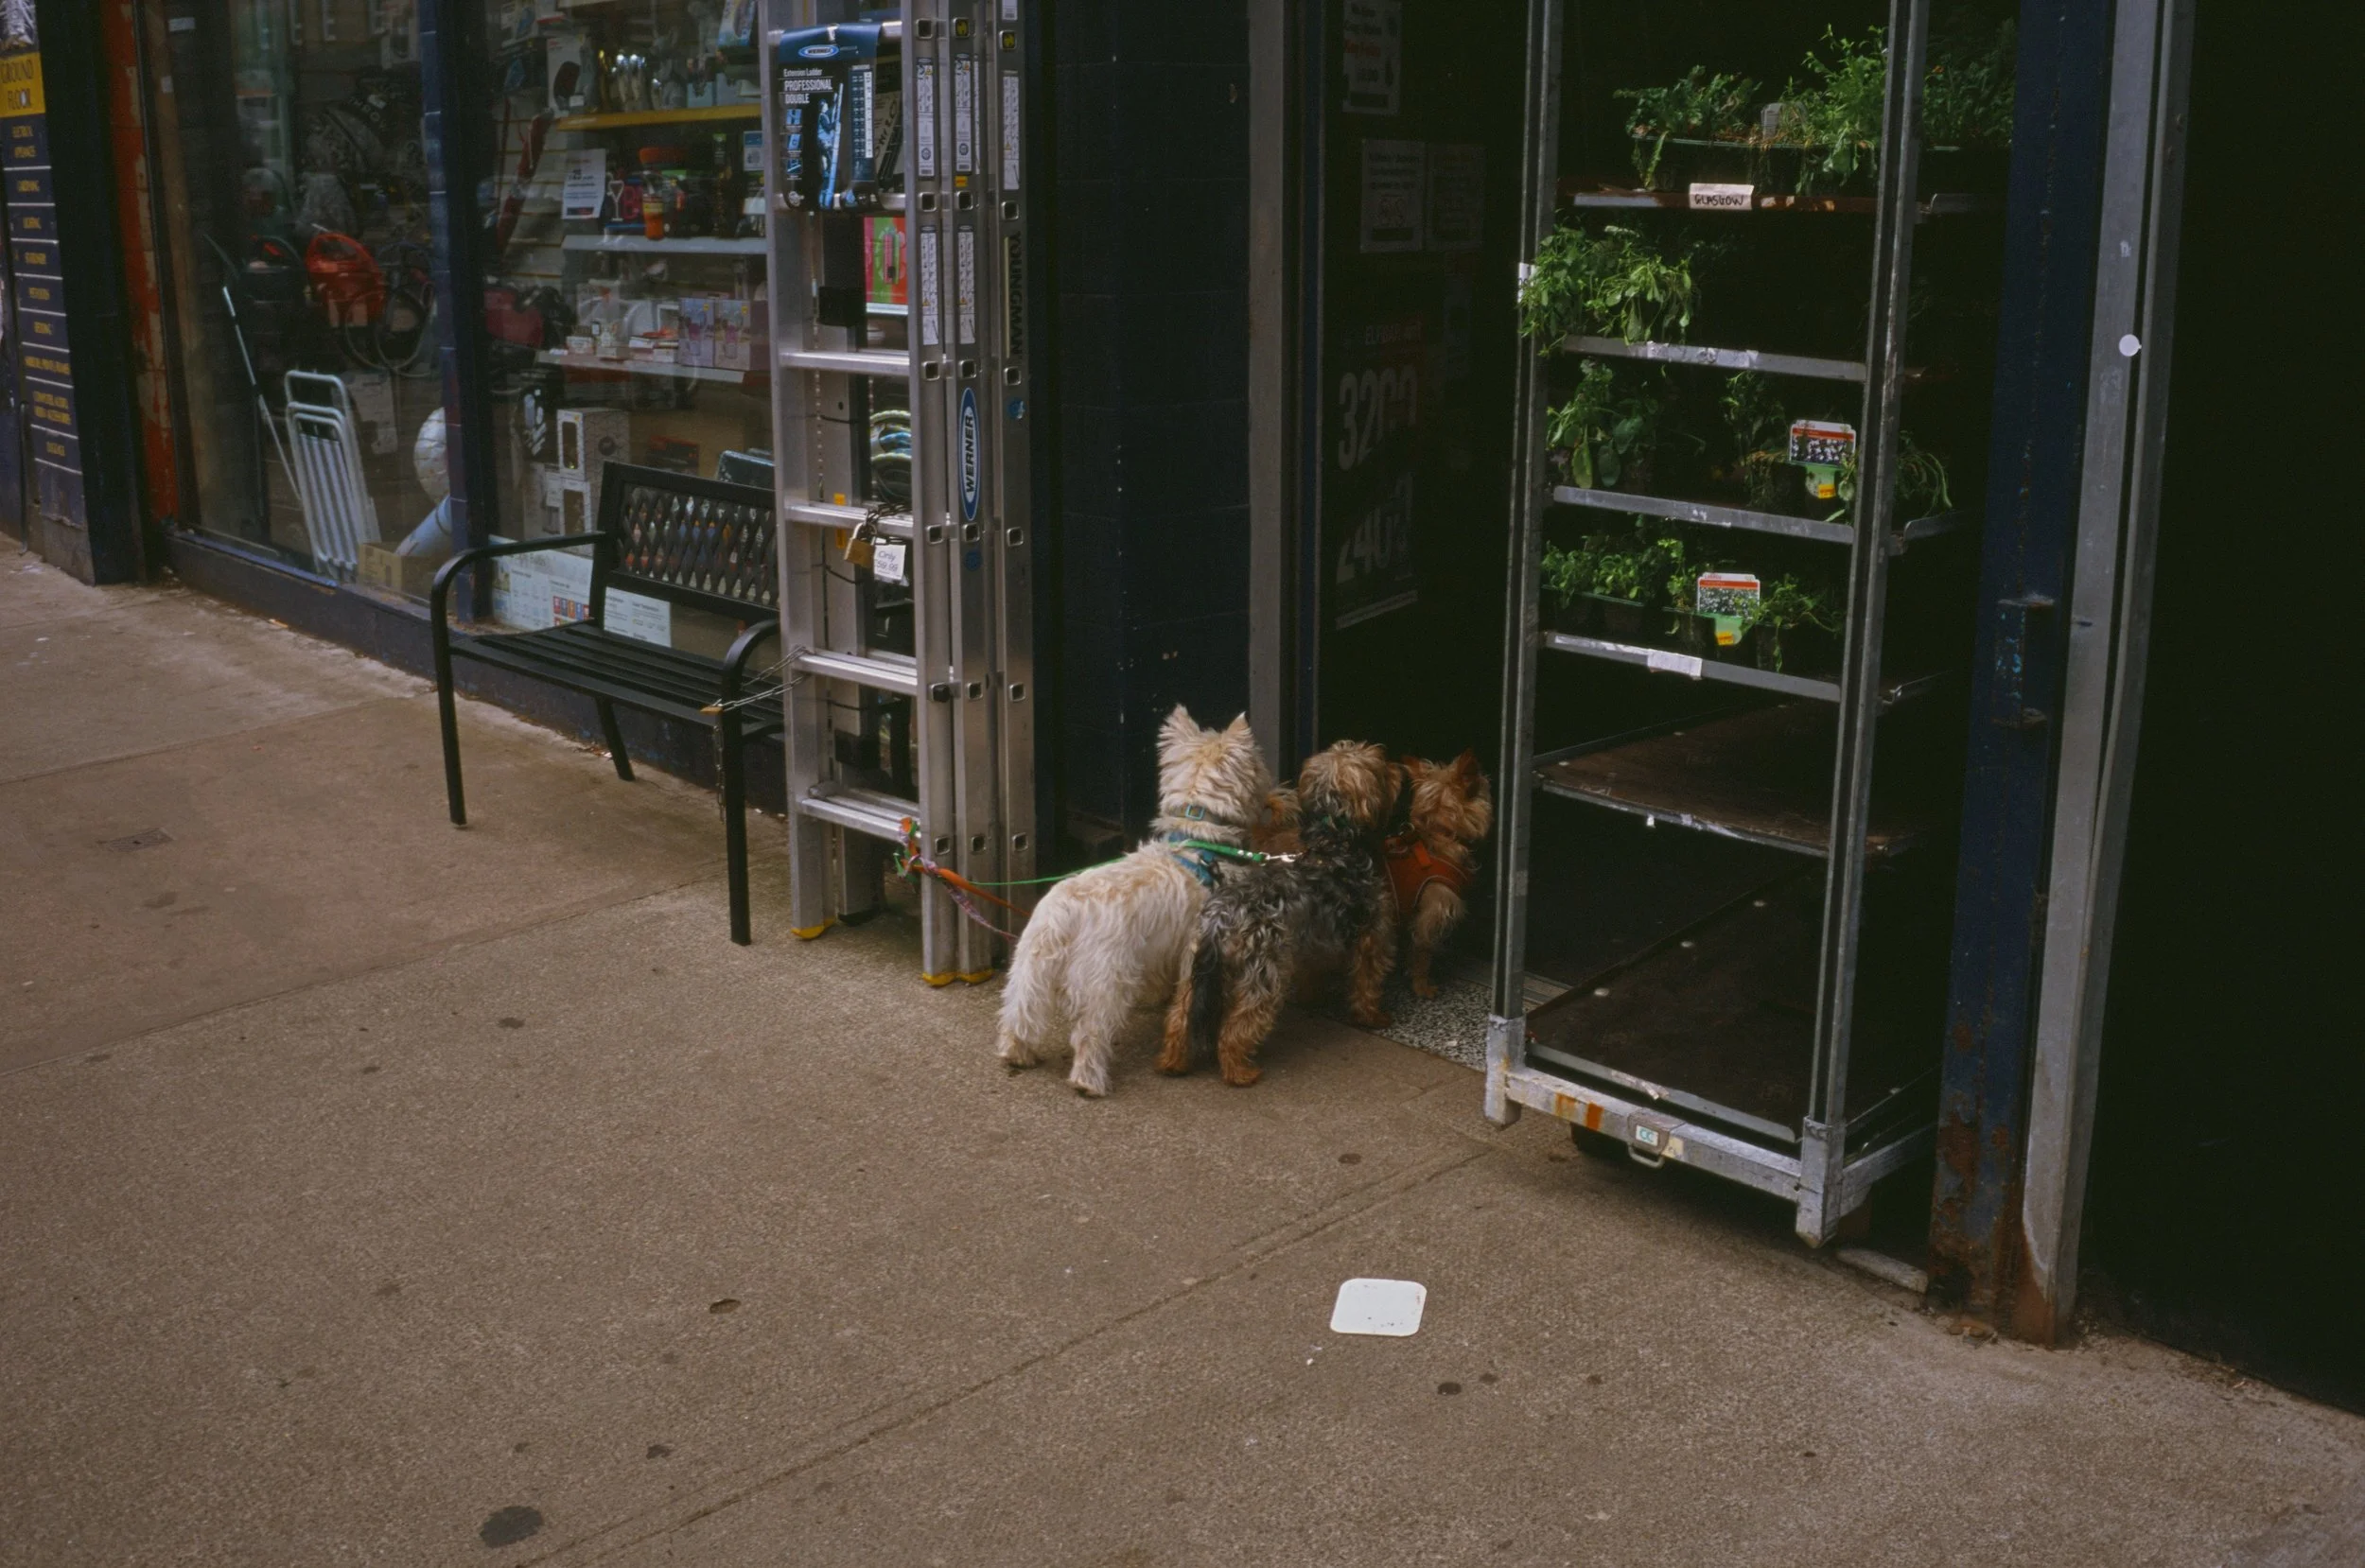
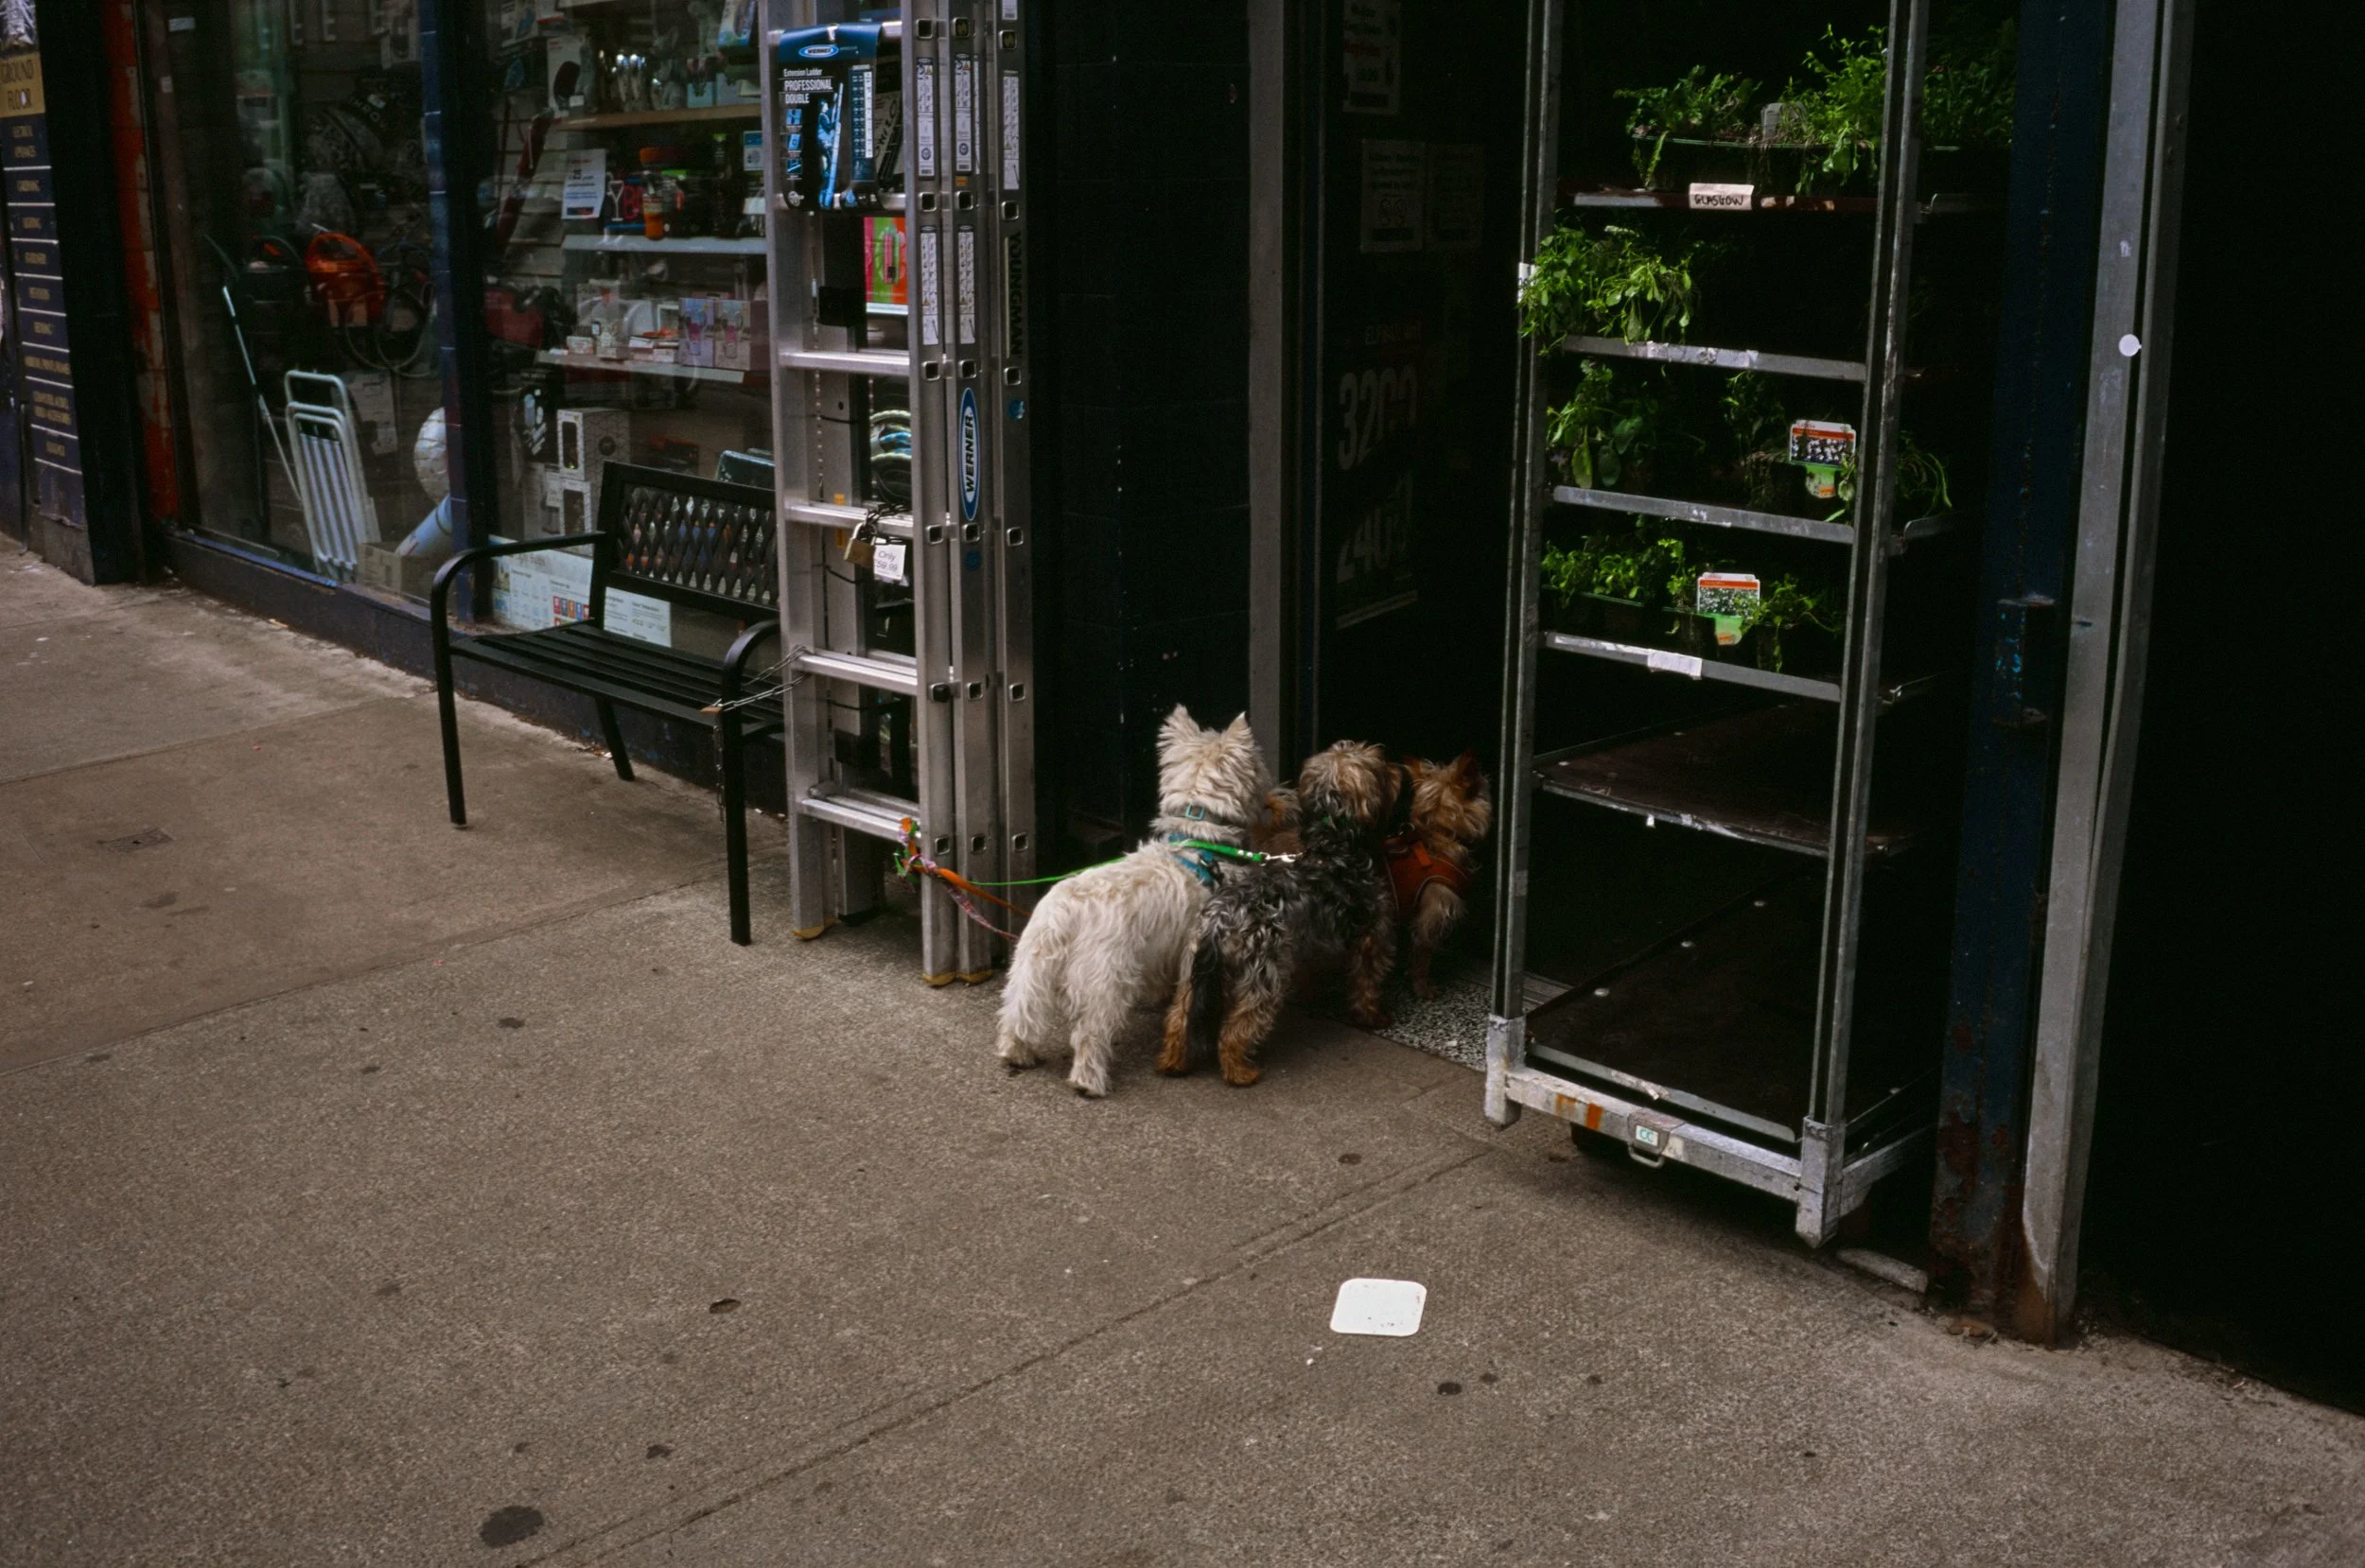
It’s immediately obvious how much warmer and saturated the colours are from the Noritsu when scanning E6.
Take a look at the red jacket on the front dog, and see how the colours lean more rusty orange on the Frontier, with significantly cooler and muted tones.
The initial scan is only the first step, though! As with any scans, everyones tastes are different, and post-processing in your image editor of choice is recommended. The following examples show the difference between scan and final grade for each version.
It’s worth noting that the final grade here has been determined by the qualities of each source scan, and they have not been scanned or processed to match.
Fuji Provia 100f, Noritsu final edit
Lee | Leica M6 + 35 Nokton
Fuji Provia 100f, Frontier final edit
Lee | Leica M6 + 35 Nokton
Okay, that was an example in particularly flat light.
Here’s something in daylight, and significantly more dynamic. Note the depth of detail in the explosion.
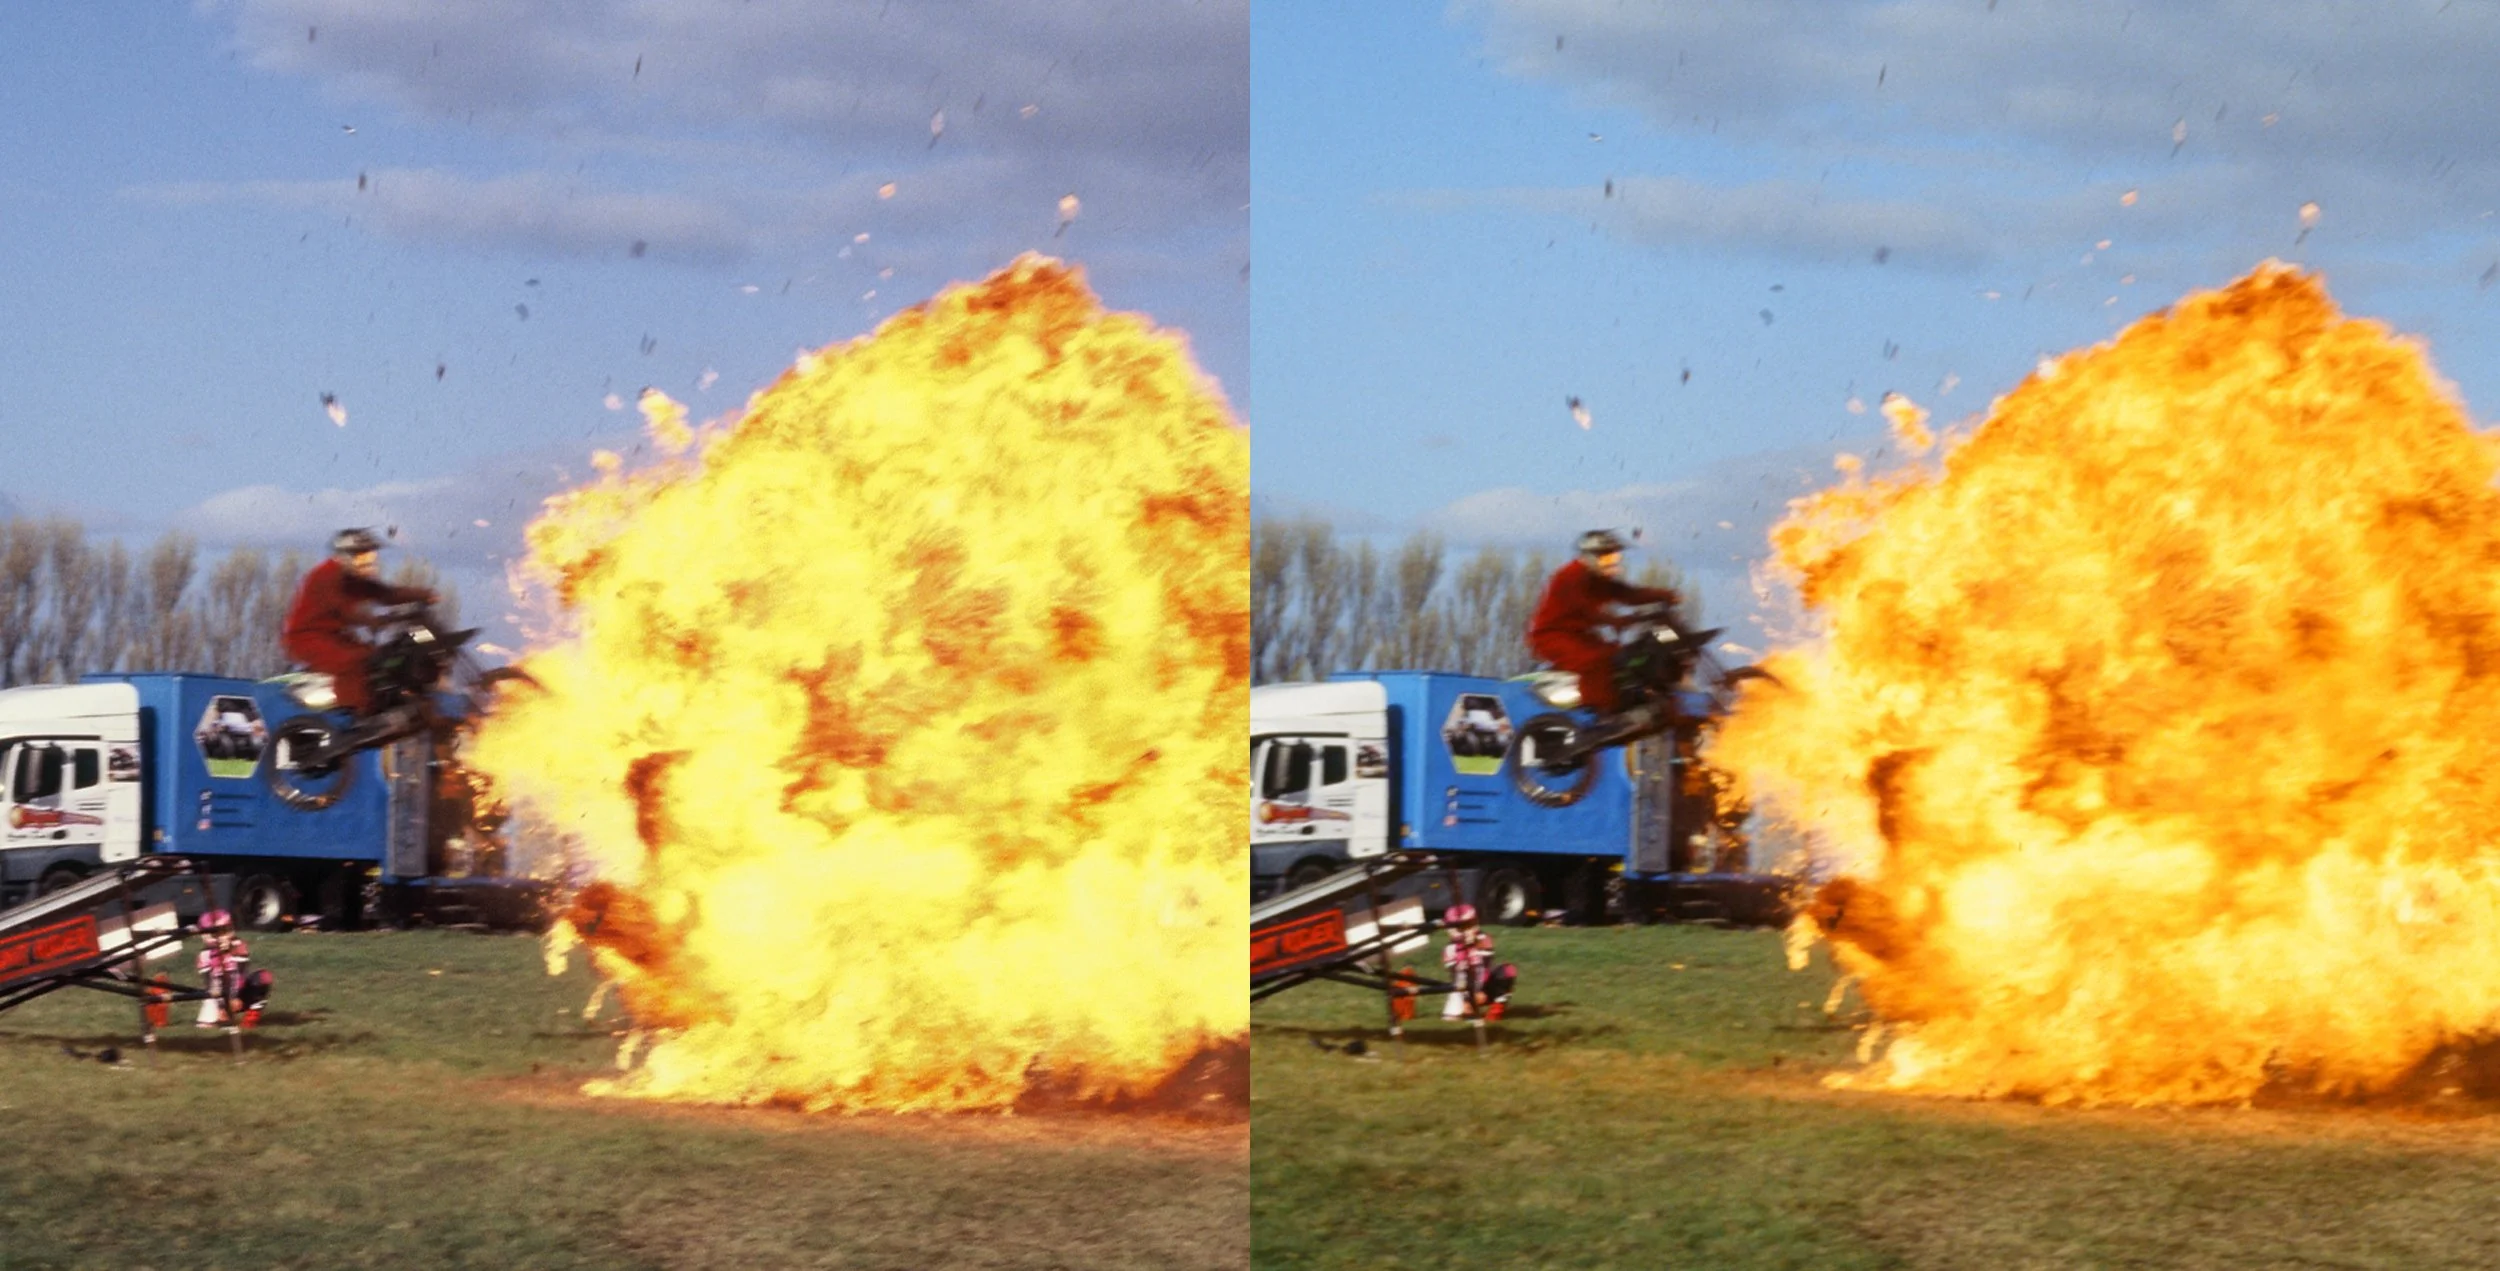
Left: Frontier, Right: Noritsu
Ben | Kodak E100
Post-processing doesn’t automatically mean you need to splash out for tiff scans. For subtle adjustments, jpeg still has plenty of wriggle room!
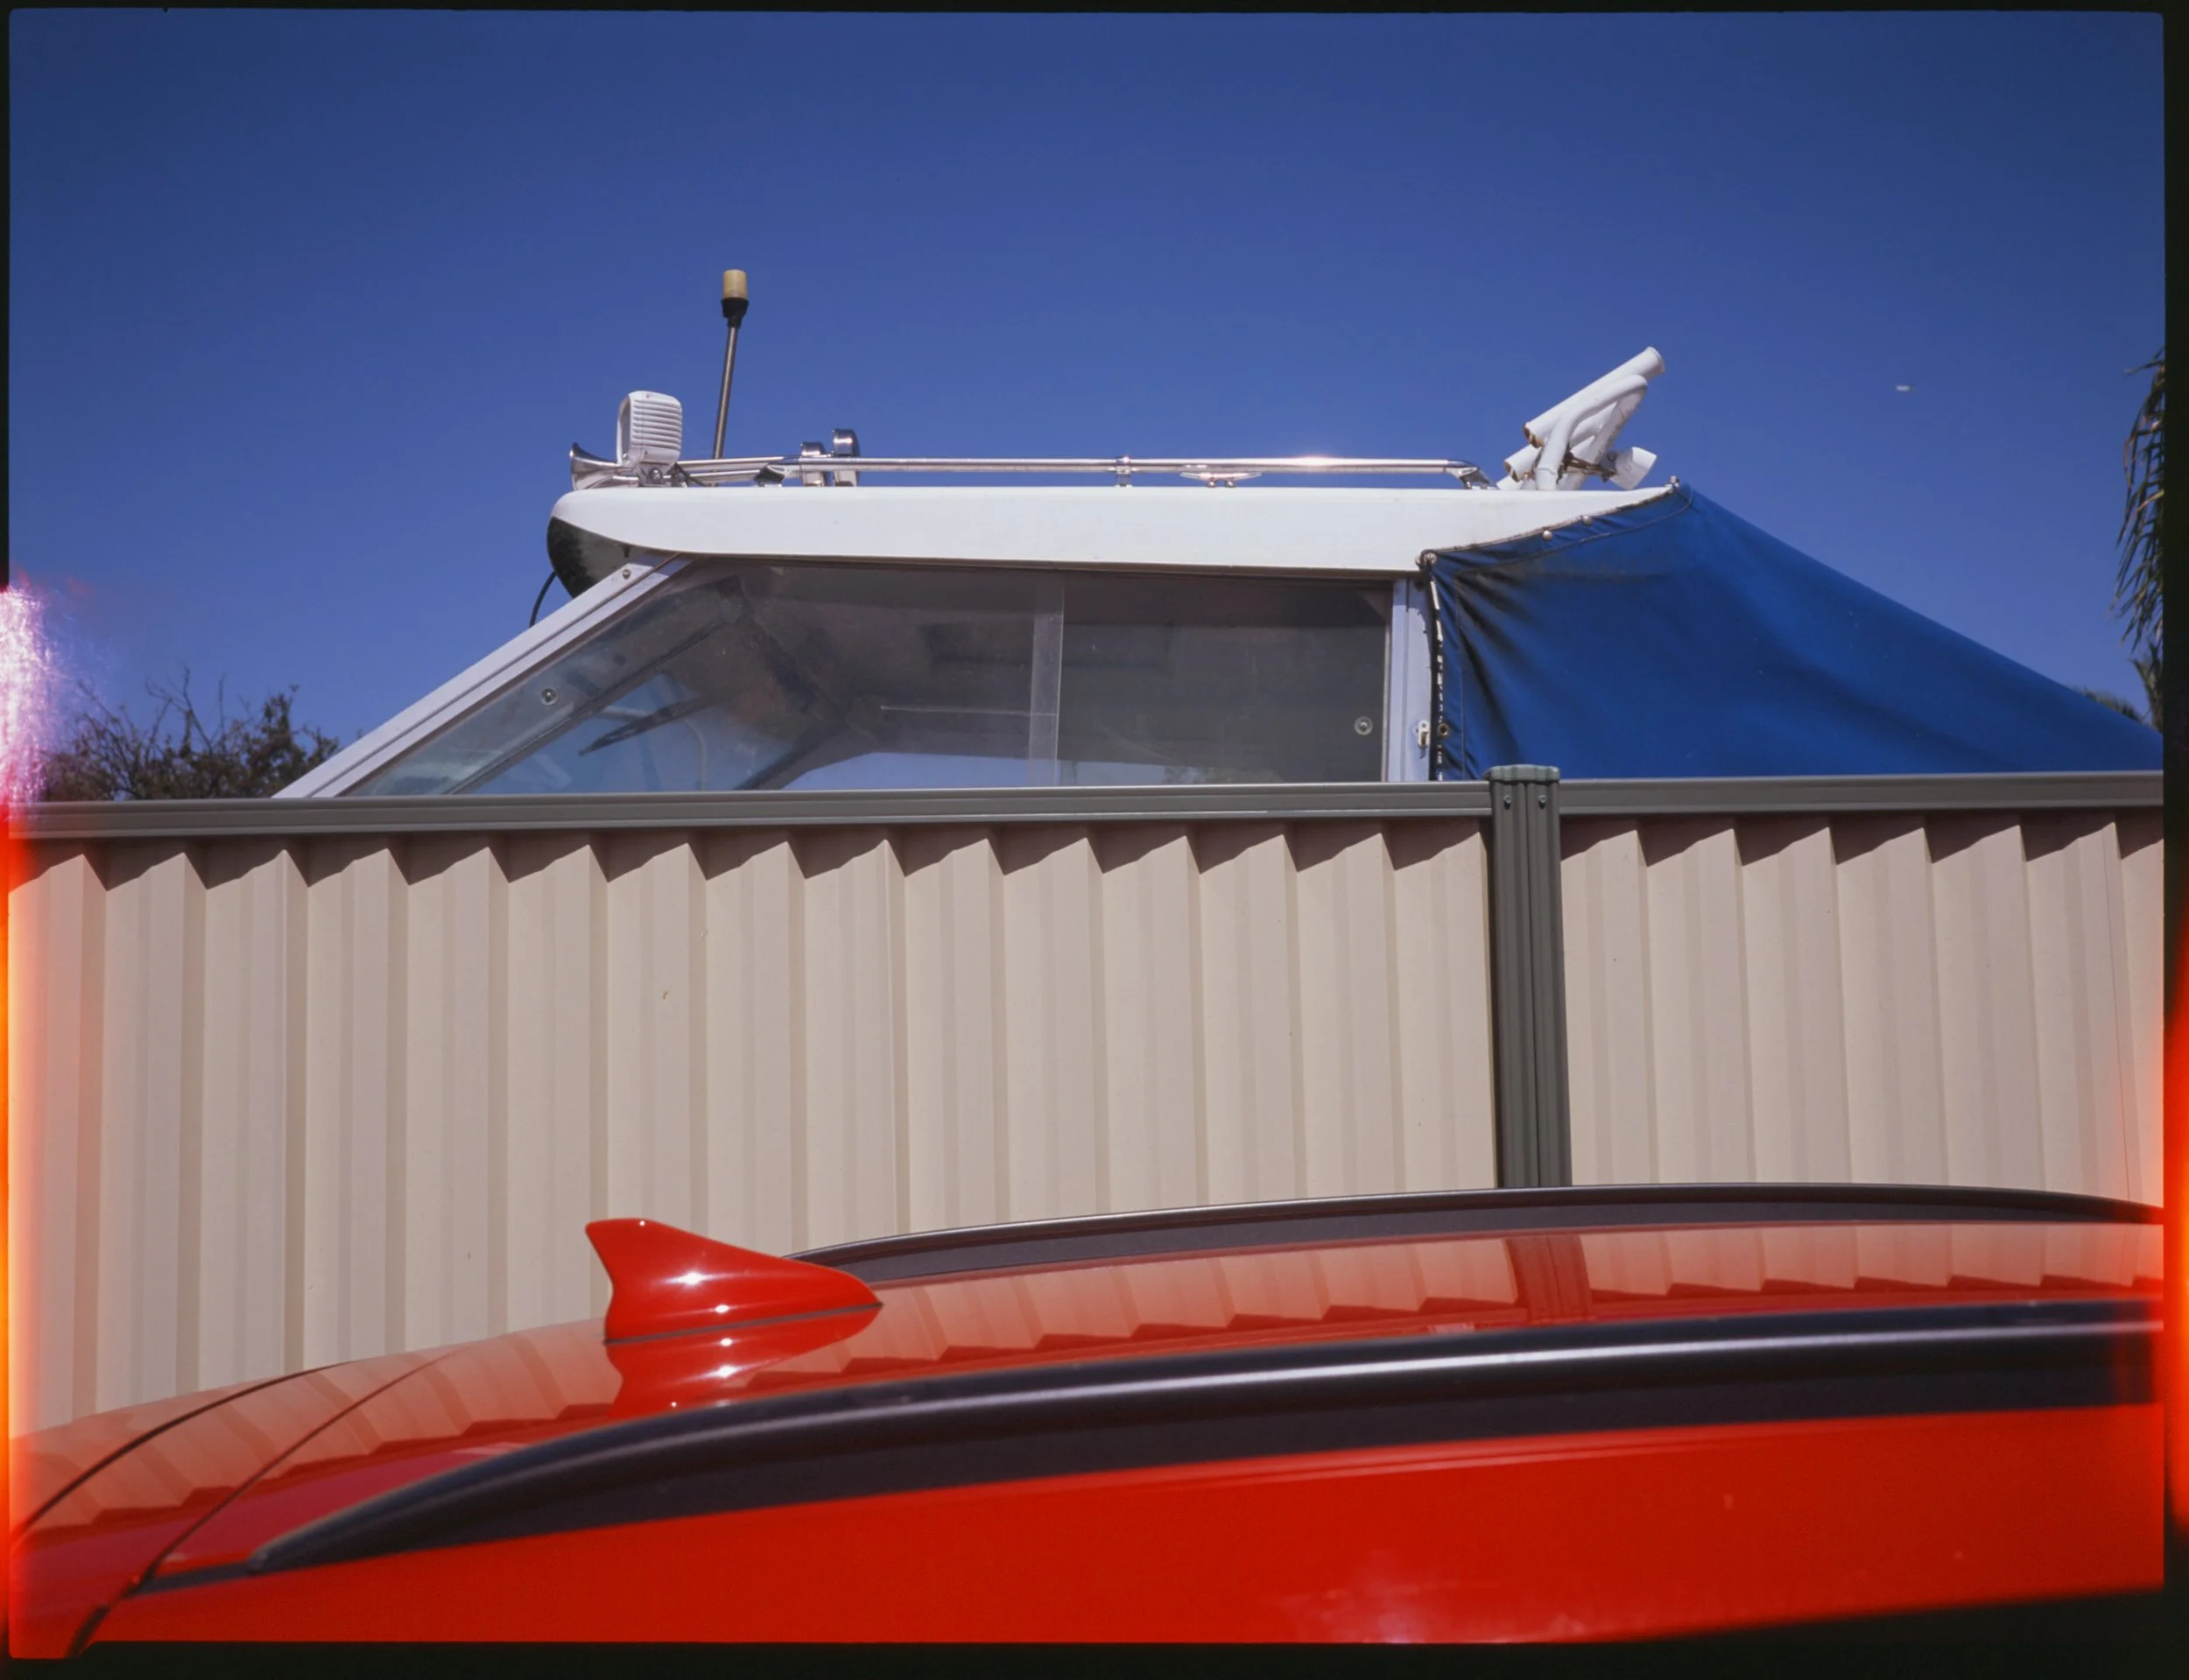
Fuji Provia 100f, Noritsu scan
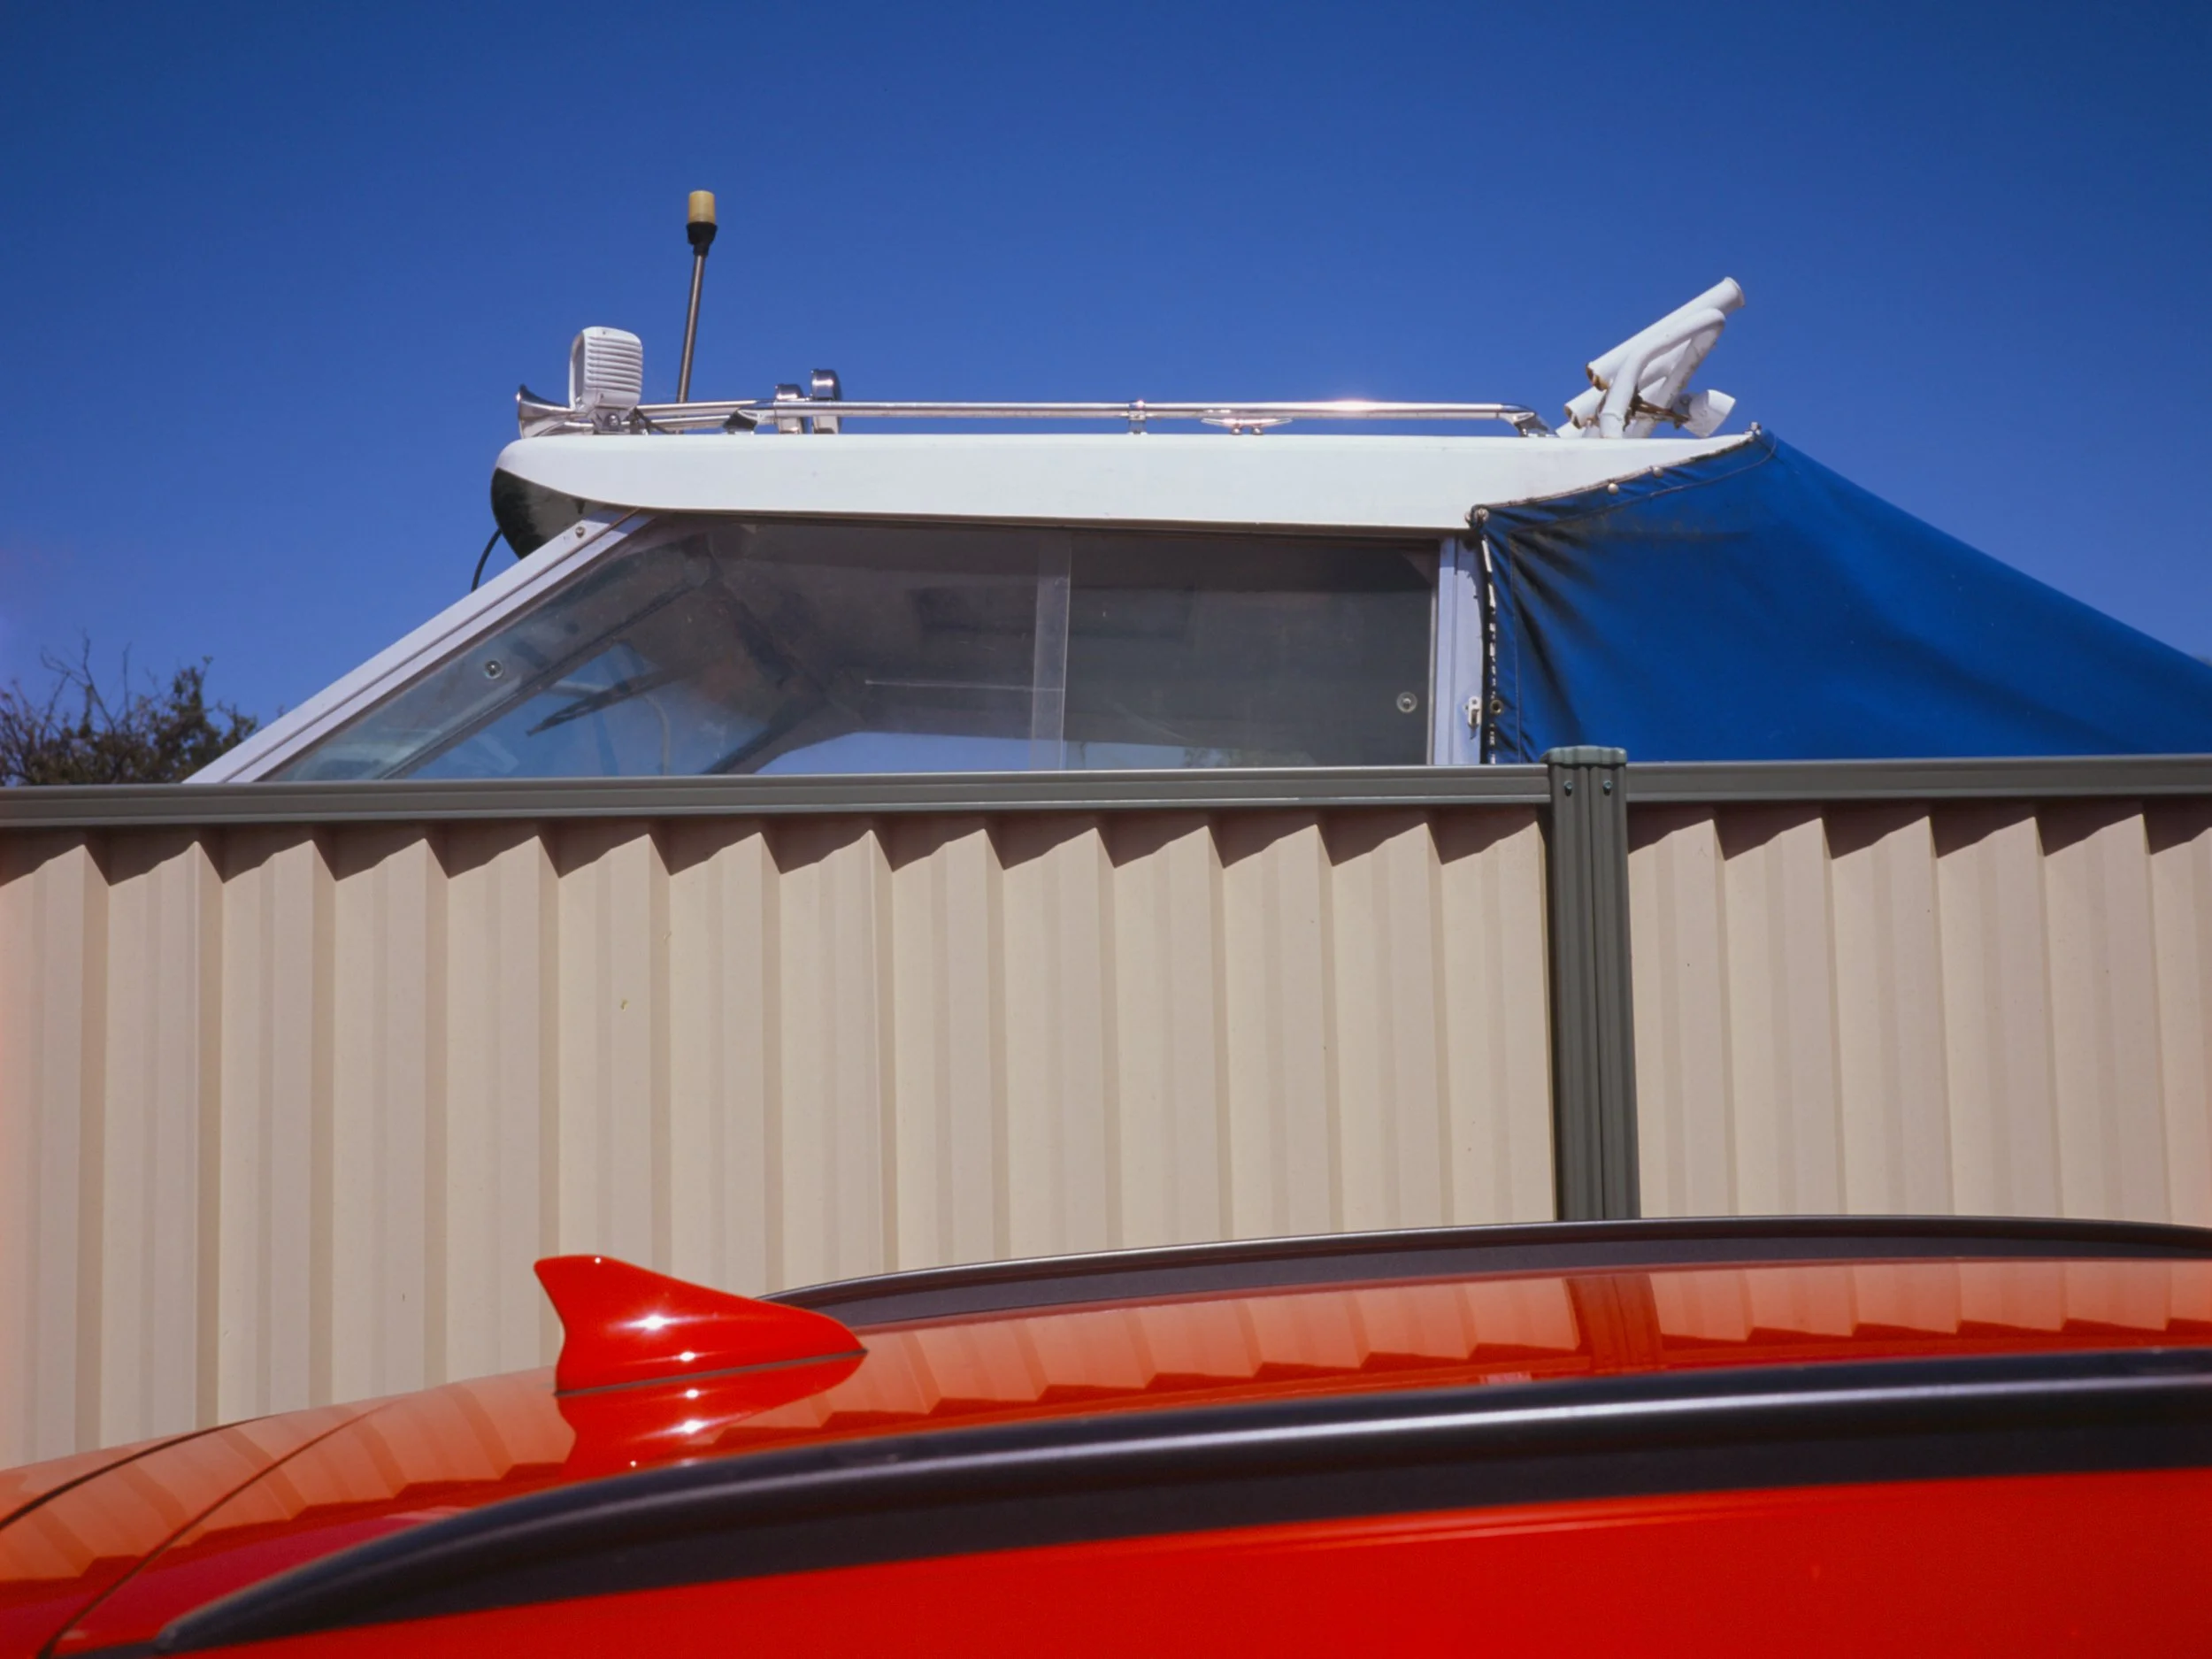
Fuji Provia 100f, final edit
Chris | Fuji GA645
So, you haven’t shot reversal film but you want to give it a try? Excellent.
Unfortunately, there are no budget stocks when it comes to reversal film, and the much lower exposure latitude requiring accurate metering can make first time shooting a daunting experience, but the rewards are worth it, so have faith! Everyone needs to experience viewing a positive on a light table at some point!
How to Shoot Reversal Film for the First Time:
To jump in successfully, we’d recommend:
Shoot fresh film in flat/even lighting conditions.
Shooting expired film introduces a level of financial risk that even I can’t get behind. With fresh film you have a solid foundation to know if it works for you.
Stick to box speed.
Forget that Californian overexposed ‘pastel’ look. Overexpose slide film, it’s ruined. Pushing introduces contrast (reversal has plenty already), grain, and colour-shifts.
Use a camera you are familiar with.
A reliable point and shoot, or SLR with auto-exposure to keep it straight forward. If manually exposing, and uncertain about the light, then expose for the highlights.
TL;DR: Using a camera that you know works with fresh film at box speed in ideal light minimises the margin for error.
Kodak E100
Chris | Ricoh GR10

Kodak E100
Ben | Leica M5
Kodak E100
Chris | Leica M4 + 35 Biogon
Kodak E100
Lee | Leica M6 + 35 Summicron
Fuji Provia 100f
Lee | Leica M6 + 35 Summicron
Kodak E100
Chris | Ricoh GR10
Cross Processing Reversal Film in C41 Chemistry?
If you like things freaky, reversal film can be cross-processed in standard C41 chemistry and produce a negative. Though those results are certainly… a mixed bag. Typically we find Kodak stocks perform ‘better’.
The following is a small selection of expired Ektachrome 64t.
It came out particularly crunchy.

Kodak Ektachrome 64t (Expired and Cross Processed)
Lee | Leica M6 + 35 Summicron

Kodak Ektachrome 64t (Expired and Cross Processed)
Lee | Leica M6 + 35 Summicron
Kodak Ektachrome 64t (Expired and Cross Processed)
Lee | Leica M6 + 35 Summicron
And that concludes our introduction to E6!
We will be stocking Kodak E100 and Fuji Provia (both of which have covered all of the examples in this post!), just ask for it at the counter.
If you’ve shot reversal film before and feel like we’ve missed any useful tips, feel free to leave a comment below with your experience with the stocks.
Until next time, we’ll leave you with a selection of photos:
Fuji Provia 100f
Chris | Ricoh GR10
Kodak E100
Chris | Fuji GA645
Kodak E100
Ben | Leica M5
Kodak E100
Lee | Leica M6 + 35 Nokton
Fuji Provia 100f
Chris | Fuji GA645
Kodak E100
Lee | Leica M6 + 35 Nokton
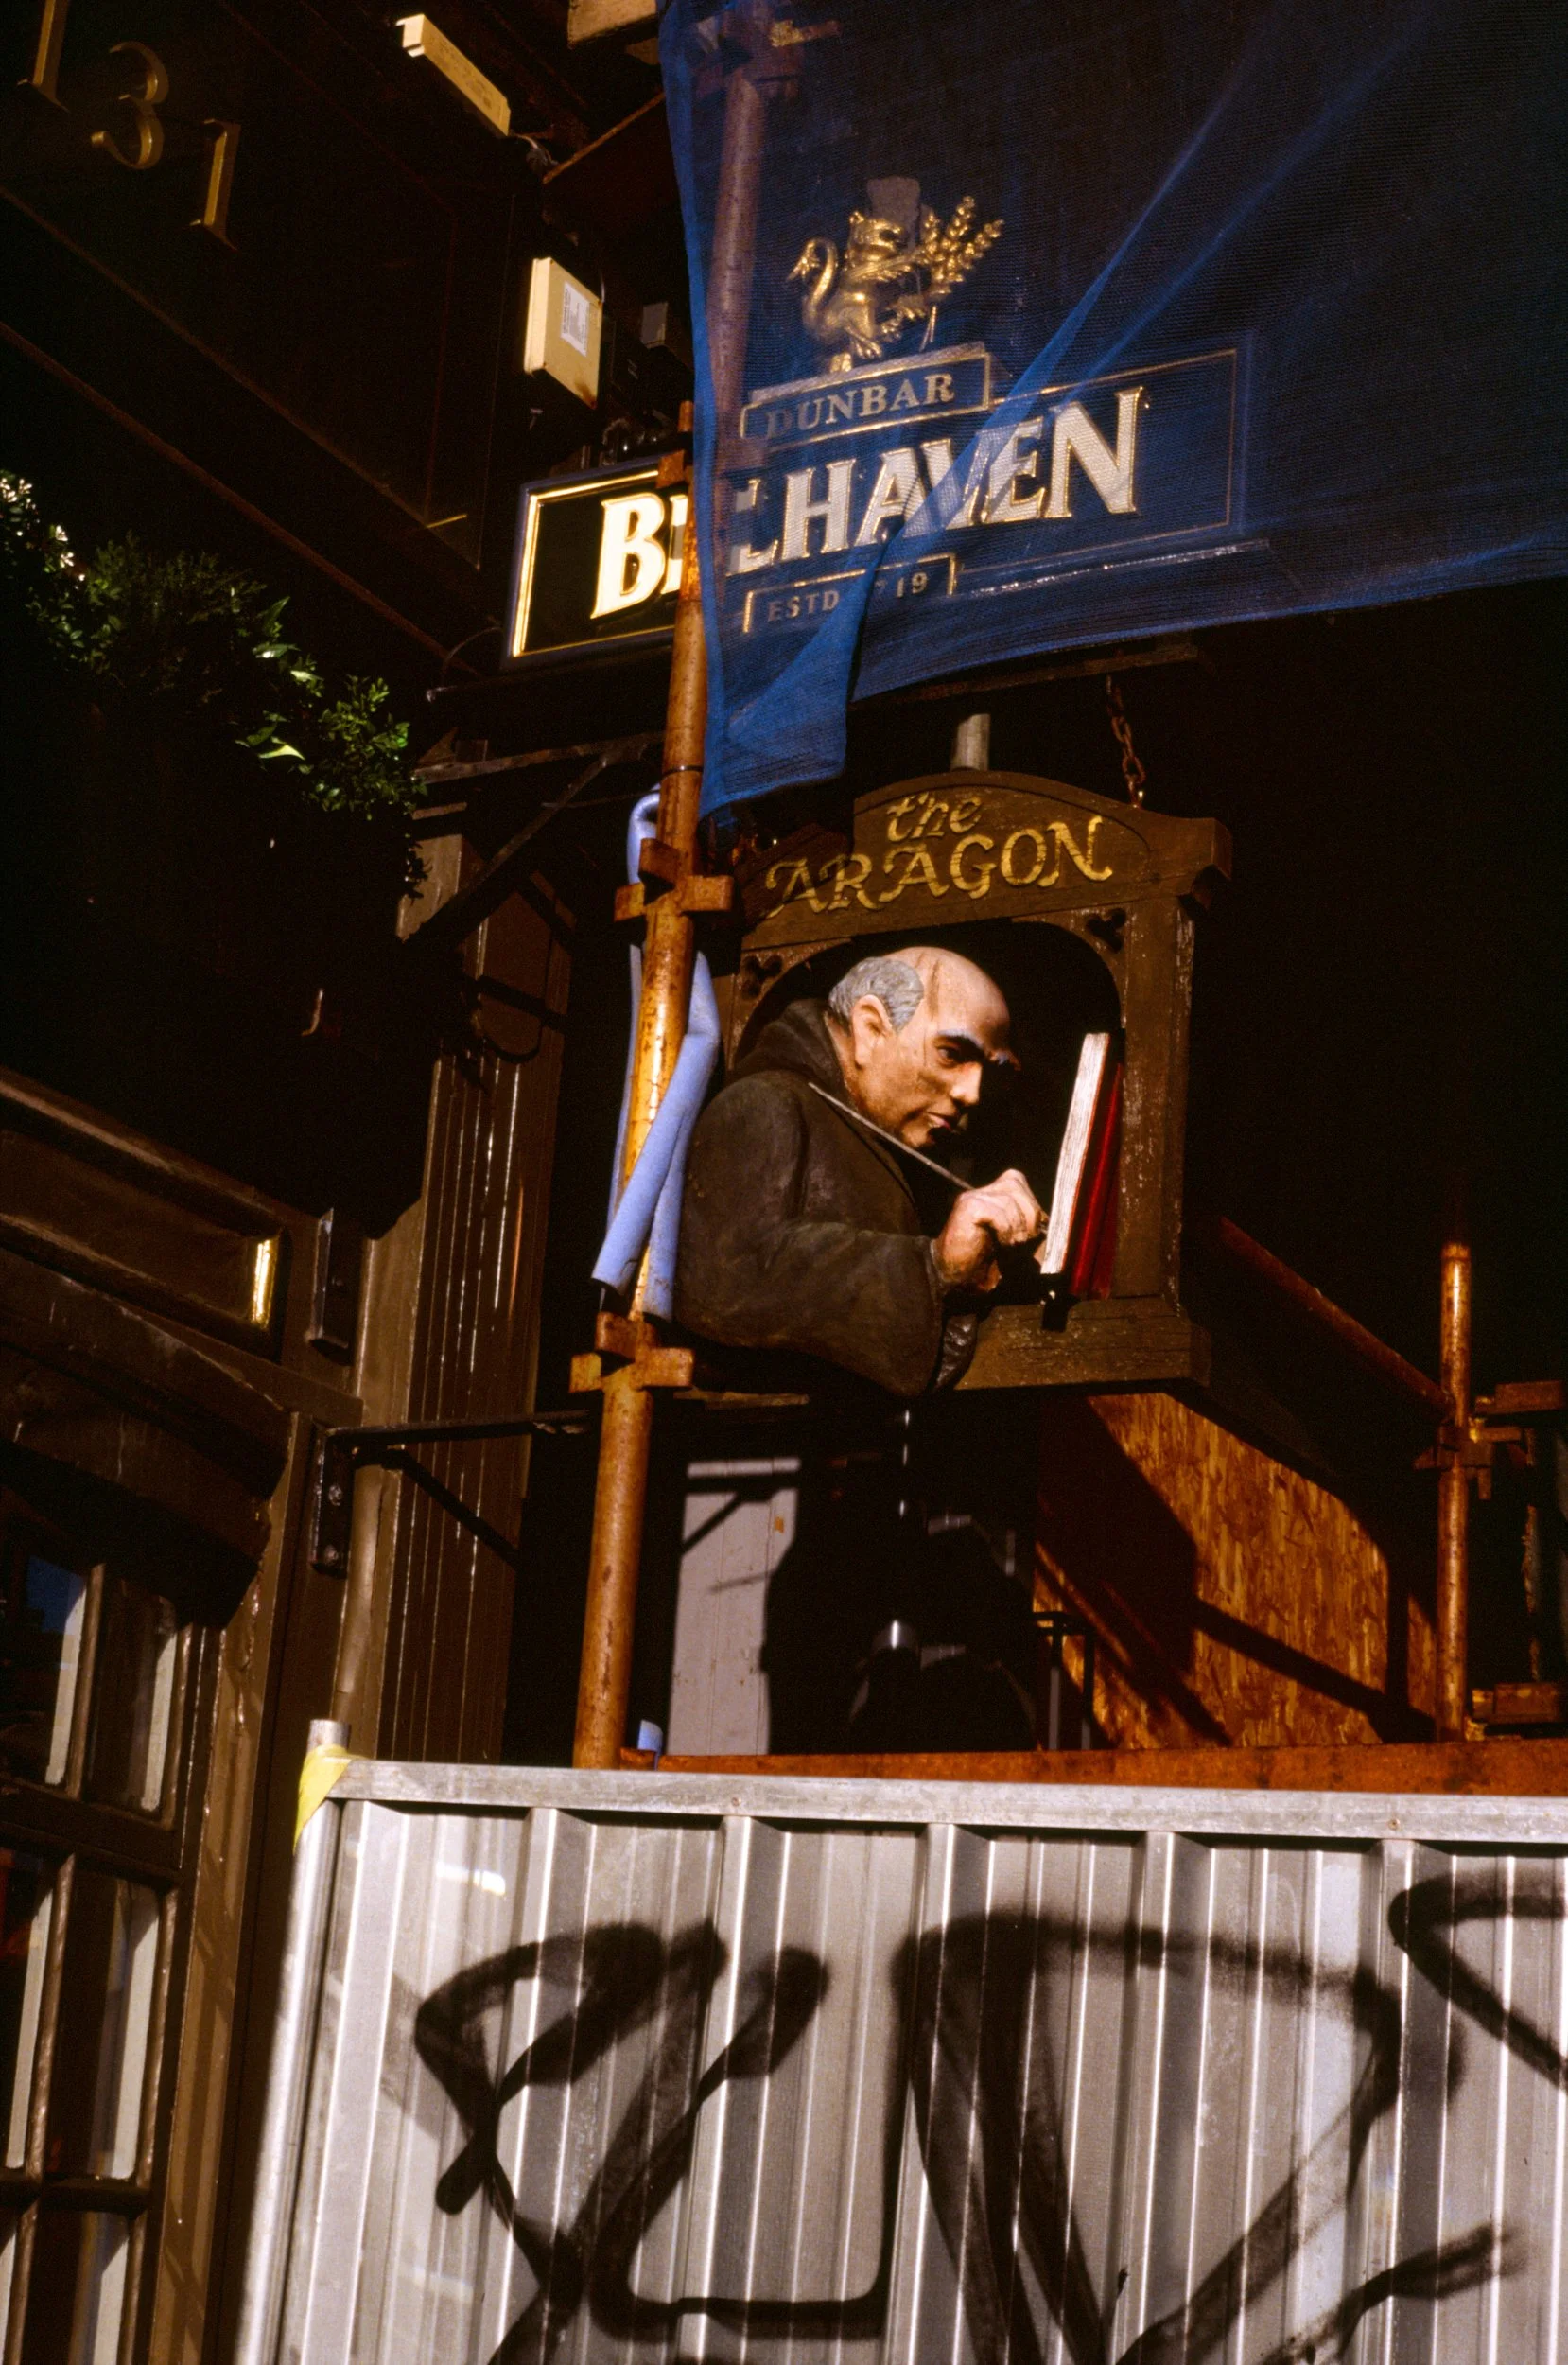
Kodak E100
Ben | Fuji Silvi
Fuji Provia 100f
Chris | Fuji GA645
Kodak E100
Lee | Leica M6 + 35 Nokton
Kodak E100
Ben | Leica M5
Kodak E100
Lee | Leica M6 + 35 Summicron
Kodak E100
Chris | Leica M4 + 35 Biogon
Fuji Provia 100f
Lee | Leica M6 + 35 Nokton
Kodak E100
Chris | Ricoh GR10
Fuji Provia 100f
Lee | Leica M6 + 35 Nokton